Wednesday, July 22, 2015

2x4, 2x6 bicycle rack

Hi Everyone,

Well, here's the last project for the day-a bicycle rack for our bicycles. We have three bikes here and we need a rack to keep them upright so I decided to build a single rack for them. As I plan to keep them in the house, and I don't have a ton of room for them, I decided to make 3 small, single racks instead of one large one. That makes storing them a little bit easier.

So here we go. Starring my old Schwinn bike.


This project used two 2x4s 72" long and two 2x6s 72" long and it made 3 racks. If you only need one rack, adjust your materials accordingly.

First I cut up the 2x4s into 24" long sections:

And I placed them in front and in back of the front tire which is 25" in diameter:


Next I cut the 2x6s into 21" lengths:


I cut off a 2 1/2" corner on both ends of each 2x6:


And cut a  1 1/2" notch on each end too. This will keep  the rack from scissoring when it's moved around:


And this is what the cross pieces look like:


Next I dry fitted the cross pieces onto the 2x4s. The tire should fit snugly:


Next I drilled a 1/2" hole in each end about 1" deep to accommodate the wood screws. I used 2" screws because those are the longest I have at the moment but you could use longer screws and skip this step:

Then I checked everything  and made sure it was square and screwed the cross pieces in place:


And that's it. The bike is standing up right without the kick stand engaged:


The total price for 3 racks came to $12.

As I have a really sore thumb from this mornings accident, I'm going to stop working for the day.

I think the next project will be another salad bowl and another cat perch for the Ginger Majesties. Stay tuned!

VW

Wedding Quaichs-completion photos

Good Day Everyone,

Well, the quaichs are dry and stable and it's time to put a finish on them and call them done. Here they are one at a time:


The Bischofia Cup

Well, here it is. You can see the lovely satin like grain pattern and the color is really pretty. This was good turning wood and bischofia and I will meet again in the future for other turnings:


The Norwegian Maple Cup

Here is the one I made yesterday out of a branch from a Norwegian maple tree. This wood is dry, fine grained and turns like a dream. Hooray for maple trees!


The little Norwegian maple cup

Well, this little guy won't be used but I did finish it anyway. I messed up on the rings I added to the bottom of the cup. It's still usable so I'll save it for the Ginger Majesties as a treat cup:


And I had a tragic run in with my lathe chuck. Owww.

Ok, these projects are finished and will be good to go in about a week or so when the finishes are done curing.

Next project-the bicycle rack. As my thumb is killing me at the moment I'm going to use that as an excuse to eat some lunch, have a cup of java, and sit in the air conditioning for a little while. Stay tuned, I'll be back in about an hour or so.

VW

Tuesday, July 21, 2015

The Wedding Quaichs, continued-the maple quaich done!

Hi Again,

Well, after looking at the original maple quaich, I decided to go downstairs and make another one. So I sawed off a section, put it on the lathe and about 45 minutes later produced this one:


This looks a lot more like a cup instead of a small bowl:

This is the inside:

Another photo of it in my hand:

Along side the bischofia cup:

And of course the Ginger Majesties who just show up at the end of all these things:


Ok, more tomorrow.

VW

The Wedding Bowl and Quaichs, continued

Hi Everyone,

Well, it's good turning weather so I'm back down in the shop today to take a look at where we are with the wedding stuff. First the bowl and then the cups. Here we go:

The Bischofia Bowl

I took the bowl out to look at it and to see how much distortion there is from drying and if there are any cracks. Here's a photo:


The bowl is still heavy so it's still has a lot of drying out to do and even thought it looks perfectly round in the photograph is 1/2" wider side to side than it is top to bottom. That's ok as there is a lot of wood left for turning so the bowl, when it's done drying, can still be turned to a round bowl. This guy goes back in the drying bag-box for a couple of weeks so stay tuned.

The Bischofia Quaich or the Little Red Cup that could and did

This guy is coming out quite well. It's dry and there was only about 1/8" of distortion in the cup. In a larger bowl that would be almost imperceptible but in a small vessel it's very noticeable. Here are some photos:

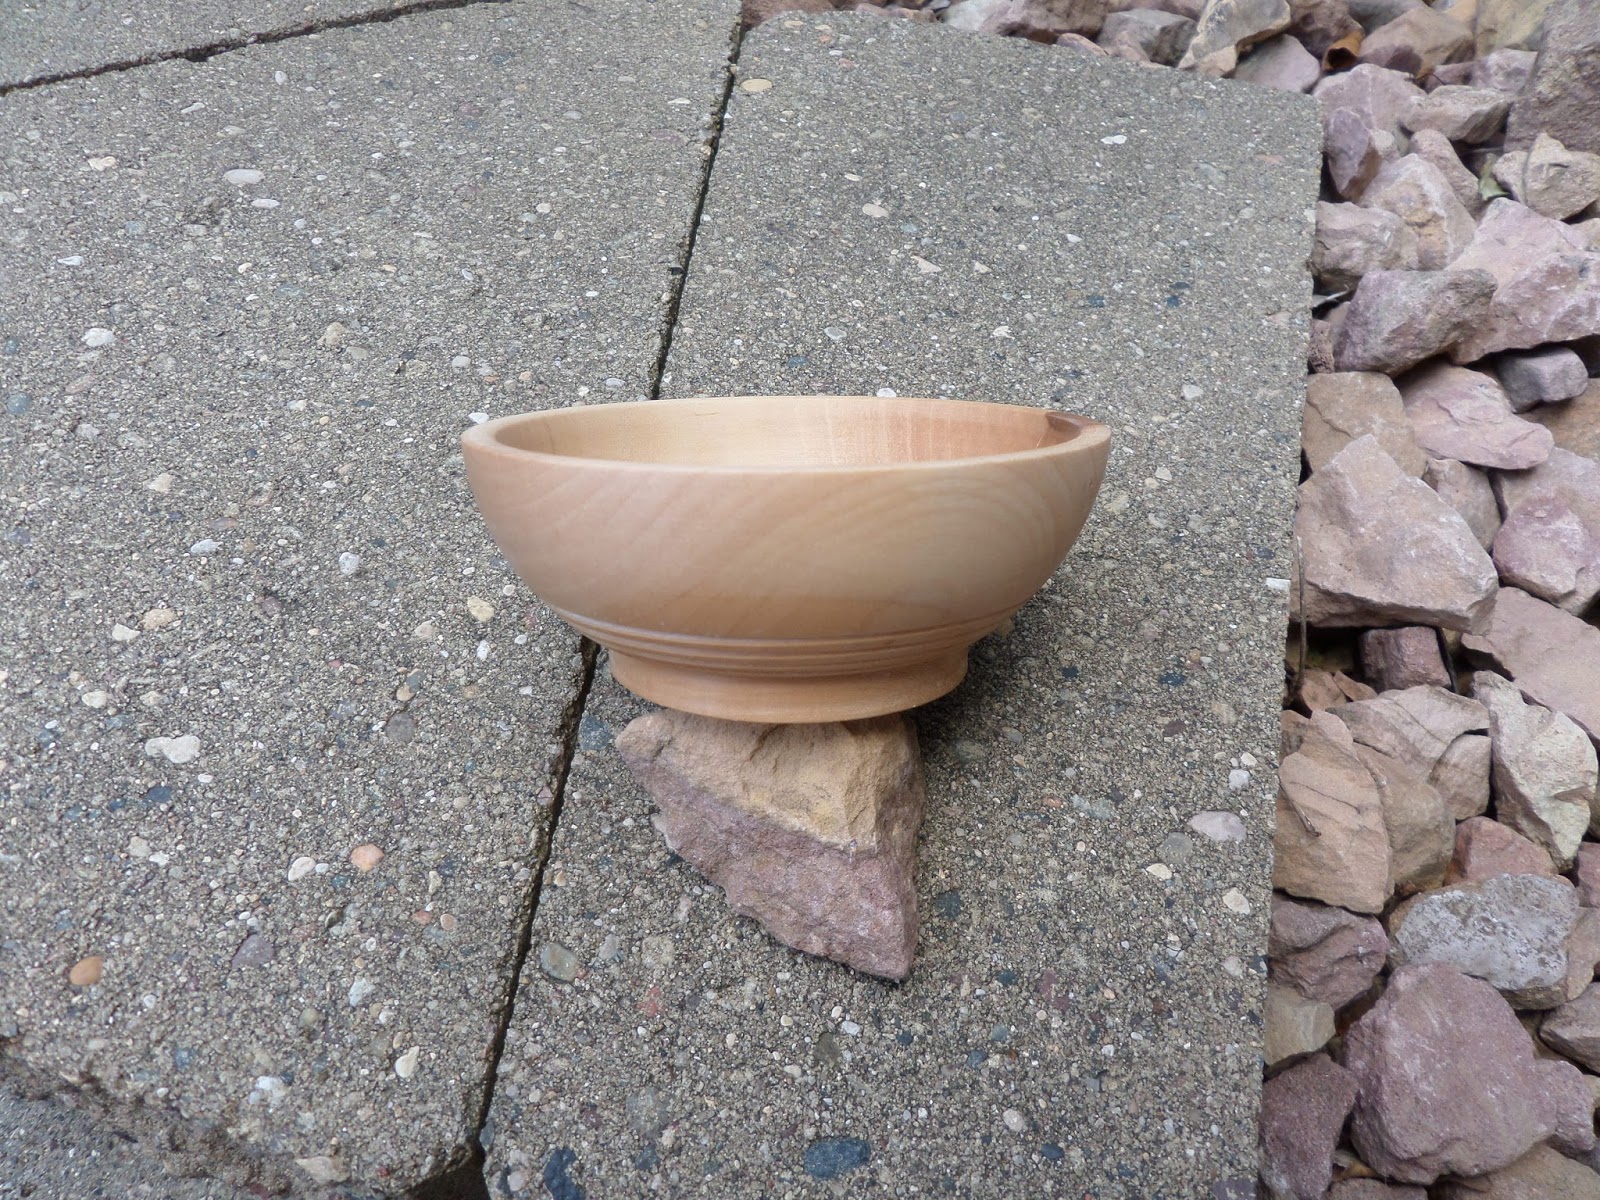
Here is a photo of the bowl next to a tape measure for comparison. If you look carefully you can see that the thickness of the walls isn't the same all the way around the cup. We need to fix that:

And here it is from the side. It's also a little too tall. We'll fix that too:


I placed the quaich back on the lathe and the first thing I did was to remove about 1/4" off the top. That made the diameter and the height look a lot better together. It also shows that there is enough wood to continue turning. Lesson here: never turn a green piece of wood to it's final dimensions. Leaving the walls and bottom with enough wood for future tuning makes the difference between a finished project and a cup to dish up dried cat food with:


So to turn the cup into a true circle again, I began by turning the outside of the cup. The upper two thirds of the cup is the most distored so that's where I began cutting. Once I finished turning that portion of the cup, I turned the bottom one third of the cup and it you look closely you can see two different arcs in the surface:


Here you can see I've blended them together. The outside now is completely round:


After I finished the outside, I trued up the inside as well and I must say that went very well. I took a good look at the quaich at this point and decided to sand it which I did to 400 grit followed by a final smoothing with 4-0 steel wool. And here it is:


 I'm very happy with this.


The Maple Quaich

Well, this one didn't turn out so well. Fortunately the wood was dry from the beginning so there wasn't any distortion or cracking. But the handles look awful. As they really serve no useful purpose and as the rim was missing a small chunk, I decided to remove the handles and turn the rim down past the missing chunk:


Here is a side view of the quaich. The first thing I did was to reduce the diameter of the base as it's too wide so I took a bedan tool and turned away about 1/4" of wood. Then I straightened out the profile of the cup and then removed the rim:


This is the new shape:

Then I removed the cracked broken part of the rim and you can see that the rim is smooth and intact:

And then I sanded it down too. I like the cup but I think it's too small so I may wind up turning another one. I'm going to cogitate on that for the next day or so and make a decision about this on Friday.

So here are final photos of both for comparison:


So this is where we are at present. I need to go and clean up the shop so I'll be back probably tomorrow with an interim project: a bike rack for my bicycles.

Stay tuned,
VW

Friday, July 10, 2015

Wedding quaich, continued

Hi Everyone,

Well, I'm not sure what happened to yesterday's posting about the wedding quaich so suffice it to say, the quaich has been hollowed out some more and I've been whittling the rim and the handles. Here are some photos:

Here is a photo of it just off the lathe. It's about 2 1/2" in diameter and about 2" high:


Here it is after about 30 minutes of whittling away at the handles and rim:

And this is a side view of the rim:

It needs a bit more work at this point. I'll keep working at it and post some finish photos in a day or so.

VW

Thursday, July 9, 2015

Wedding Quaich out of Norwegian Maple

Hi Everyone,

Well, it's been a busy day today. I seem to be in full wedding mode right now so I thought to end the day, I would turn a small quaich out of a piece of a branch from a Norwegian maple tree that came from the backyard of some good friends of mine. The tree had been in their backyard for many years and it became root bound and consequently grew very dense wood. The oldest daughter of these friends is getting married in September and knew the tree as a youngster so it seems appropriate to make her a quaich from the tree she probably played on as a kid.

Here goes:

My friends had the tree removed a few years back and they gave me a portion of a branch. I took it home and let it dry and cut a small section off on my bandsaw. I'm going to split it in half with my hatchet:

Whack! It cut cleanly in half. I'm going to use the larger piece on the right:


I took it back to the wood shop and drilled a hole in it:

And mounted it on the lathe:

And I turned the face of the piece. And true to form, the maple is dry and fine grained and turning without a problem:


Unfortunately, I'm unable to load any more photos for the moment. Suffice it to say I've turned the block into a cup with handles. The cup is rather shallow at the moment so I may deepen it a little and I'm going to finish the rim and handles with a carving knife this evening. At some point I hope I'll be able to post a finish photograph. 

Stay tuned,
VW