Sunday, May 30, 2021

The Music Box Project-Finishing the Lid, Installing the Mechanism & Completion Photos

 Hi Everyone,

I'm sorry for being so late in finishing this but something came up that had to be dealt with. Anyway it's done. Here are the photos:

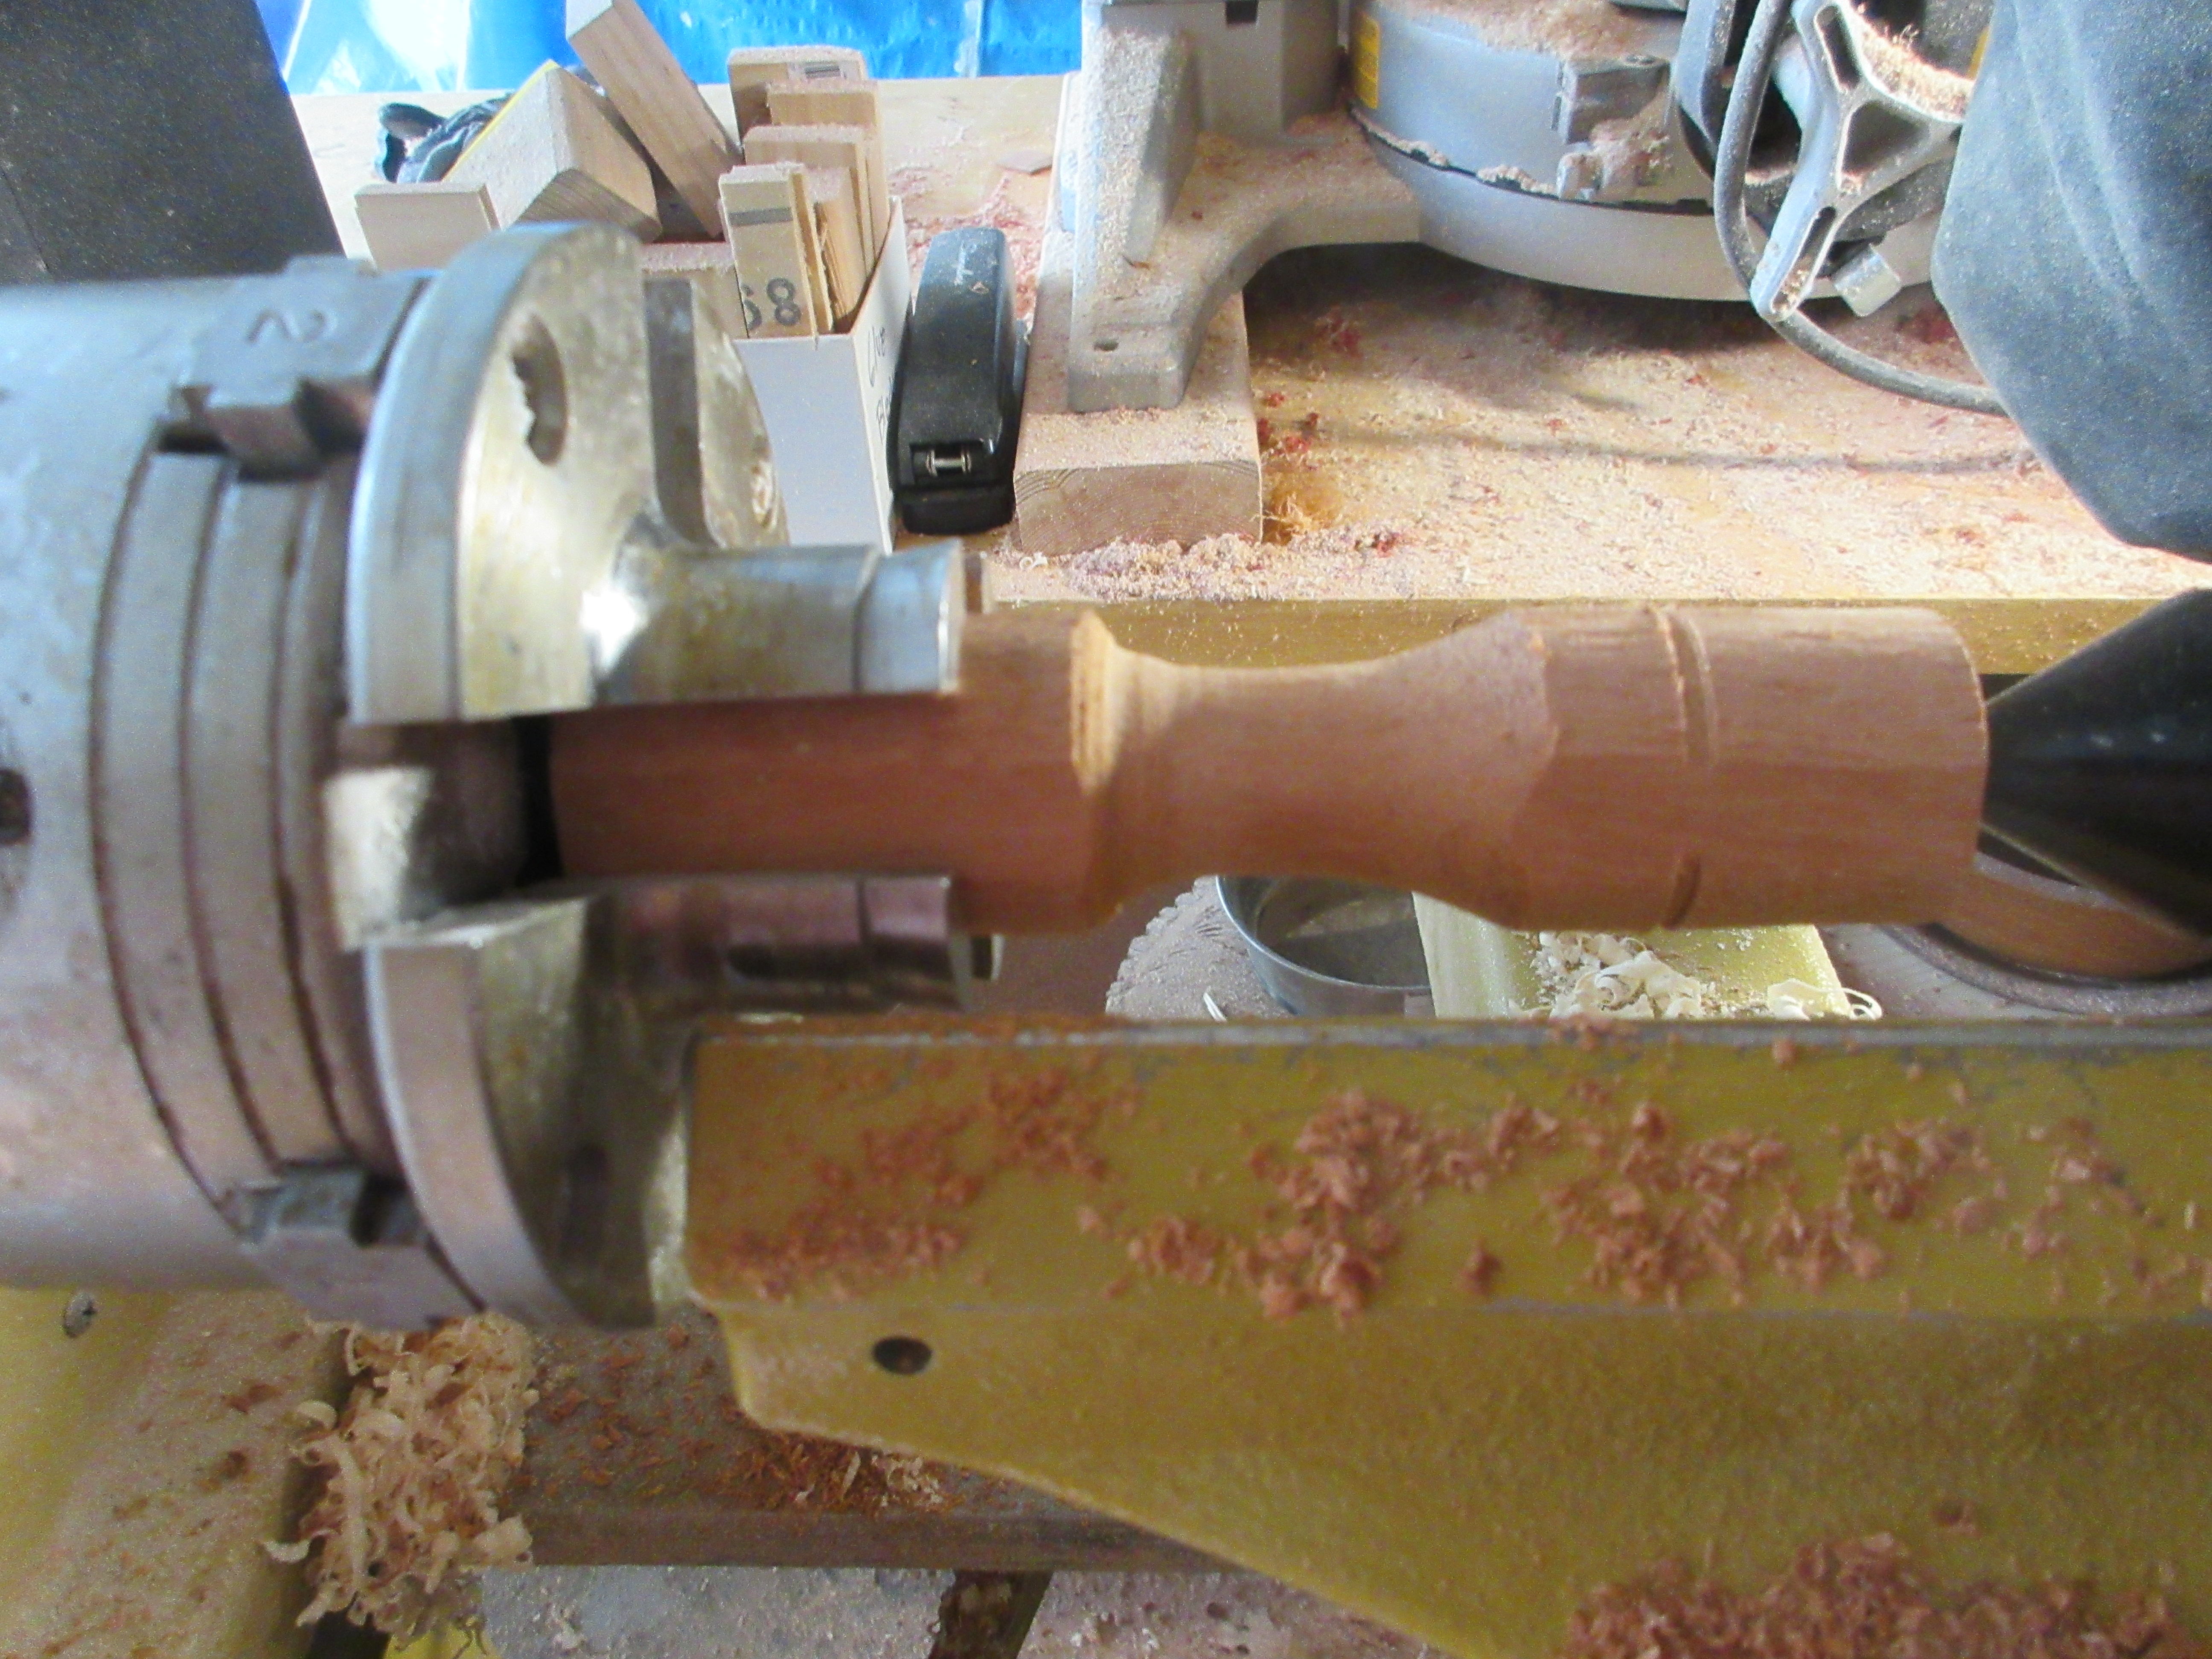
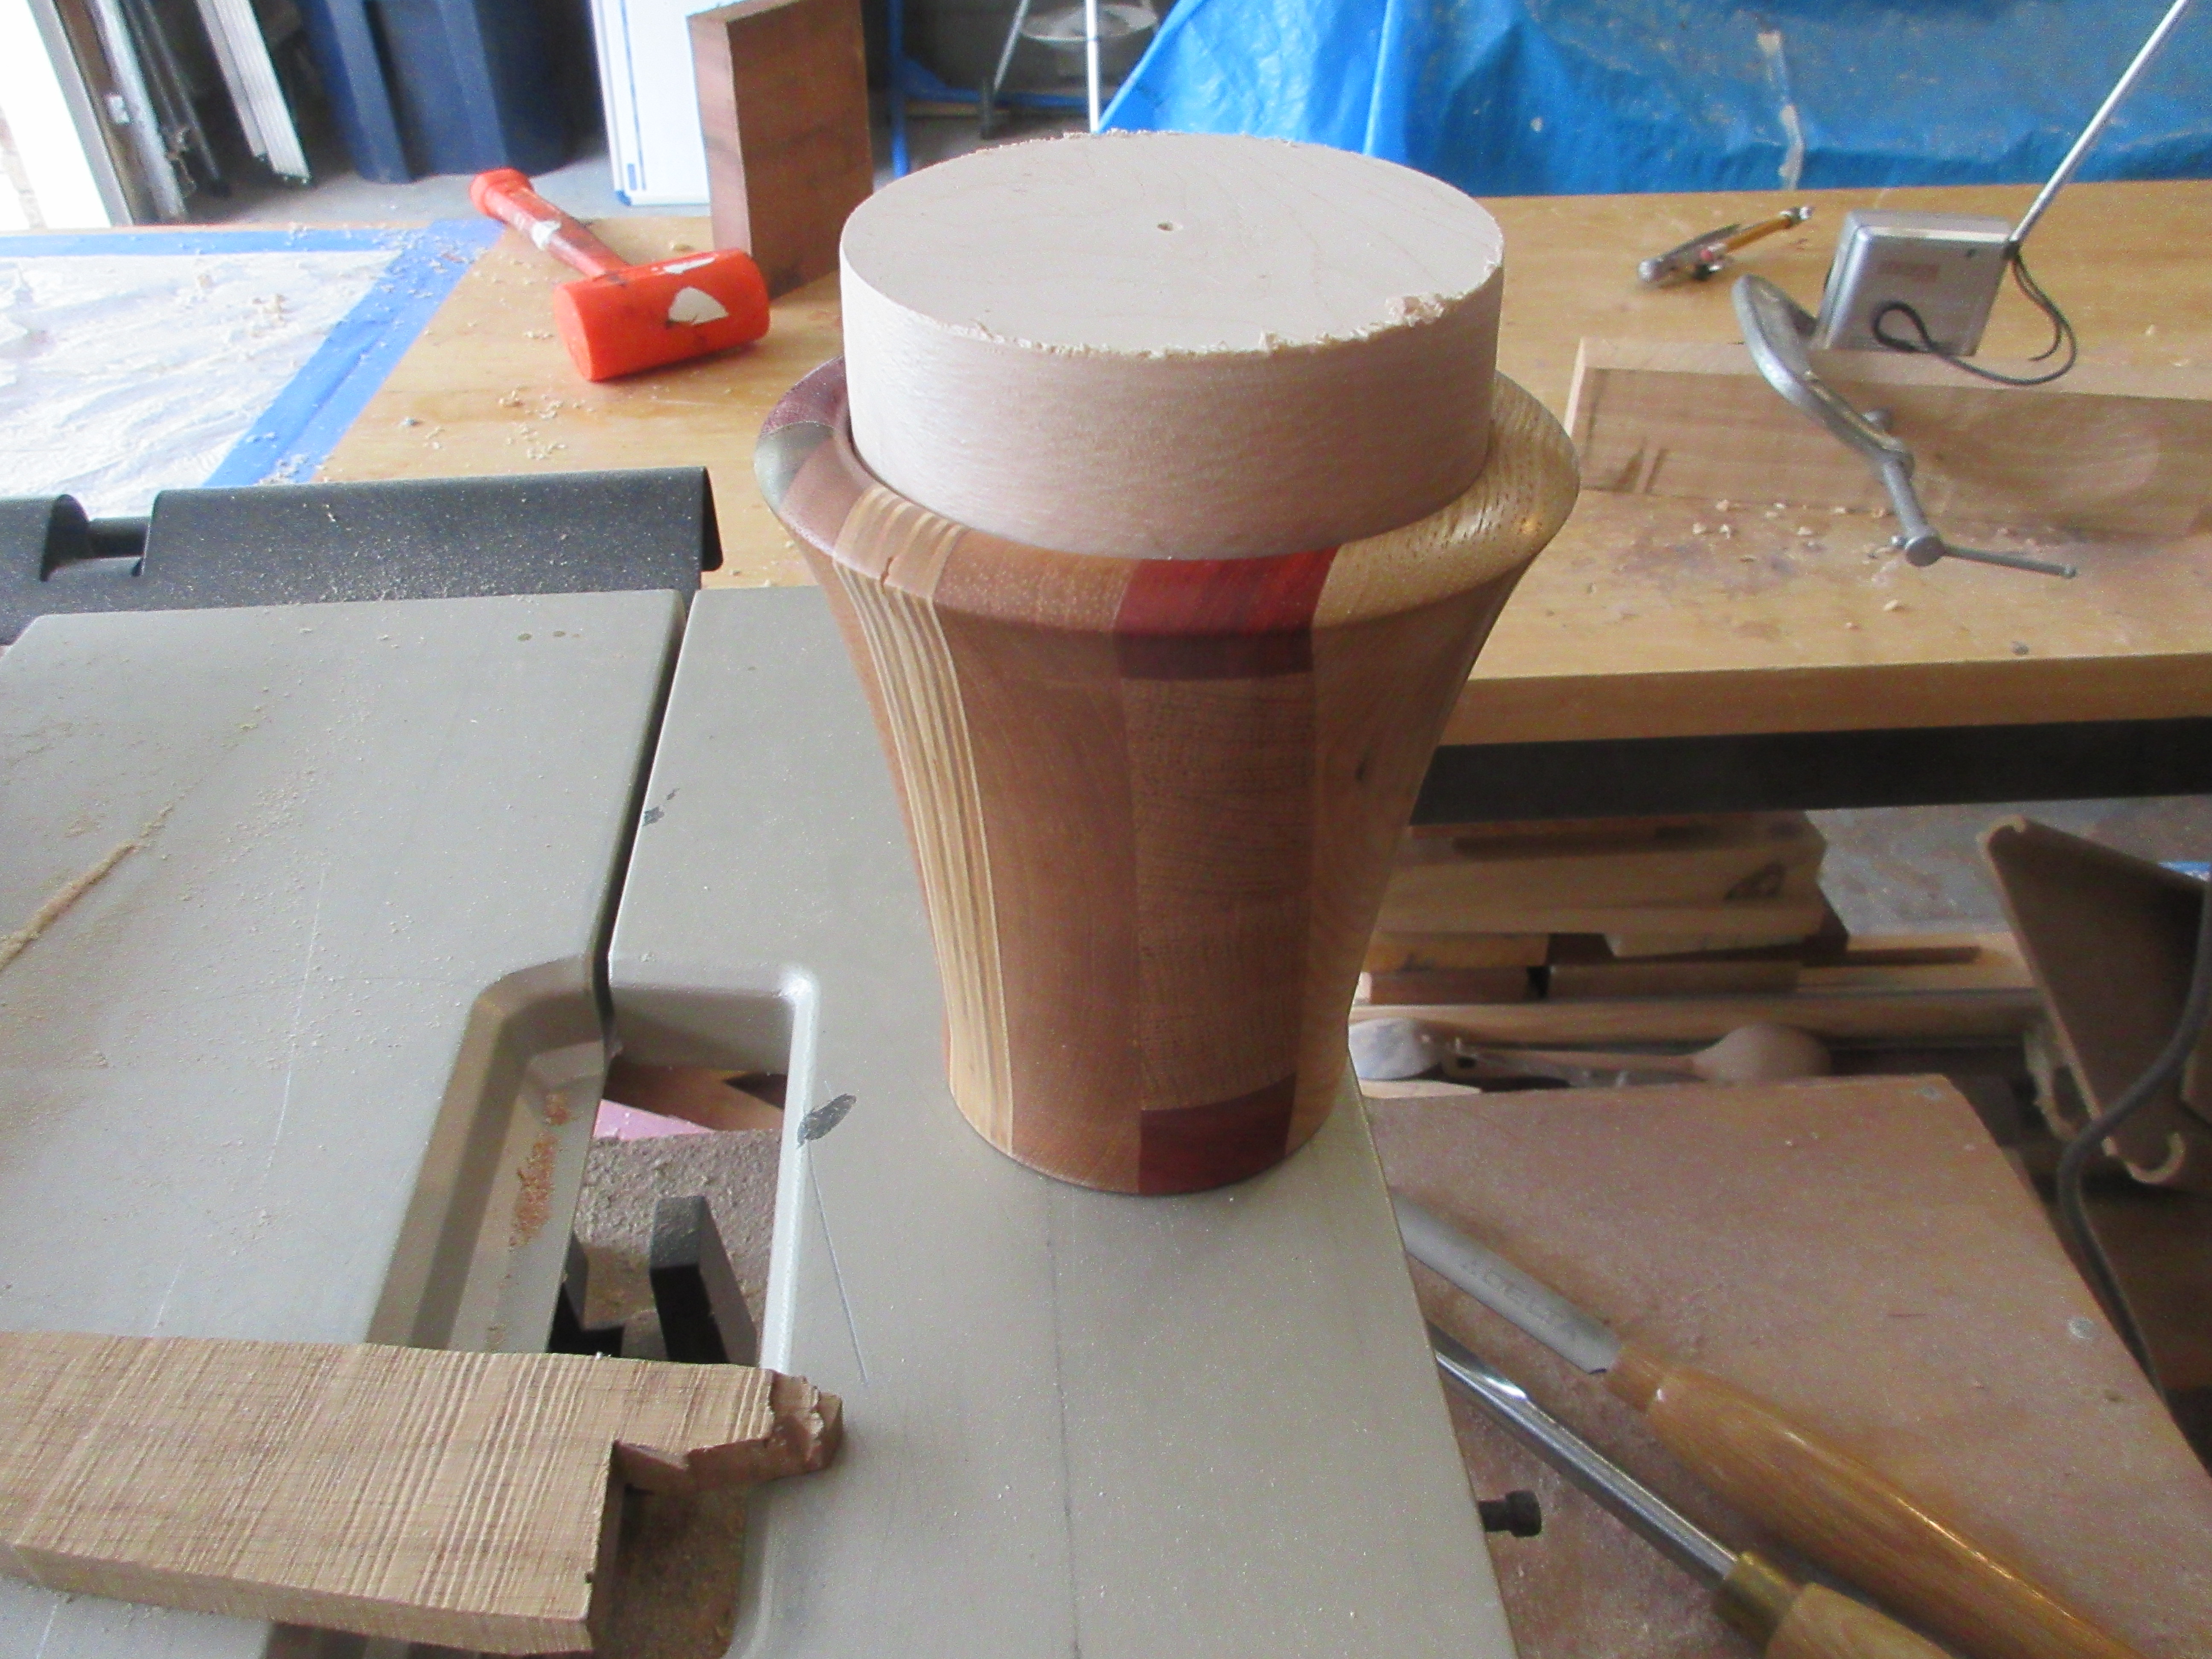
The lid and the finial:
The lid turn worked out fine as hard maple turns like a champ. But I could not get the finial right. I made 5 of them, broke 3 of them, and the last 2 looked like chess pieces which did not look right on the lid. At one point I had a small tree twig on top of the lid, which didn't look bad but I wanted something more in line with the style with the box. So I got out a mahogany dowel and carved one by hand:


And there it is. I don't know why that was so difficult. That needs to be glued in place but otherwise the lid-finial is finished:


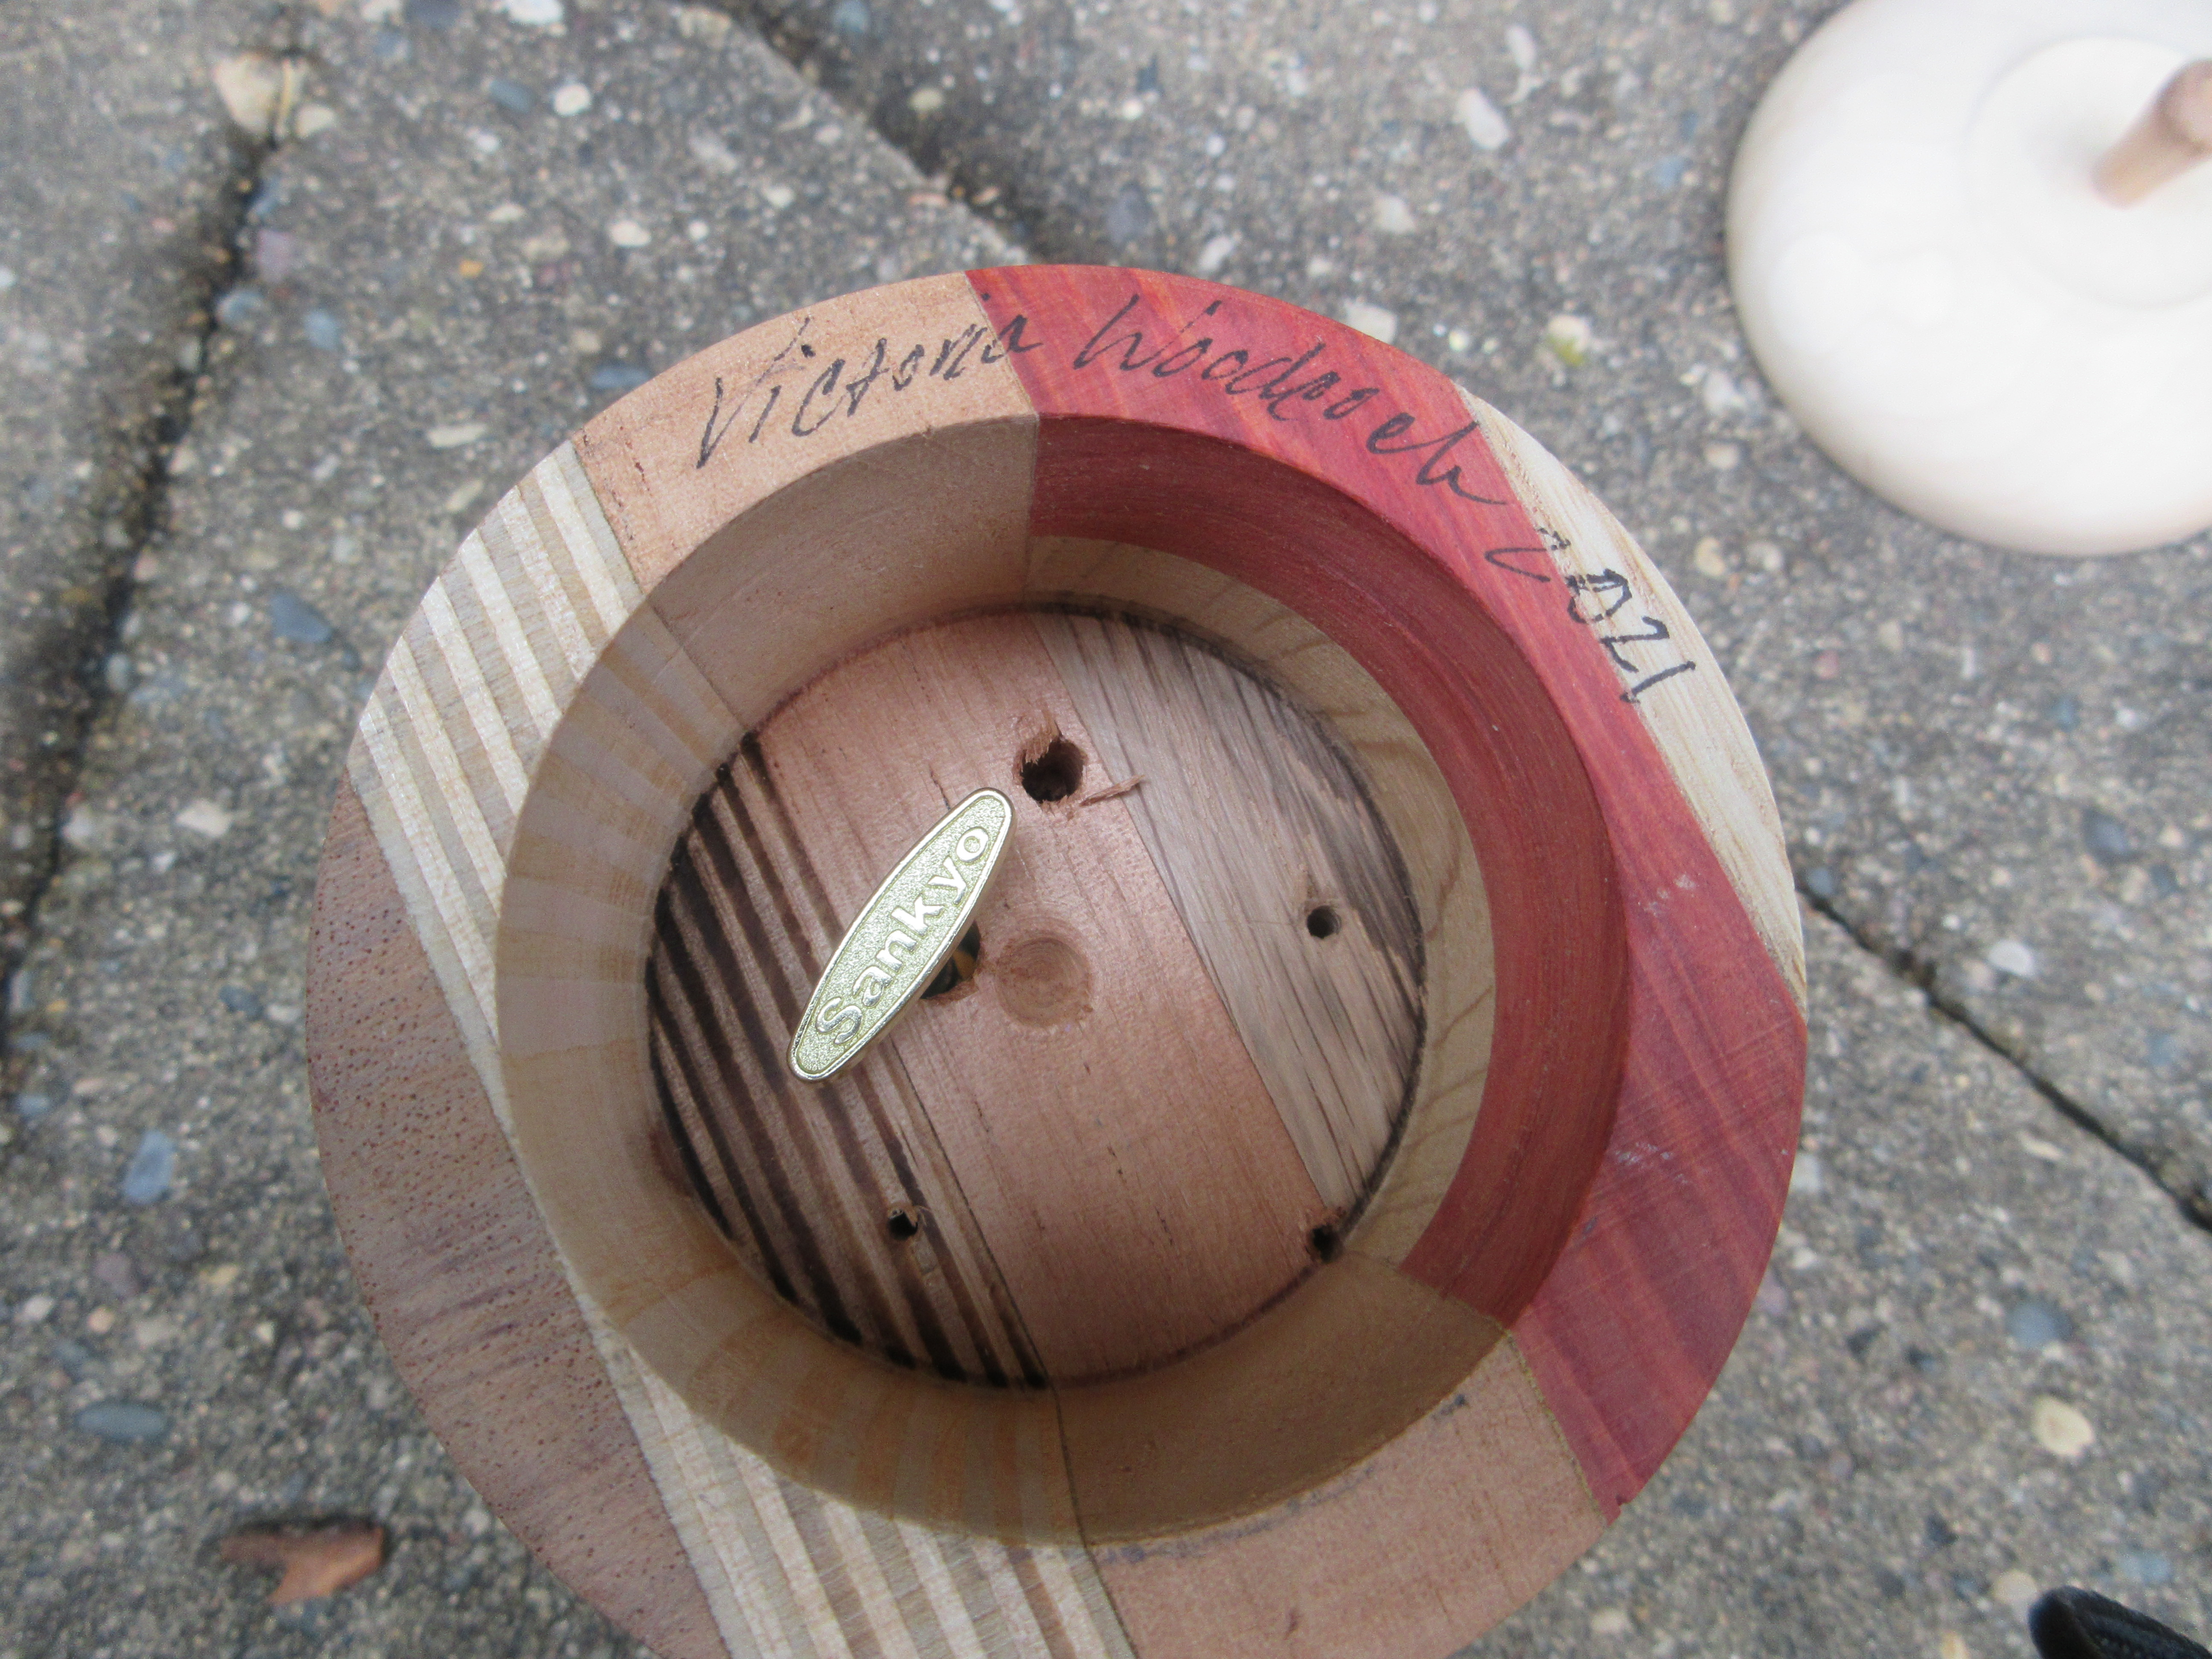
The Music Box Mechanism with Tiny Little Hex Head Screws

The install for this began very well. The interior space was more that large enough for the mechanism and the turn key (or so I thought). 

To get the holes drilled correctly I cut out a 2 3/4" diameter circle out of a 3"x5" card, placed the mechanism on top of it and marked out the holes for the screws:


The hole in the photo with a square around it was the hole for the stem of the turn key:


And so I drilled the holes for the screws with a 5/64" screw and a larger hole for the stem at 7/64". 
I had a helluva time getting the screws into the mechanism base and into the wood shelf below but eventually I got everything placed. Then I discovered that the hole for the stem was way too small so I had to unscrew the mechanism, drill a 3/8" hole for the stem, screw it all together again and it worked! What a relief that was.


And so here it is:


And here is a short video of the music box in action:


__________

Ok, this project is finished. I have to install the baseboards in my home and I'll be occupied with that for a while and I'm going to make a chair for my youngest son's upcoming birthday and you've all seen that before too. I'll be taking a short break and then I'll be back probably in July with a bedframe-headboard project.

Have a good spring and early summer.
See you all soon.
VW

Wednesday, May 19, 2021

The Music Box Project-The Finial that Wasn't

 Hi Everybody,
Well, it's warm and humid today which is always the pits in the wood shop. All that dust and crud seems to stick to everything and everyone. Meh.

Today I was making the finial for the lid and was well on my way to finishing it:


...when someone came into the shop to tell me something and I lost my concentration just for a second and ruined it. I tried turning it down until it looked like peg (not good). I was turning it off the turning blank when it flew into a big pile of shavings and disappeared forever


Tomorrow I'll make another one.

Stay tuned,
VW

Tuesday, May 18, 2021

The Music Box Project-Making the Lid

 Hi Everyone,
I lost the chuck key for the Nova chuck for a few days. Not only did it prompt a total lock down of the wood shop to find it, I couldn't proceed with the project until I found it, which was today. It was sitting in plain sight on top of a cabinet. Oh well.

So I decided to get going on the lid today. It's out of a piece of hard maple and I'm going to make a small finial out of goncalo alves wood:


I spent a few minutes getting it on the lathe and truing up the blank:


And fortunately I stopped shaping it in time for it to fit the opening of the music box. I needed to reduce the thickness of the blank and I spent the next 30 minutes or so just turning away and enjoying turning a piece of maple. It turns so beautifully: 


Here it is when I stopped. It's still too thick and the top of the lid needs to be dished out some. When I'm done I'll place a small block of goncalo alves in the middle and turn that in place:


See you all tomorrow, chuck key in hand.
VW

Saturday, May 8, 2021

Email Update

 Hi Everyone,
For those of you who keep track of the SWW blog via email, as of July, you won't be able to do that anymore as this feature is being removed by Blogger. I'm not sure if there is a work around for this yet. If I can figure out how to do that, I'll announce it here on the blog.
VW

The Music Box, continued-Hollowing out the Box

 Hi Everyone,

Well, the music box portion of the project is done. I drilled it out with some super large Forstner bits and got it deep enough and wide enough for the mechanism to sit inside. 

Here's today's photos:
I've been dreading hollowing out the music box. It's narrow and deep and I could see myself getting a catch and knocking it off the lathe and onto the floor and it's for that reason I decided to drill it out.
I've done this before and it can be a laborious process but with the new lathe, it took about 5 minutes and it was done without incident!

Here are two of the bits I used. The widest bit I used was 2 3/4" wide. I did it step by step and the turning was very easy:


Here's the set up-a chuck with the bit: 


Here is the box completely hollowed out:


I stopped at this point and measured the box carefully. I need a platform inside the box for the mechanism to sit on and I created one that you can see in the photo that turned out to be 10mm thick. I wanted to hollow out the box more but the walls were getting thin and I didn't want to break through so I stopped at this point.

Since the box is hollowed out and there is a platform and a ridge just inside the top of the box for the lid, I stopped, sanded everything and applied a coat of polyurethane to it. Here's the photos of that:


So the turning of the music box portion of the project is finished.

Next, time to make the lid:


Oh, and Happy Mother's Day tomorrow!!

See you all next week,
VW

Thursday, May 6, 2021

The Music Box project, continued-Turning the outside of the box

 Hi Everyone,

Our weather is warming up so I decided to go out and shape the outside of the music box.

Here's the photos:
Today's turn went very quickly. The wood I used is moderately hard hardwoods but still I was finished with this step in about 30 minutes. Here is the turning block back on the lathe:


And here you see the form taking shape. I decided to flare the bottom of the block to widen it a bit and make the music box more stable. It also helps to emphasize the overall tapered shape:


After I removed all the wood from the outside, I gave the surface a preliminary sanding with 100 grit paper just to see the surface without any blemishes from the roughing chisel and I'm rather pleased with how it came out.


It's fun to create a turning block at random just to see the various woods change shape.

Here it is at present:


After this I put it back on the lathe and sanded it to 400 grit and then I polished the surface with a green nylon scrub pad. It now has a very smooth, satin-like finish and it looks really cool.

I'm going to have some lunch and then go back down to the wood shop and hollow out the bottom.

Stay tuned,
VW

Wednesday, May 5, 2021

The Music Box Project, continued-Planning the Turn

 Hi All,

Well, the music box has arrived:


The gold finish looks really nice.

The music box has a few challenges. It has to be wound from the underside of the box, which is round inside and out. The round shape means the mechanism will have to sit on a flat surface that will be partly created by turning and also with the insertion of a very thin piece of wood. Also attachment points for the lathe have to be created as the upper portion of the music box will be turned and the bottom will be drilled and turned. And it will have a lid on the top to keep out dust. A small box but challenging.

Here's some photos:

The block is a nice size for this. It's 5 1/2" high x 4 5/8" and it's held between centers on the lathe:


I originally wanted to make the box with a flared top and a narrow bottom but the music box mechanism dimensions prevent that. In order for the mechanism to fit, the base will have to be wider and for a time that really threw off the design. Eventually I settled for a wider flare at the top and a wider base at the bottom. I will need to remove about 1 1/2" of wood off the bottom.

There are two sets of "ledges" inside the box-the upper ledges for the lid to sit on and the lower ledges for the mechanism platform to sit on. The platform is in pink on the drawing. If my measurements are correct, this is going to be a tight fit for the mechanism key underneath and I may have to place the platform higher inside of the box than this drawing shows to all for this and to allow for small screws to hold the mechanism in place. This is to be determined as the turn progresses.


Since there are multiple parts of the box and some parts will be created as the turning progresses, a turning plan is needed:

1. Turn and shape the outside completely, including sanding.

2. Create the bottom first: drill and turn the opening at the bottom 1 7/8" wide x
1 1/2" deep.

3. Sand the inside of the bottom. Remove approximately 1" - 1 1/4" of wood off the exterior wall. Make sure the bottom is completely flat.

4. Turn the block over and turn the interior-remember to leave the ledges for the lid. 

5. Sand the interior  completely.

6. Create the lid out of hard maple with a rosewood finial.

7. Apply a polyurethane to the box and lid.

8. Insert the inside platform (I'll talk more about how I'm going to make this a bit later on) and screw in the mechanism.

Ok, I'll begin the turn tomorrow.

See you then,
VW