Thursday, May 25, 2017

Turning a Kitchen Spatula on the Lathe

Hi Everyone,

Today's project involved placing a piece of hardwood, in this case hard maple, on the lathe and turning the handle for a kitchen spatula and then cutting out the blade part of the spatula and finishing that by hand.

Here's the photos along with my comments:

I went shopping for some wood today and I bought some hard maple for spoons. This is a very nice clear piece of hard maple for the spatula:


Here are the measurements of this piece of wood:


And the grain direction. I'm right handed so I like to place wood on the lathe with the grain direction running from right to left. It turns more smoothly that way:


Here is a rough sketch of the spatula on the wood:


And to save myself some time and effort, I cut out the handle on the bandsaw:

Then I placed it between centers and began to turn the handle:


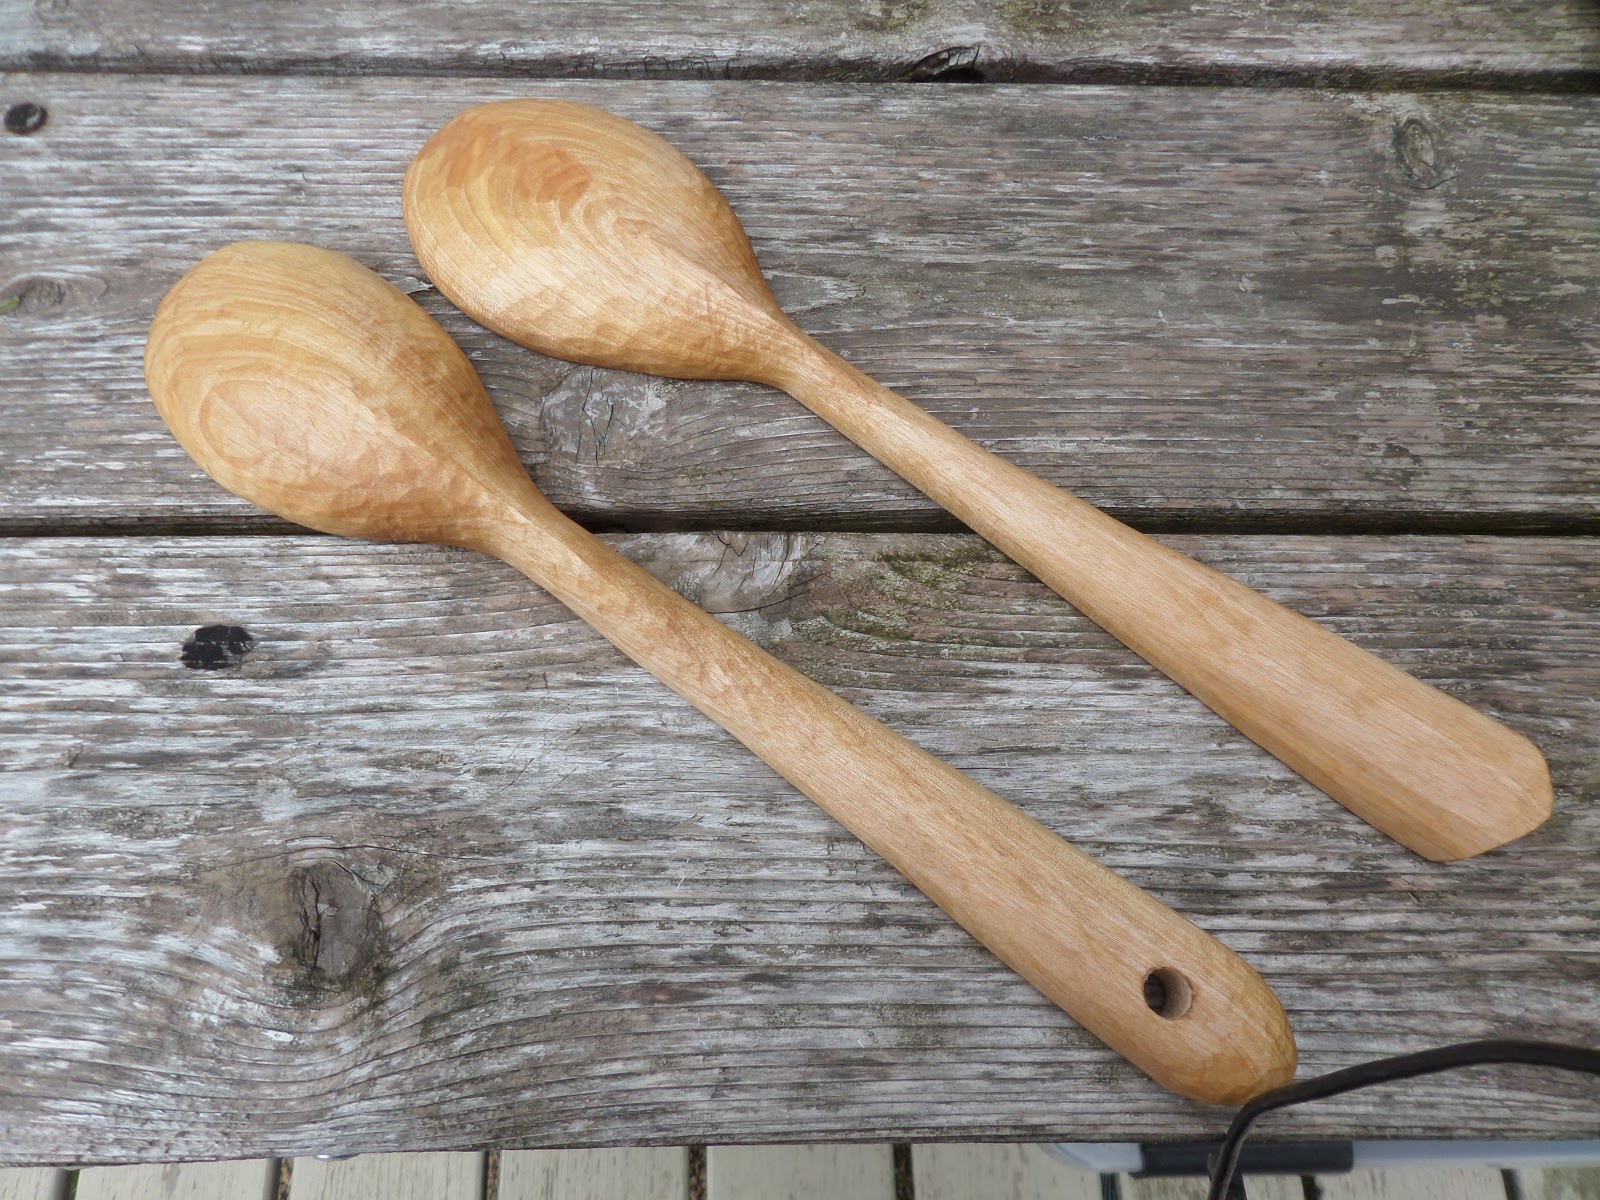
And  that didn't come out too bad. Most of the time the handles I make seem to look like carrots but this one is better than they usually are:


And then I cut the blade of the spatula out with the band saw and you can see it's rather thick, much more thick than I had planned to. The new blade is already dull now and it's not cutting very well, although considering the band saw issues of the past several weeks I guess I should be grateful it's cutting at all:


I thought thinning the blade out would not be a big problem but it was. I  hammered away on that thing with my big carpenter's chisel and a mallet and after about an hour, with my hands and wrists getting very sore, I decided to give up. I smoothed it with the cabinet scrapers and called it a day:


There is is all smoothed down:


  And this is it with oil. I originally thought this might be a great way to use up some of the hickory I have in my wood pile but given the hardness of that wood, I decided I'll find some other use for it:


It's a pretty substantial spatula. You could probably use it for a cricket bat.
_______________

It's a long holiday weekend here in the US so I'm going to rest my hands for the next several days and other than clean out the wood shop, I'm going to take it easy.

I'll see you next week when I go back to turning and work on a series of serving bowls and some large blue stain pine platters.

Take care,
VW

Tuesday, May 23, 2017

More completion photos: platters and spoons

Hi Everyone,

I've been working off line this week and I've completed several more projects. Here they are:

This is a fruit platter out of laminated red oak. It's about 12 inches in diameter and about 1" deep and 1 1/2" tall from the rim to the table top:


This is a smaller platter out of a single piece of mahogany. It's about 9" wide and 1" high from the rim to the table top:


And I've been doing a lot of carving this week and this is one of the spoons I've made. It's out of black walnut:


I'll have more work to show you next week.

Stay tuned,
VW

Saturday, May 20, 2017

The Band Saw, continued

Hi Everyone,
Well, it's been a cold rainy day here but the good news is that the band saw is running. My son Critter came over and lent a hand and looked at the saw and found that the upper wheel was frozen in place. It must have suddenly stopped and when it did, it broke the blade that was on it. We took it apart, lubricated everything again, adjusted it and now it's running. I cut several small pieces of wood on it and it ran fine.

I'm not sure why the wheel froze up-I blame the wood fairies.

Ok, onward and forward. I'm going to cut out several dozen spoon and bowl blanks so the next time it goes off it's rocker, I'll have something to do.

More later,
VW

Thursday, May 18, 2017

Recent Project Completion Photos

Hi Everyone,

I've completed several projects today and I've promised completion photos so here they are:

These are the blue stain bowls from a couple of days ago. The blue stain held  up during turning and it's easily seen in these photos.


Here are several spoons out of red birch. These were a delight to make as birch is great carving wood. These were finished with flax seed oil.


Here's a shelf I made for a small alcove in our entry way for an antique clock. We put that high up so the cats can't get to it.

This is the big rack from several weeks ago with stuff on it. This came out really well.

Rhubarb checking out the work box situation.

And several small nick knack shelves I made. I'm sorry to say we don't have many nick knacks and I had to scramble to find some things for the photo.


And that's it. I have a fruit platter that I'm currently working on and I'm going to make a lid for a glass jar. I'll have to figure out the band saw issue before I can do anything else. Oh well I have housework to do as the house is full of wood chips.

I'm going to take the saw completely apart to try and figure out what's going on.

Stay tuned,
VW

Postscript: band saw issues

Hi Everyone,

Well, the band saw isn't working. I bought a replacement bearing from Graniger that very closely matches the original bearing:


With that done I began to use the saw again and I noticed that the blade wasn't tracking properly through the wood. Just as I noticed that BAM! the blade snapped.

We took the saw apart early this week and all the parts have been cleaned and lubricated and  adjusted. I'm going to need to figure out what's going on with the tracking of the blade.

Stay tuned.
VW

Monday, May 15, 2017

Serving Bowls out of Blue Stain Pine

Hi Everyone,

A while back I came across a portion of a timber out of blue stain pine and immediately picked it up and bought it for a dollar. And was I ever happy about that.

Blue stain pine is pine wood that has developed a blue-gray color or stain in the wood fibers. I'm not sure if this is something the tree absorbs from the ground or if it has something to do with the DNA of the tree. But it is a beautiful feature and it's often found in #3 common pine. It was very popular for wood workers back in the 1970s in California and it was common to see it used for table tops. I have always enjoyed working with pine lumber.

This is the piece of wood that I bought and I could see that the blue stain was all through that wood:


But, there's always a but somewhere, there was a large defect in the underside and that's probably why it was rejected by the cabinet maker working with it:


But I decided to press on and make some small serving bowls out it. I cut out 3 turning blanks out of it and looked at the end grain-this is all through the wood top to bottom and so some of the stain will survive turning. You can also clearly see the defect. My plan is to turn a bowl with that defect on the underside of the bowl:

Here is the turning blank after it's been trued up:


And after about 3 minutes of turning. Scroll down to the next two photos and you can see the defect getting smaller as wood is being removed by the turning process:


Next I created a very small foot underneath the bowl and also drilled out a 2 1/4" diameter hole underneath the bowl for the chuck to fit into. The defect is much smaller but still there so I'm going to have to hollow out the bowl and leave the sides thicker than I normally would for a bowl this size so I don't inadvertently cut into that defect and destroy the bowl:


In this photo I've turned the bowl over and trued up the face and begun hollowing it out:


For the time being I decided to leave the walls about 1/2" thick as a safety measure:


And I started turning. I didn't use a high speed for this because that defect makes the bowl unbalanced as it's spinning, not enough to be dangerous but you never know. Best not to turn it too fast and risk having fly off the chuck suddenly:


The bowl took about 10 minutes to hollow out and this is what it looked like after I took it off the lathe:


Lastly I took it back in to the wood shop and coated it with salad bowl finish. Here is what it looks like-you can clearly see the stain in the wood:


And that is that.

I'm going to turn the other two blanks into similar serving bowls and I'll show you all three of them when I'm finished with them.

Stay tuned,
VW

Sunday, May 14, 2017

Carving a Spoon for Margaret & Dennis-completion photos and other musings

Hi Everyone,

Well I decided to spend the day doing what I love most, other than being with family, carving spoons and I've finished Margaret and Dennis' spoons:


Notes on carving eugenia wood-well the wood is softer when it's unseasoned and so I was able to carve both spoons without any trouble but as the surface dried out, it became hard and more challenging so I would probably avoid dried eugenia in the future. This particular branch had a lot of little twigs developing inside of it and that proved a bit challenging to carve. Keeping my tools sharp helped with that. It is amenable to shaving and filing (see below) so finishing worked out fine. And I've oiled both spoons with flax seed oil which gives the spoons a pale gold color.

Here are the completion photos:

Here is the spoon when I picked it up this morning. I worked on the handle last evening and got the basic shape done. You can see it's in pretty rough shape:


I kept working on the handle. I used the scraper in the photo to begin smoothing the surface and I find that I really like using scrapers on spoons. They not only make short work of tooling marks but they allow for fine shaping without the hazards of using a knife, which can tear the fibers especially in wood with challenging grain or knots:


In this photo you can see some curved scrapers which I used for smoothing the inside of the spoon bowl. Much easier than sand paper and not as fatiguing to use:


This is the back of the handle. I like to create strong handles so the spoon is easier to use:


This photo shows the back side of the spoon bowl after I took it down to the bandsaw and cut off some of the excess wood. It's ready for more fine shaping:


 This is the bowl after I shaped it with my carpenter's chisel:

And here is the back of the bowl after I've scraped it with the scrapers. I also got dive bombed by a lot of bees. There are a lot of flowering lilacs and ornamental trees blooming right now and this has attracted a bazillion insects, including a very large bumble bee the size of a grapefruit whom I've named Bob. Bob emits a very loud hum and he seems to enjoy scaring the hell out of me by dive bombing my head. I get out of his way when I see him coming:


After some finish sanding and scraping this is the completed heavy duty kitchen spoon:


And here are both of them with Burr Bunny off at the side:


As these spoons are traveling to a warmer and drier climate than the one I'm in, I'm going to let the spoons dry out for several days before I send them on to Margaret and Dennis. I hope these are the beginnings of many happy meals with their families.

_________________

Ok, what's next-since the band saw is running I'm going to cut out some smaller serving bowls and I'll do blog postings about that. 

Thanks for joining me on this project. 

And Happy Mother's Day!

More later,
VW