Monday, August 24, 2015

The Pet Urn continued-making the lid and applying the finish

Hello Everyone,
I'm back.

I was working on the pet urn for a friend of mine and today I finished turning it, constructing the lid, sanding it smooth, and applying a preliminary finish. Here are the photos:

This is a photograph of the test lid and a new set of threads from a small pvc fitting. The fitting will fit into the underside of a new lid that I'm about to construct:


The threads have to be securely epoxied into the underside of the lid so I will need to re-make the lid out of a thicker piece of wood. I have a small piece of maple that I'll use for this:


 I proceeded to cut a narrow grove into the mortise under the lid. The threaded piece will fit into this groove and be epoxied into it:


 At present this is the lid blank. It will have to be cut down quite a bit but no so much as to cut a hole into the mortise underneath:


This is the blank on the lathe ready to turn:


 And here you can see how it's beginning to take shape:


The blank is thick and blocky looking from the side and it needs to be thinned quite a bit. One way of thinning it down but preserving the center of the wood is to create a series of bevels on the top of the lid, on the side of the lid and underneath the lid. This will enable me to create a lid that appears thinner than it really is:


This is the lid just sitting on the top of the urn. You can see the bevels clearly here:


I'm really pleased with the way this looks and so the turning for this project is complete:


Finishing the Urn

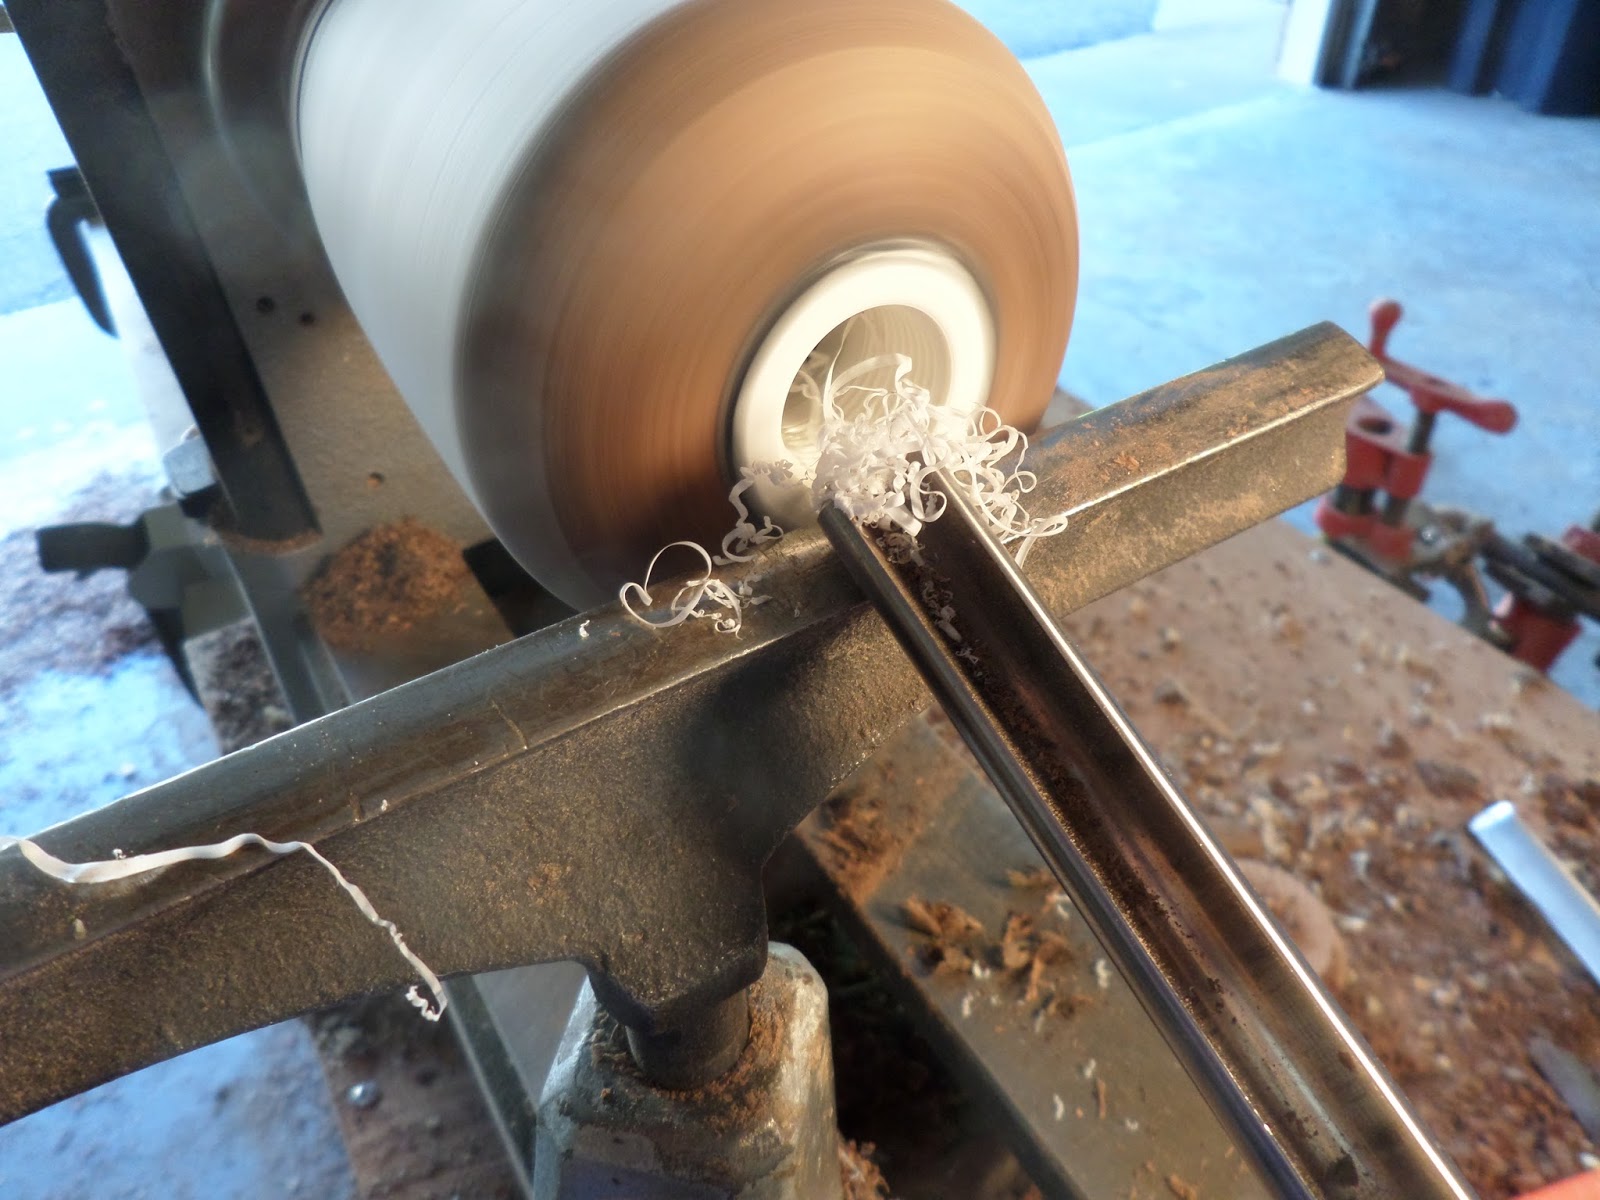
I sanded the lid to 400 grit and applied a thin layer of polyurethane to it. It looks and feels almost like plastic. I'm very pleased with the way this came out:


And here is the body of the urn re-mounted on the lathe for sanding. This also was sanded to 400 grit:

And given a preliminary coat of polyurethane as well:


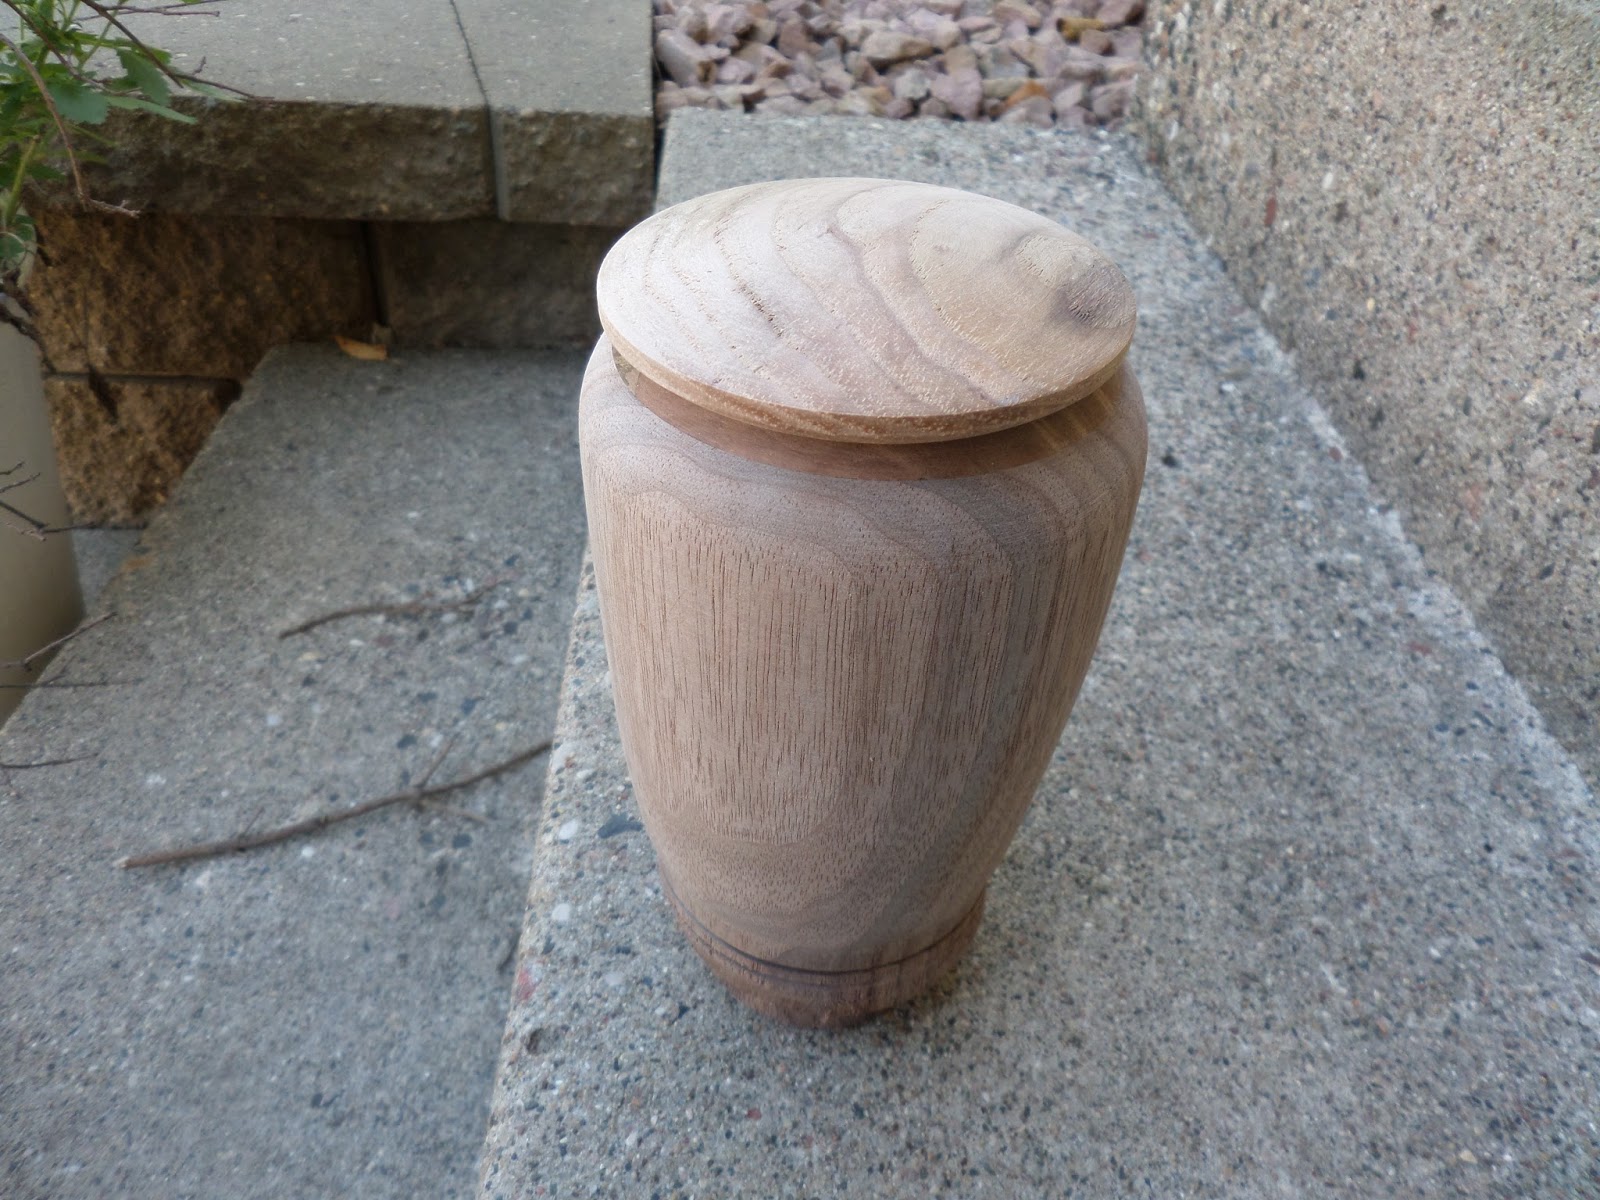
This is the urn at present:


And this is what it will look like when finished:


Both the lid and the body will need several more coats of polyurethane interspersed with hand buffing. When the finish is done I'll epoxy the threads into the lid and separate the urn from the waste wood on the bottom and then it will be completely finished and ready for shipping.

I'll post finished photos probably this weekend.

See you soon,

VW

The Bischofia wedding bowl continued and It's the 600th Blog Posting!!

Hello Everyone,

I'm back in the wood shop and raring to go. Let's get to work on the bischofia bowl:

Recap: several weeks ago I began a salad bowl out of bischofia wood for a couple of dear friends who are getting married this October. The initial turn went well but as the wood was green it had to be dried before progressing so I placed it in a cardboard box with dry wood shavings, closed it up and left it for about 3 weeks:


Here it is on the lathe. You can easily tell that the bowl has gone from being a circle to an oval shaped block and that happens when a bowl blank dries. You have to leave enough wood so the bowl blank can be re-turned back into a round shape and I did just that. You can see how thick the walls of the bowl are:


I've drawn some lines on the rim-this shows how very distorted the bowl has become:


And so I picked up a gouge and proceeded to turn the exterior into a round shape:

This is the exterior after about 25 minutes of turning. It's round again:


Now for the inside. Bowls are actually two semi spheres in one-the exterior is one sphere and the interior is a second sphere. Those two surfaces should ideally be equidistant from one another for a perfectly shaped bowl to result. By turning the inside, I'll wind up doing exactly that:


And here is the bowl about 30 minutes later. The walls of the bowl are an even thickness all the way around and underneath:


And here it is off the lathe. It's a nice size and the color is really pretty:


Here is a second photo with some rocks inside so you can get a sense of the depth of the bowl:


Well, I'm quite pleased with myself. Now the wood seems to have a little bit of moisture still in it so it's going back in the dry box for a week or so. When it comes out I'll re-check it for roundness and finish the surface. Stay tuned for that.

____________________

Holy cow this is the 600th blog posting! When I began the blog 4 years ago I didn't think about how long the blog would go on or how many postings I would eventually get to and I guess I'm not surprised that I've reached this point. I love to talk about wood working and it's a real joy to share that with all of you. So stay tuned everyone, I still have a lot to chat about!

____________________

Now next I have the urn to finish so I'm going to grab a cup of tea and then go back down to the wood shop and work on that.

VW

Sunday, August 16, 2015

Wedding Quaichs, finish photos

Hi Everyone,


Well, I have a detail or two to share with you and some photos about the last 2 quaichs I've made. Take a look:

I drilled a 1" diameter hole into the bottom of each quaich to provide an attachment point for the Nova chuck jaws and now I'm going to remove that so as to give the quaichs a more polished and finished look. To do this I'm going to turn the quaich upside down and place it in a set of Cole jaws. These fit into the Nova chuck and will allow me to clamp the cup into this fixture for turning:


The jaw set consists of a sectioned metal plate that is drilled to accept heavy duty metal screws. The screws have a rubber bumper so as not to mar the surface of the cup:


And here it is on the lathe, ready for turning:


All I did was use a narrow gouge and gently shaved away the sides of the hole. This looks nicer and it gives me room to write the names of the couple getting married, in this case my oldest son and his fiance:

Here it is with a little polyurethane:


And here are the photos:


Congratulations to all concerned!

What's next?

Next week I'm going to take the bischofia wood bowl out of the dry box and take a look at that and I also have the lid for the urn to finish so we have more to do in the wood shop! So grab some coffee and drop by-there's always something going on at Selkie Wood Works. See you all soon!

VW

Tuesday, August 11, 2015

The Pet Urn continued-Making the lid-trials and tribulations

Good Morning Everyone,

The epoxy dried and hardened overnight and other than sanding and applying the finish, the body of the urn is complete. The lid however is proving to be a real challenge. Here's today's photos and discussion.

Here is the top of the urn with the bushing epoxied in place. The next step here is to flatten the top and smooth out the plastic bushing and remove some of the epoxy that spilled over onto the wood and the plastic. So I placed it back into the chuck and turned it a little bit more:


 And this is how it came out:

Other than sanding, it's finished:


The Lid

Now on to the lid. Here is a section of a piece of hickory that I'm going to use for the lid. I'm going to cut out a create a turning blank from this:


I also drilled a 1 1/4" diameter hole into the underside of the blank to hold it on the lathe for turning. Also in the photo is the plastic plug I was going to modify and use for the lid:


 So I put the wooden blank on the lathe and trued up the sides and face and turned a tenon on the face as the attachment point for the chuck. By doing this I can attach the blank front and back for shaping the lid:

The plastic plug fits the hole perfectly so the only step left was to shorten the threaded section of the plug so that the entire lid would fit flush on the top:

 So I placed the plug in the chuck and turned it down. As it turned out it had to be reduced in size considerably in order for the lid to fit:


 I wound up turning off almost all of the threads. Unfortunately it wouldn't thread into the body of the urn. It just wouldn't work. There are also too few threads remaining for a good, secure closure of the lid so I discarded this and started again with a different pvc component:


 This is the component that I'm going to modify next. It screws into the body of the urn perfectly. Instead of turning off the begining of the threaded section I'm going to remove the un-threaded body of the component, fit the threaded section into the lid and take it from there:


I also decided to make this particular blank a test piece in preparation for making the final lid. So I drilled a second, small diameter hole into the underside of the lid and then placed it back on the lathe for turning and shaping:


So I put the camera down and just proceeded to turn out the lid. It's a little under 3 inches in diameter and about 3/4" thick in the middle and it tapers to about 1/4" at the edge:


And here are photos of the test blank just sitting on the top of the urn:


I like the way it looks. I'm going to make a different lid out of a different, lighter color of hickory and make the lid later this week. I'll post photos so you can see how it comes out.

Stay tuned.
VW