The epoxy dried and hardened overnight and other than sanding and applying the finish, the body of the urn is complete. The lid however is proving to be a real challenge. Here's today's photos and discussion.
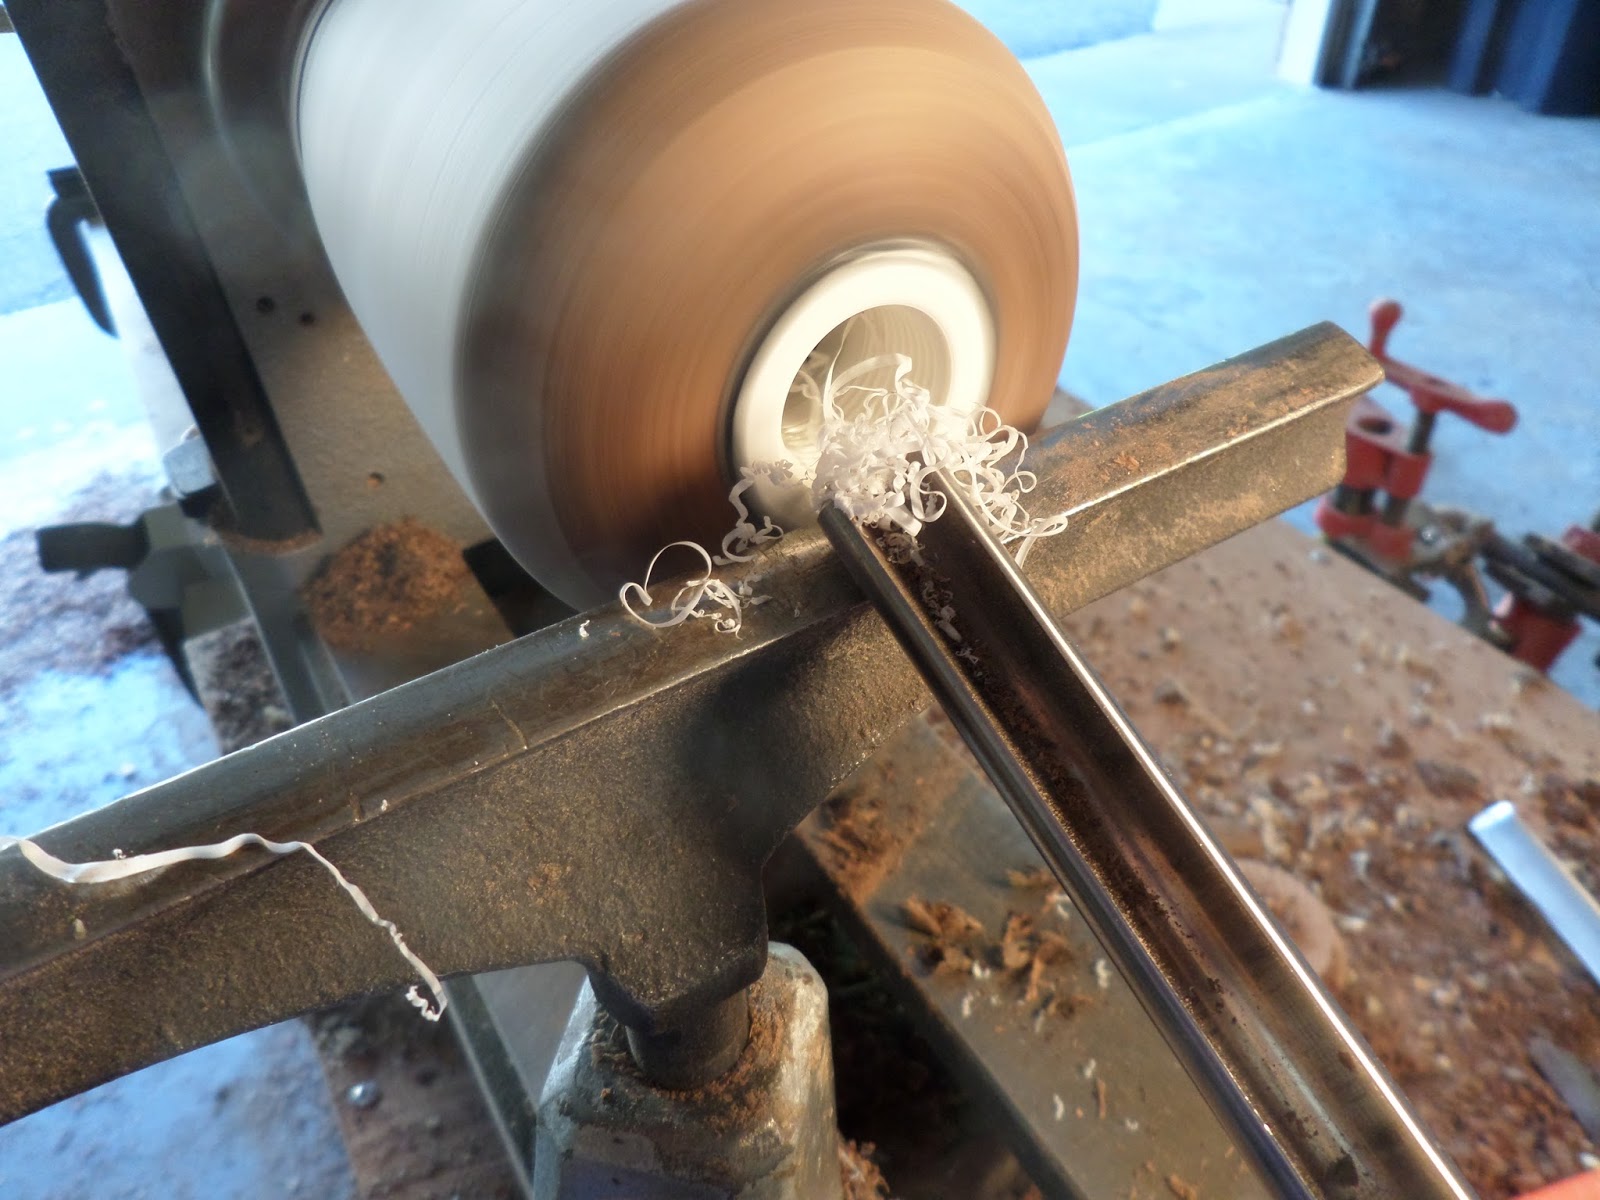
Here is the top of the urn with the bushing epoxied in place. The next step here is to flatten the top and smooth out the plastic bushing and remove some of the epoxy that spilled over onto the wood and the plastic. So I placed it back into the chuck and turned it a little bit more:


Other than sanding, it's finished:

The Lid
Now on to the lid. Here is a section of a piece of hickory that I'm going to use for the lid. I'm going to cut out a create a turning blank from this:


I also drilled a 1 1/4" diameter hole into the underside of the blank to hold it on the lathe for turning. Also in the photo is the plastic plug I was going to modify and use for the lid:


The plastic plug fits the hole perfectly so the only step left was to shorten the threaded section of the plug so that the entire lid would fit flush on the top:


I also decided to make this particular blank a test piece in preparation for making the final lid. So I drilled a second, small diameter hole into the underside of the lid and then placed it back on the lathe for turning and shaping:


So I put the camera down and just proceeded to turn out the lid. It's a little under 3 inches in diameter and about 3/4" thick in the middle and it tapers to about 1/4" at the edge:

And here are photos of the test blank just sitting on the top of the urn:
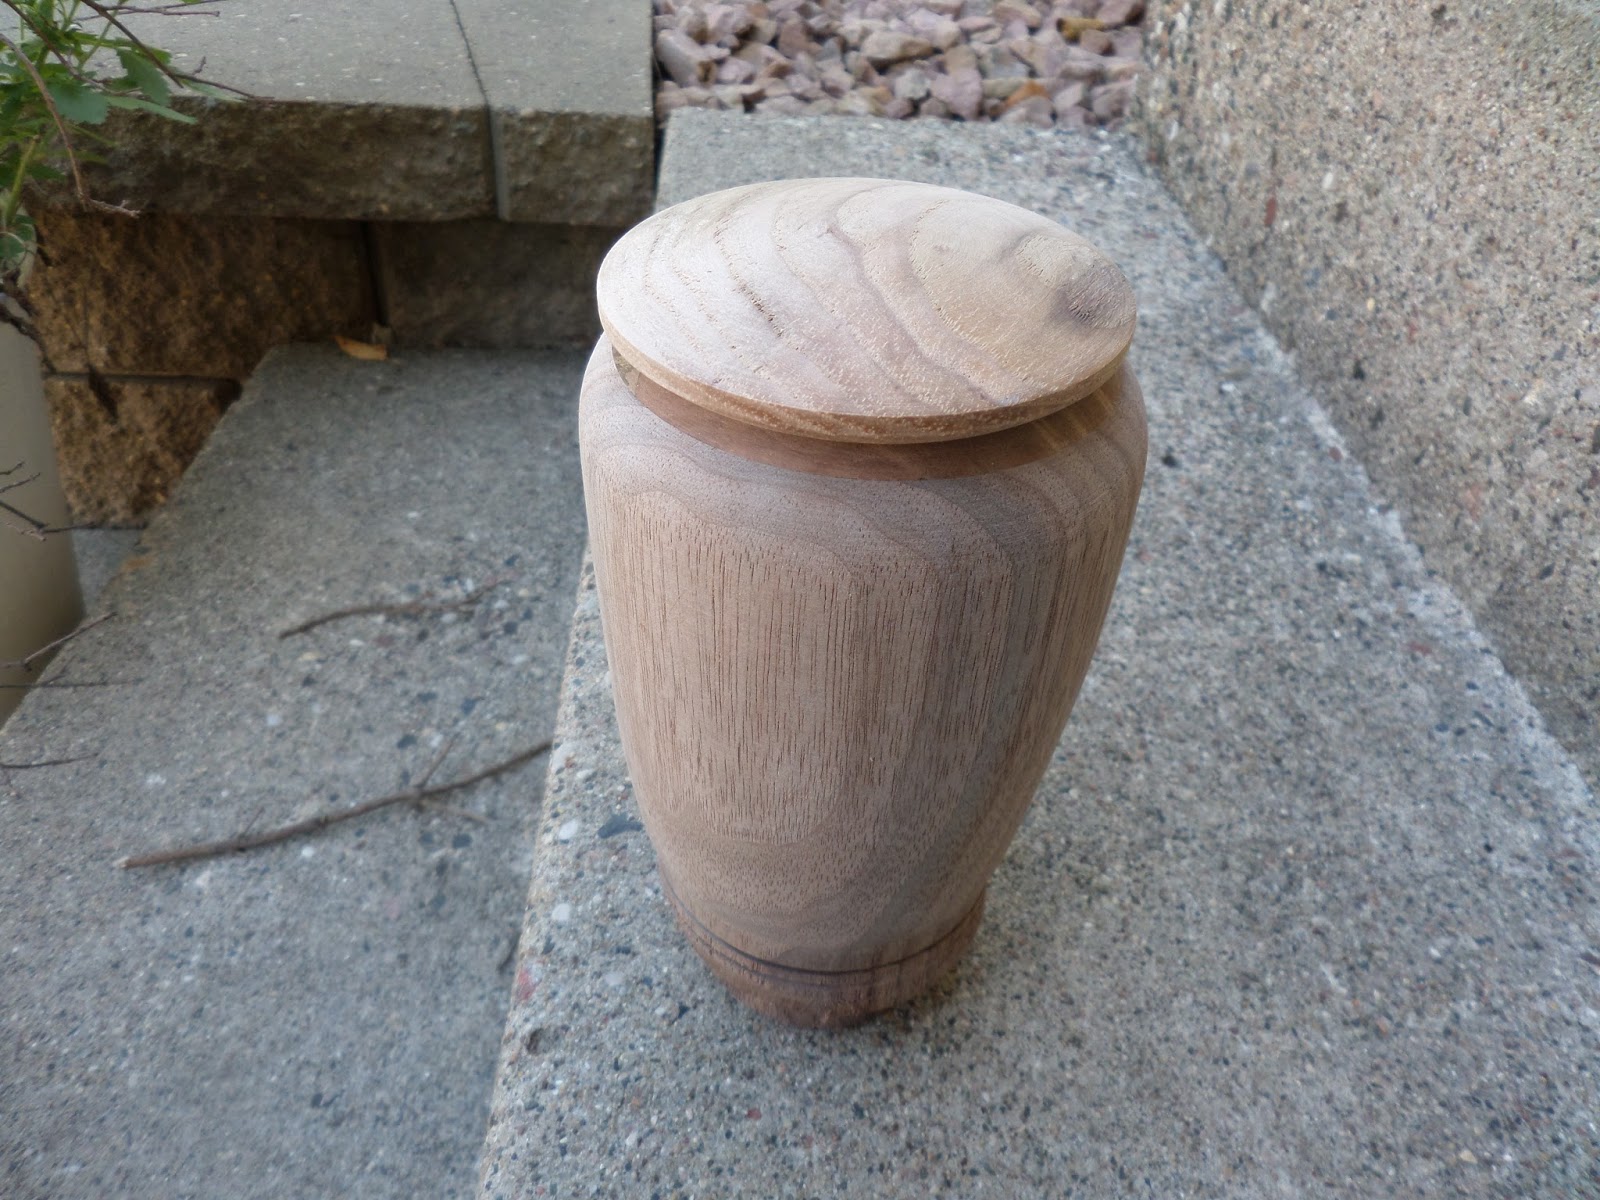

I like the way it looks. I'm going to make a different lid out of a different, lighter color of hickory and make the lid later this week. I'll post photos so you can see how it comes out.
Stay tuned.
VW
No comments:
Post a Comment