Wednesday, February 24, 2016

The Baby Cradle-really bad day in the wood shop

Hi Everyone,
Well, I decided to do the drilling for the quadrefoils this morning and the whole thing went really wrong. Here's the photos:

I decided to do the ends first and so I clamped one of the ends down firmly and proceeded to drill using my hand drill:

The first two holes went well but the third hold didn't have enough wood for the forstner bit to grab onto and the bit wandered off. The sides of this hole are not sharp and clean or perpendicular to the surface:

It's a large board and I didn't want to use the drill press as I didn't thing I could firmly clamp down the board and drill it but having no choice I proceeded to use the press anyway:


And it worked for a while...

And then disaster struck-the clamp loosened and the board slipped and the torsion of the bit caused the bit to wander and it destroyed the quadrefoil shape.


So now I have two boards that I can't use. I guess I'll have to reconstruct them and try again.

And no quadrefoils on this project!

VW

Monday, February 22, 2016

The Baby Cradle continued/marking the sides for drilling and sawing

Ok,
The cats and I have some lunch and now it's back to work.

I decided to test the quadrefoil template to see if it actually produced that shape and it does:


Time to mark the sides for drilling and cutting. I got the pine template and laid it over the ends of each side and carefully lined it up with the ends and top of the boards and clamped it in place. Then I just took a pencil and followed the curvature of the template and produced the cutting line. Then I got the awl and inserted it into the quadrefoil holes and hammered in:


And it worked. It marked the sides perfectly: 


The marking of the sides is now complete. The next step is to cut and drill the sides to shape and I'll do that tomorrow when I'll have some help (and no, the cats are not going to be involved in this step!).

See you all tomorrow,
VW

The Baby Cradle, continued-working on the template & creating the quadrefoil cutout

Hello Again,

Picking up where I left off yesterday...

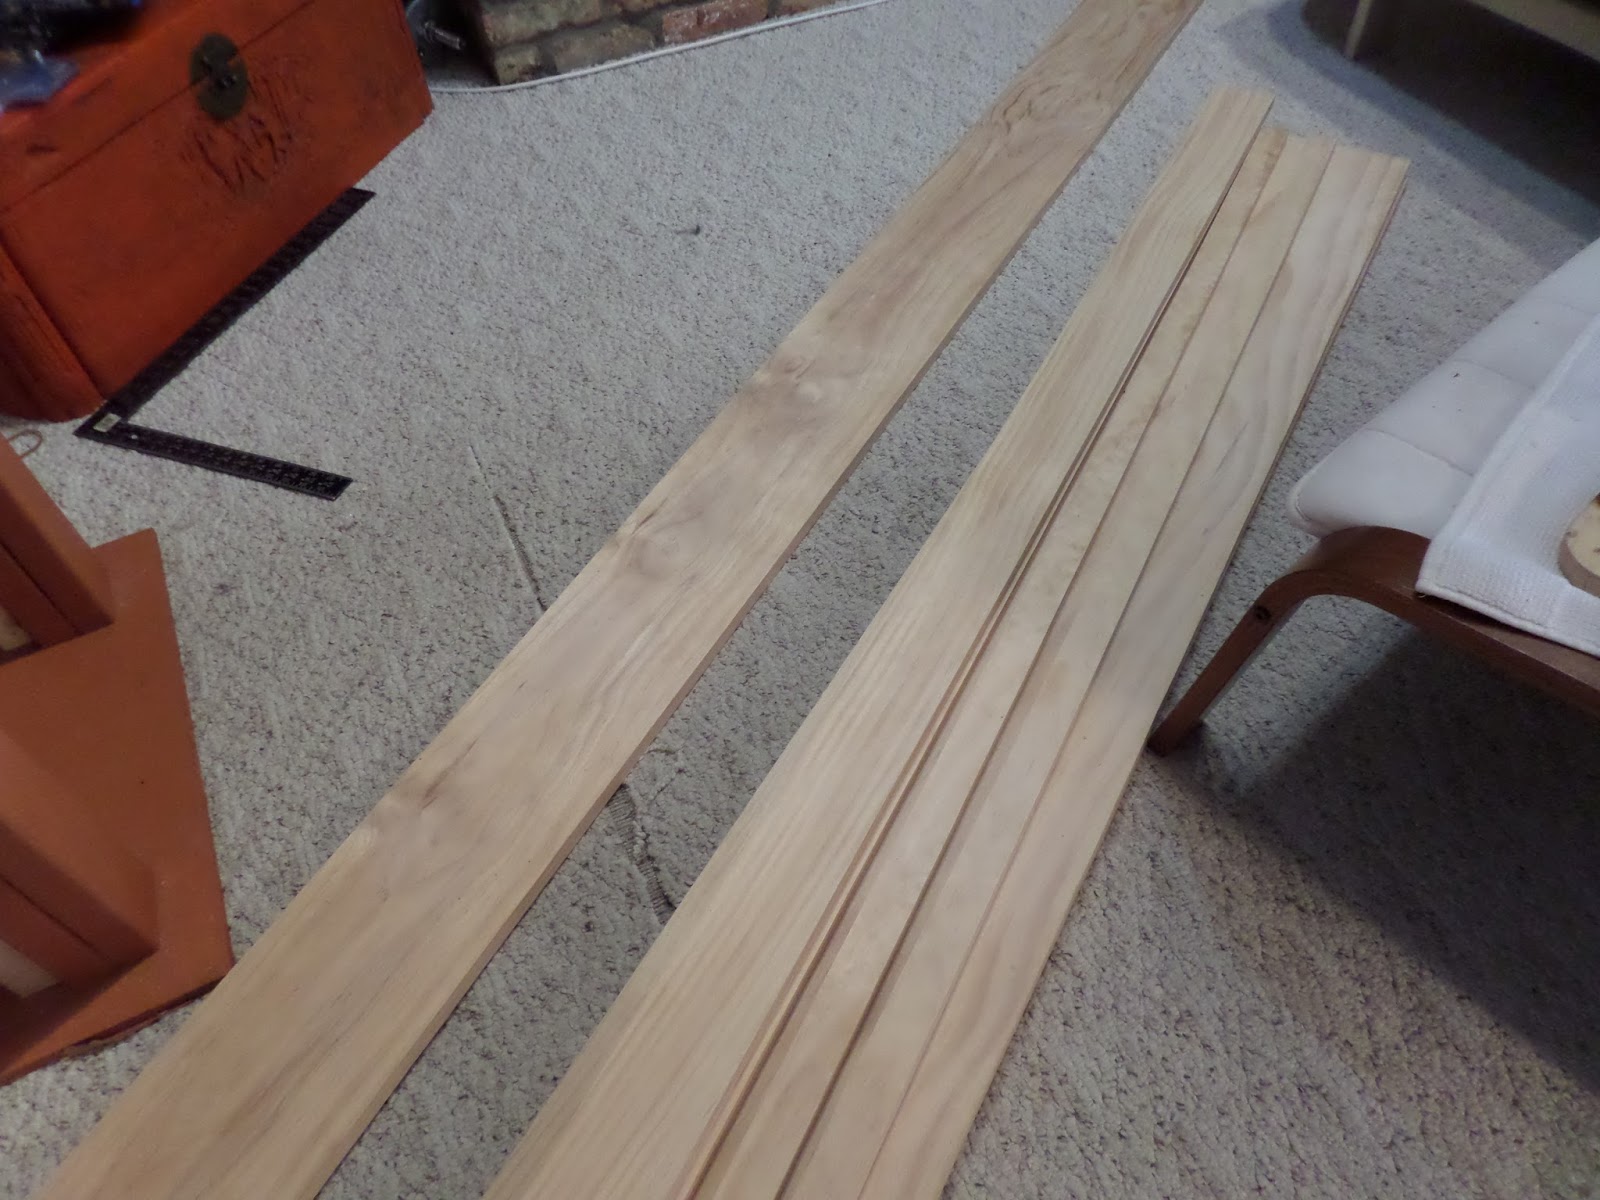
I finished all the box sides and they came out really well. I am quite pleased about this:


Now the template for the sides needs to be completed and what I need next is a template for the quadrefoils on the sides of the cradle.

If you remember the photograph is shows 2 quadrefoils on each side. The plans in the book, which are poorly done, don't really give any guidance as to the placement of the quadrefoil or really any information other than the circles that make up the quadrefoil arms are 1 3/8" in diameter. So I decided to make a small template, draw and mark out the drilling points, and then place this on top of the template and mark it from that. Essentially I'm making a template for the template.

So I got a small piece of scrap plywood, and drew a box in the center. The sides of the box are 1 1/2" long (I decided to increase the size from 1 3/8" to 1 1/2" to accommodate my forstner bits). Then I places a point at 3/4" on each side. I used that as the radius of the circles that comprise the arms of the quadrefoil. From that I drew a circle so I could see what it looks like:

Next I took an awl and punch  a hole right at that point:


And then drilled it on the drill press:


So now I have a template with four precisely drilled holes:


Here is a photograph of the template on top of one of the long sides of the cradle:

Biscuit the cat is of course supervising this whole thing...


Now for the hard part-the plans don't really give any guidance as to the placement of the quadrafoil so I took the plywood template and gave it my best guess and laid it on top of the pine template:

 Then I took my awl and transferred the holes in the plywood template to the pine template underneath:

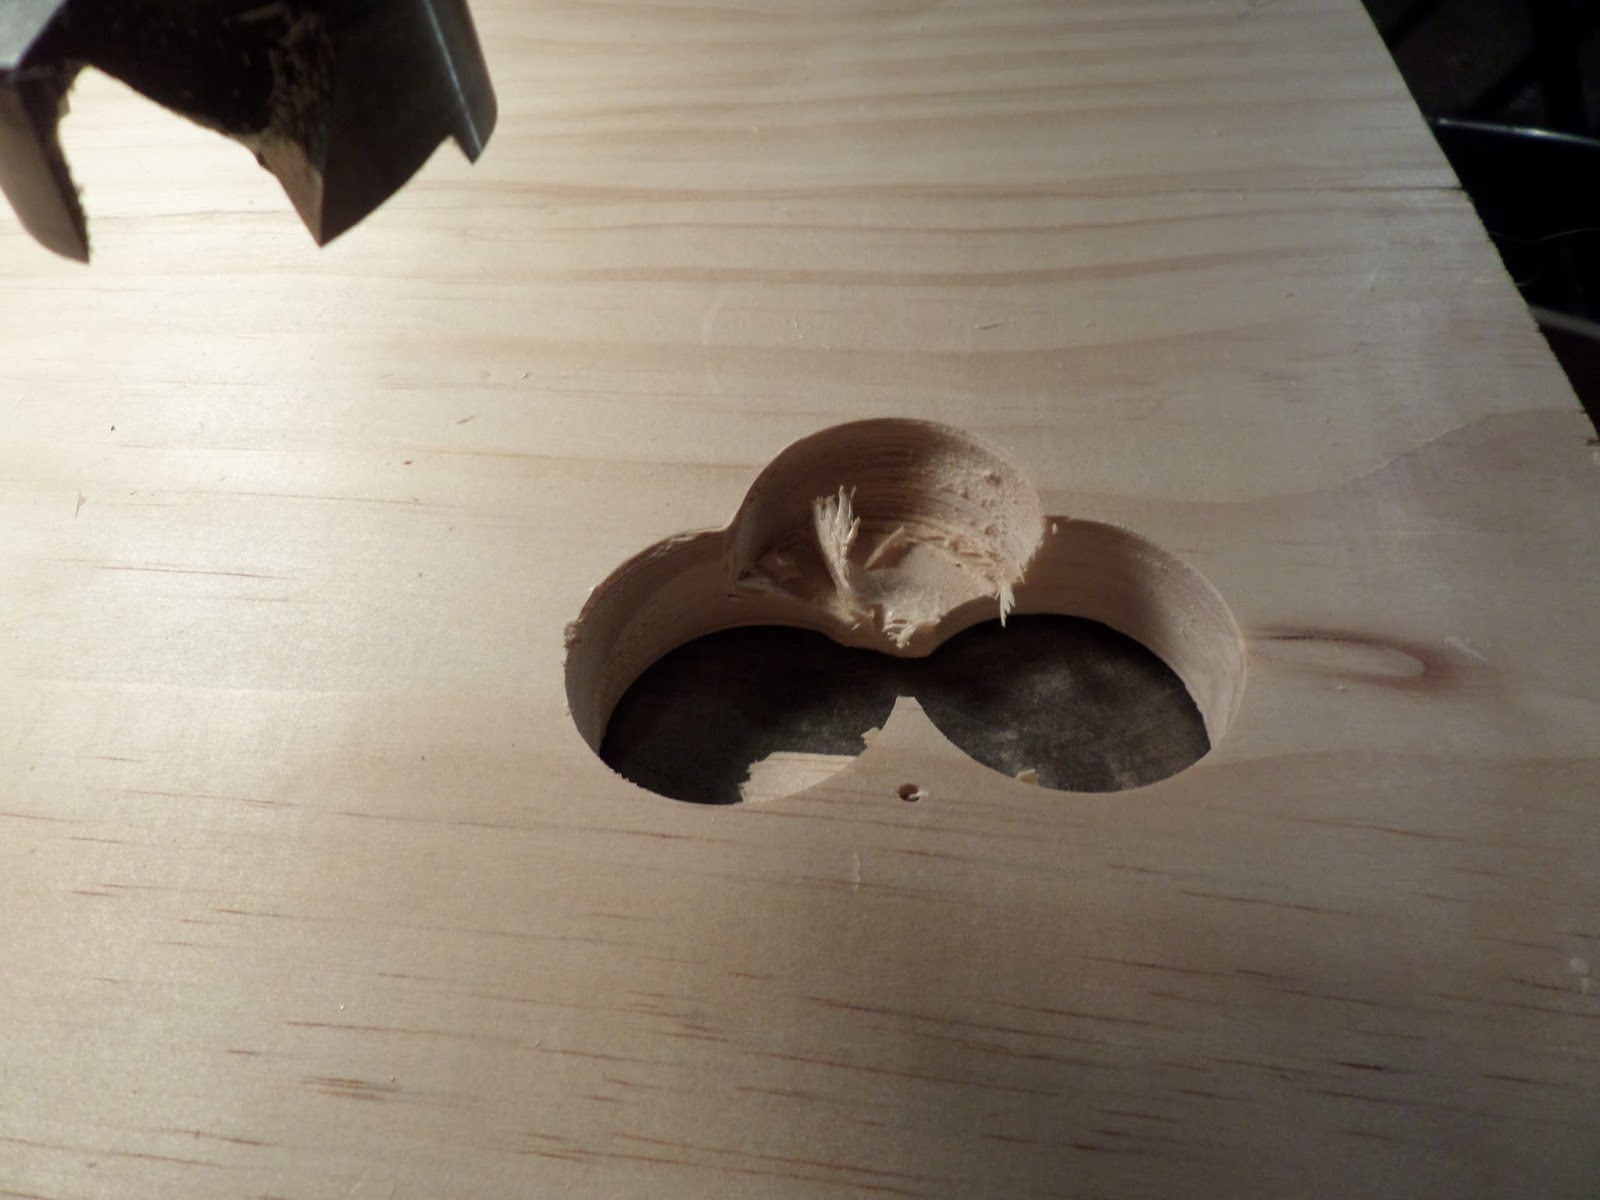
I then took the pine template out to the shop and drilled it and this is what I made:

I can now transfer the design of the cradle sides in the photograph to each side of the cradle. I'm going to stop and have some lunch and when I come back I'll trace the cutting lines and the quadrefoil drilling holes to each side.

I'll be back with another posting shortly.

VW

Sunday, February 21, 2016

The Cradle Project, continued/Constructing the sides of the box

Hi I'm back,

I've made the sides of the box using my Kreg jig and it went smoothly. Here are the photos and discussion:

The Kreg jig can be used for all sorts of things and edge joining is one of them. The trick is to use the correct length of screw for the thickness of the wood you are using. Here is a table that has all that information-click here.

Here is a link to a Kreg video that shows how to do this as well:

Ok, back to my wood shop. Here is the jig that I have and underneath it are the boards I'm going to join together:

Here's the jig in place-I'm about to drill a hole in the board:


And here is a photo of the board with the holes drilled:

I drilled holes in both boards for extra strength and just so I'll sleep well tonight I added a thin layer of wood glue along the edge:


I clamped the two boards securely:


And I screwed them together:

I made both of the long sides and one of the ends and then the battery in my drill fizzled out so I stopped but this is a photo of the boards I did make:


I'll make the other end boards later tonight. I've brought everything inside so the glue will dry. Tomorrow I'll cut out the curves on the boards.

See you then,
VW

The Cradle, continued-making the box part of the cradle

Hi Again,

Ok, I'm back. To begin, let's take another look at that photograph:


The cradle consists of 3 basic parts: a box with a bottom, 4 corner posts, and the rockers and that's how I'm going to pursue this project-I'll build the box, then build and attach the posts, and lastly create and attach the rockers.

The Box

This part of the cradle will be made out of select, clear pine. I purchased  2  1"x12" and 2 1"x4" boards and this will provide enough lumber for all 4 sides:


That's really nice wood.

The next step involved creating a template to enable me to mark and saw out the curved edges seen on all 4 sides in the photograph. I carefully drew this out on cardboard with a french curve set and a pencil:

Then I cut out the template:

And carefully transferred the template to a piece of scrap pine. I cut this out on the bandsaw:


Next I carefully measured off the sides of the box onto the pine boards:


And I got my husband to give me a hand cutting the wide pine boards. This is a two person job:


The narrow 4" wide boards were cut out on the table saw and here are all the pieces of wood that will go into making the sides of the box:


Now the next step will involve edge joining one of the 12" wide boards to one of the 4" wide boards:

And this is what they will look like when I'm done with that. I'm going to use the Kreg jig for this.

It's cold outside right now so I'm going to stop and have some lunch and some hot coffee and I'll do an additional blog posting a little later about how the edge joining went.

See you shortly,
VW

Friday, February 19, 2016

Baby Cradle-I'm going to be a grandmother! Discussion and plans

Hi Everyone,

My first project for 2016 is going to be a baby cradle. I am going to become a first time grandparent in April and I'm going to construct a floor cradle for the new arrival.*

Discussion

Many years ago in a wood working project book I had purchased was a set of plans for a baby cradle. I loved the cradle and kept the book and the plans all these years with the hope that some day I would have use for them. I found out last year that my daughter-in-law Kristie would be having a baby in late April of 2016 so I dug out the book and began planning.

Plans

Here is a photograph of the cradle I plan to build:


The plans and the photograph appear in the following book:

Sunset Children's Furniture
Editors of Sunset Books and Magazine
Menlo Park, CA: Lane Publishing, 1985
ISBN: 0-376-01268-4

It is sized to take a cradle mattress 18" x 36" in size and the plans specify select pine, which I have purchased.

And you can see that the Ginger Majesties will be assisting with this.

Now as these plans are probably still under copyright I can't give you the exact plan details but I will show you step by step how I will build it.

I will be altering the plans a little. I plan to use my Kreg jig and screws to construct the cradle along with wood glue. I'll also be using Minwax satin rub on polyurethane for the finish.

I'll begin the project tomorrow and work on it over the weekend and next week. Hopefully by the time the mattress arrives, the cradle will be finished.

Stay tuned-see you tomorrow.

VW

*It's a boy!


Hello, I'm back for another year of woodworking, cat stories, and a new project...

Hi Everyone,

Well 2016 has arrived, the weather is beginning to warm up and it's time to open up the wood shop and get to work. For those of you who are new to Selkie Wood Works and have been wondering when new posts begin, I usually don't work between mid December to about mid February because of the intense cold where I live as my shop isn't heated. But the temperature is beginning to rise and so it's comfortable enough for me to begin work again. And for those of you who have been steady readers of the blog, welcome back.

I'm going to kick off 2016 with a furniture project which I will discuss in the next posting in just a minute.

So grab some coffee and drop by the wood shop. There's always another story and project afoot!

Best,
VW