Saturday, October 21, 2017

Building a Floor Lamp continued-finish photos

Hello Everyone,
I apologize for not getting this lamp sooner. I had to make an unexpected out of town trip and while I was out of town I injured one of my knees and haven't been able to walk well or do much in the way of woodworking. I have finished the floor lamp with help from my husband and I've also changed it significantly from the original pattern. Here's what I did:

When last we met I had finish making all of the parts for the lamp. While I was traveling I thought a lot about the base of the lamp and I decided to beef up the legs of the lamp with some 1" x 4" pine boards instead of the 2x2 inch pine that the plan calls for.

This is how the base would have looked like had I followed the plans:


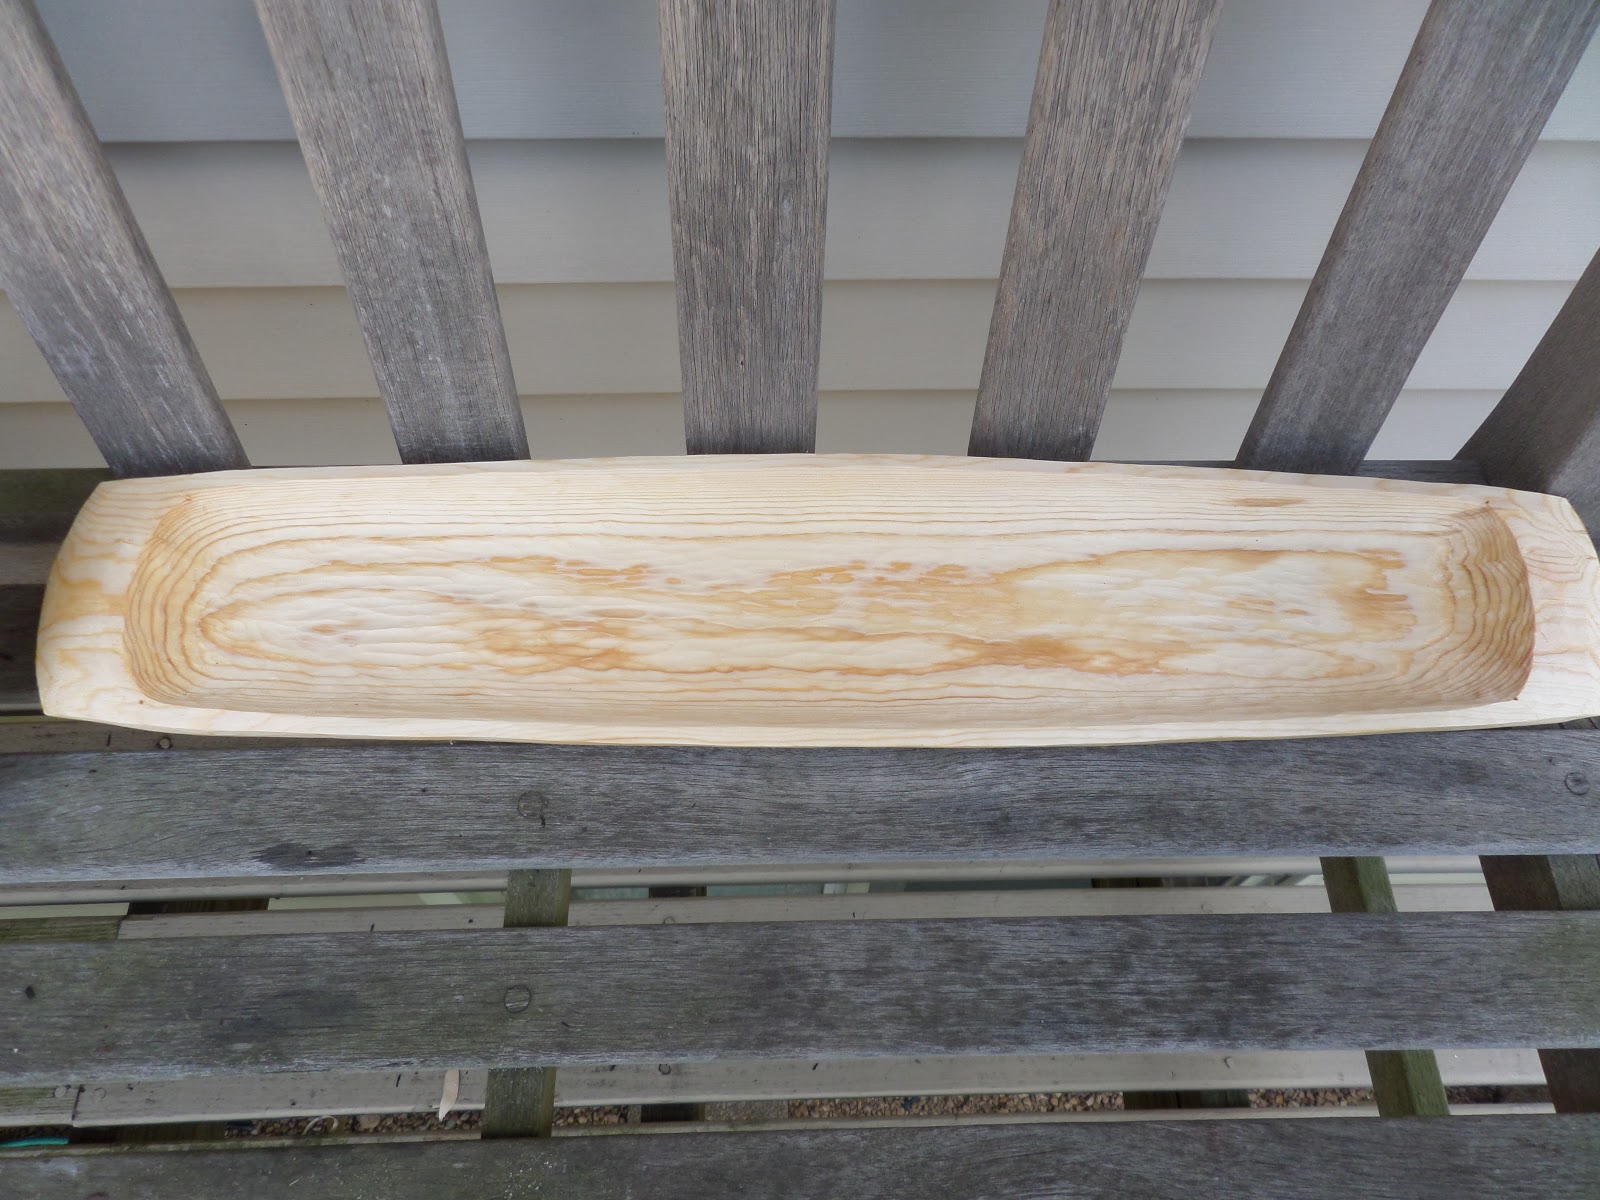
Here are the pine boards I cut:


And I beveled the ends a little to make them look less, well, boardy:


Here is the lamp base with the feet attached. Doing this allowed me to use 2 screws to attach the feet to the lamp post instead of one screw. I'm only attaching 3 feet to the lamp post and you'll see why shortly:


The plans also said to purchase a lamp kit and this one I bought (I've never made a lamp before) is the wrong type of kit for this type of lamp:


Instead we purchased a hollow threaded brass rod, an electrical cord, and a light socket and several nuts and washers and used that for the bulb and lamp shade:


This is actually very simple to put together. The brass tubing is about 12 inches long and is attached to the wooden arm through a 3/8" hole I drilled into the end with a nut and a washer:


Next we threaded another washer and nut on the tubing then inserted the lamp shade: 

After that, we threaded the cord to the socket through the tubing and over the top of the arm and down the back of the lamp post. Eventually we stapled the cord down to the arm and post with heavy staples:

The last step involved screwing the socket to the end of the threaded rod and we were finished. We took it inside and plugged it in and it works:

And here is the lamp at present:


And here is the base. We didn't add the forth foot because our grandson, who is a rambunctious toddler came to visit for a while and we wanted to attach the lamp to our stair rails so he couldn't pull the lamp over:

I haven't stained the lamp base because I can barely stand up on my knee at this point but I will get around to it later on.

And that is that. It provides some much needed lightening in our living room and for about $40 in parts you get a serviceable lamp.

I wish I could fix my knee this easily. Ouch....

I'm not sure what my next project will be - probably seeing my doctor is my next project. 

See you all soon,
VW

Wednesday, October 4, 2017

Building a Floor Lamp-Discussion and Plans

Hi Everyone,

I hope you all are doing well and your autumn is getting off to a pleasant season.

My living room doesn't have any overhead lighting with the result that in order to read something, we have to have the windows open during the day or use the lights in the kitchen to illuminate this room. Basically we have really poor lighting in the living room. Now we did have a floor lamp in one corner of the living room but that is broken and all attempts to fix it have left it more broken than before. So it's time to do something about it.

There is a very simple floor lamp plan that was published online by Better Homes and Gardens at http://www.bhg.com/decorating/do-it-yourself/accents/how-to-build-your-own-floor-lamp/.
The lamp is a very simple lamp that can easily be made with simple tools and if you have a never ending scrap wood pile like I do, it could be made with scrap lumber. What's not to like about that?

Plan

Make a floor lamp out of some leftover pine 1"x2"s and hopefully illuminate this vampire cave that passes for a living room of mine.

Photos

Ok, here we go:

The plans call for 2x2 lumber and I had some nice, clear, usable 1x2 pine that I laminated together-in fact I had enough for the center post, the legs and the arm that the shade will hang from:


It took a day for all the laminating and cutting the parts to be finished:


And I beveled the ends of the legs so I won't stub my toe on a sharp corner on the floor:

The plans also call for a bracket that attaches to the central post and the arm. I bought a silver metal one and decided to paint it a different color. So I sprayed it with primer and set it aside to dry:


The next thing I did was to stain the wooden parts with Minwax penetrating stain/red chestnut stain and that looks pretty good. Once that was finished, I've taken them to my deck for finishing: 

Here is the central post after I've applied a coat of polyurethane. This is going to look nice:

Tomorrow, I'm going assemble the wooden part of the lamp and try and figure out the lamp kit I purchased for it. I'll also paint the metal bracket and get that ready to be installed. 

In the meantime, enjoy the fall colors and I'll see you tomorrow.


Stay tuned,
VW


Thursday, September 28, 2017

I'm starting a business

Hello All,

Well, it's been a quiet beginning of autumn here. The leaves are changing colors and it's getting cooler. Perfect time for some more woodworking and carving.

I looked at my supply of wood and other supplies in the shop and as my supplies are getting low, I decided it was time to begin a small business selling some of the things I make. I've given away a lot of spoons, platters, and bowls for testing in the kitchens of my friends and since nothing has fallen apart and are still functional I feel confident I can sell kitchen ware and please some customers.

So announcing the opening of the Selkie Wood Works US shop on Etsy:

https://www.etsy.com/shop/SelkieWoodWorksUS

I've got spoons, platters, serving bowls, kitchen mallets, and a serving set out of white oak. Everything is well made and should look great in your kitchen. They also will make great holiday gifts.


Why not take a look?

VW

Friday, September 8, 2017

I've Returned, Arguing with the Band Saw, and Carving Spoons

Hello Everyone,

I'm baaack!

I hope you all had a good August and if you have wood shop, you got lots of work done. I recovered from some surgery and I'm happy to report I'm fit and ready to resume work.

Which I was eagerly anticipating doing. I was making some spoon patterns out of some 3/4" thick plywood on the band saw the other day when BOOM! the blade broke. We went through this in spring and it turned out to be a worn bearing. This time it's another worn bearing and worn tires on the wheels both of which are fixable. But the wheels have never exactly lined up properly and I think this is causing the blade not to track properly when the wheels spin. So I'm off to find some bushings for it. Stay tuned for more about that.

As the band saw is a critical piece of equipment, I won't be able to cut out any turning blanks and the spoon blanks I make I'll have to cut by hand. Survivable but it will slow me down a bit. :(

I have been carving a lot of spoons and those have gone very well. I bought a large gouge and that has really made short work of hollowing out the spoon bowl. I also invested in a set of curved cabinet scrapers which was one of the smarter things I've done this year and those have proven invaluable with regards to smoothing the spoon bowl and handle.

Here's some photos:

I got a whole set of these for about $20 and it was money well spent. These really smooth off carved surfaces without softening any surface carving. And they're easy to sharpen as well:


And here are a couple of kitchen spoons out of red birch. I'm also using American cherry and black walnut, all of which are very carvable and readily available:

Here is a coffee scoop out of hickory, which is carvable with that big gouge I bought:


And here is a coffee scoop out of cherry:


Ok, I'm going to go and tackle the band saw. When I'm done with that, I have some sugar maple and some hickory planks to turn and I also have more red birch and some more cherry for spoons.

Stay tuned and keep everyone that has been affected by the recent hurricanes here in the US in your thoughts.

VW

Friday, July 14, 2017

Mid Summer Goings On: Fruit platters, new forms, and fighting with the cats

Hi Everyone,

Well it's the middle of July and I don't know about you but I've had a busy summer making spoons and turning platters out of pine, oak, and other woods. Here's an update on my work:

The platters have gone well. I've made several out of some thick blue stain pine which is quickly becoming my favorite wood. I've also been working on some laminated red oak platters and here's what that looks like:


I like turning oak and I'm going to be doing more of that later on this year.

I've also branched out somewhat and I've begun hand carving some trays. This is a prototype out of pine that I made earlier this week. There's no law that says a fruit platter has to be round:


And there's no law that says a platter has to have a solid center either. This is out of basswood and I'm still fiddling around with it. I've turned the basic shape and hollowed it out on the lathe and then I carved the surface with a gouge. It looks a little busy so I'll be refining that over the coming days:


And of course the Ginger Majesties had to get into the act and decided to make me look stupid, which isn't too hard to do at times:

I will be taking the month of August off so we'll all meet up again in September.

See you all soon and have a terrific summer,
VW

Thursday, May 25, 2017

Turning a Kitchen Spatula on the Lathe

Hi Everyone,

Today's project involved placing a piece of hardwood, in this case hard maple, on the lathe and turning the handle for a kitchen spatula and then cutting out the blade part of the spatula and finishing that by hand.

Here's the photos along with my comments:

I went shopping for some wood today and I bought some hard maple for spoons. This is a very nice clear piece of hard maple for the spatula:


Here are the measurements of this piece of wood:


And the grain direction. I'm right handed so I like to place wood on the lathe with the grain direction running from right to left. It turns more smoothly that way:


Here is a rough sketch of the spatula on the wood:


And to save myself some time and effort, I cut out the handle on the bandsaw:

Then I placed it between centers and began to turn the handle:


And  that didn't come out too bad. Most of the time the handles I make seem to look like carrots but this one is better than they usually are:


And then I cut the blade of the spatula out with the band saw and you can see it's rather thick, much more thick than I had planned to. The new blade is already dull now and it's not cutting very well, although considering the band saw issues of the past several weeks I guess I should be grateful it's cutting at all:


I thought thinning the blade out would not be a big problem but it was. I  hammered away on that thing with my big carpenter's chisel and a mallet and after about an hour, with my hands and wrists getting very sore, I decided to give up. I smoothed it with the cabinet scrapers and called it a day:


There is is all smoothed down:


  And this is it with oil. I originally thought this might be a great way to use up some of the hickory I have in my wood pile but given the hardness of that wood, I decided I'll find some other use for it:


It's a pretty substantial spatula. You could probably use it for a cricket bat.
_______________

It's a long holiday weekend here in the US so I'm going to rest my hands for the next several days and other than clean out the wood shop, I'm going to take it easy.

I'll see you next week when I go back to turning and work on a series of serving bowls and some large blue stain pine platters.

Take care,
VW

Tuesday, May 23, 2017

More completion photos: platters and spoons

Hi Everyone,

I've been working off line this week and I've completed several more projects. Here they are:

This is a fruit platter out of laminated red oak. It's about 12 inches in diameter and about 1" deep and 1 1/2" tall from the rim to the table top:


This is a smaller platter out of a single piece of mahogany. It's about 9" wide and 1" high from the rim to the table top:


And I've been doing a lot of carving this week and this is one of the spoons I've made. It's out of black walnut:


I'll have more work to show you next week.

Stay tuned,
VW