Wednesday, May 29, 2013

Beginning a business

Hi Everyone,

As a long term project I've been working on is coming to a close, I'm going to re-start my Internet business and begin selling the stuff I make online. The Selkie Wood Works Sales Gallery will be opening in July.  Stay tuned.

And I made a serving platter out of red oak this morning. I'll be posting details about platters and plates soon:


I'm going to finish this with salad bowl varnish. I'll post a photo when it's done.

VW

Monday, May 27, 2013

Microwave bowl, continued

Hi Everyone,

Well, I microwaved the bowl twice more yesterday and then let it sit over night and it seemed fine. No distortion that I can detect and there are no cracks that weren't a part of the blank to begin with. I've sprayed it with lacquer and here is a photo:


and here is a photo of another bowl. These two bowls were two halves of the same section of the tree branch that we harvested. Note how different the bowls are:


I may try this technique with some smaller unseasoned pieces again.

In the US today it is Memorial Day so no turning today. And a big thanks to all our service men and women, past and present, for all you do and the sacrifices you make.

VW

Sunday, May 26, 2013

Ever Put a Wooden Bowl in a Microwave Oven?

Hi Everyone,

One of the enduring difficulties in turning unseasoned wood is the drying that occurs when a bowl or platter is turned. The turning exposes the grain of the wood and any water that is inside of the wood evaporates away. Sometimes, if the grain dries evenly, the bowl will retain it's shape and not crack. But if the grain dries unevenly cracking and distortion of the sides of the bowl or the bottom of a plate can occur.

One way to get around this is to turn an unseasoned blank several times, each time removing a little more wood and then wrapping the bowl blank in heavy paper so it will dry slowly and hopefully evenly. And you've seen me do this many times. It can take 4-6 months for a large bowl to dry out this way and a long time for a project to come to completion.

Another way to dry out a bowl is to place it in a microwave oven and heat the wood up. This drives out the water in the wood and can speed up drying from months to 30 minutes. That's the good news. The bad news is that it can cause the wood to rapidly dry out and distort, ruining the piece.

I've never tried it before and since I have a small block of linden wood in the shop I decided to go down and turn the linden block into a natural edge bowl and to then take it into my kitchen and microwave it.

So here's what I did:

Here is a photo of the linden block. It's half of a large branch that I've had for about 1 1/2 years or so and so I'm going to turn it into a natural edge bowl. This is a bowl that still has some of it's bark left on the edge:


This is about 90 minutes later. This type of turning produces a saddle-shaped bowl and you can see the shape beginning to form:


Here is the bowl after I've hollowed it out. This took approximately an hour of turning. The wood is soft and even though I've sanded it, it's still has a ragged surface in places:


Here you can clearly see the saddle shape and the bark on the edge:


Here is the bowl after it's had a session in the microwave. It's hot to the touch and very damp at this point but I don't see any cracking or obvious distortion. I've placed it on my bread rack to dry and I'm going to put it in front of an open window. I'll check back on it later today.


VW

Wednesday, May 22, 2013

Leon's Tea Box, continued

Hi Everyone,

Yesterday I unwrapped the silk oak block and today I've begun what is going to be a complex process of turning it into a tea box.

Here are today's process photos:

Here is the blank on the lathe. I was going to turn the surface with the aim of just smoothing it and I found that the blank was indeed a little distored-it had dried into an oval shape so it had to be re-turned until it was round again and that's what I did with it. I probably removed about 1/4" of wood off the diameter of the blank:


Each piece of the tea box will be placed on the lathe and shaped so each piece has to have an attachment point, in this case a tenon and that is the part on the top of each of the pieces:

The cut surface of each piece is really damp and this shows that the interior of the wood is still unseasoned. I could just put this in a paper bag again for a couple of months while it dries, but I would like to work on the project sooner so I hollowed out the interior of the outside lid and the box with a large Forstner bit. This will remove the dampest part of the wood. It will also leave me enough wood so if the wall of the box or the lid distorts, I can true it up again before I turn it again:


Here is a photograph of the box after I've drilled out the center:


Here is the outside lid being drilled out:


And here is the finished pieces for today. The large piece needs to be drilled deeper so I'm going to that next and then I'll wrap up each piece individually and let it dry for another 2 weeks in the wood shop:


My next step then in two weeks will be to re-turn all the pieces, true them up and then if they are dry enough proceed with the shaping of the box. When that is completed, I'll let the pieces stabilize for a week before I begin the finishing process.

So we'll return to this in mid June.

VW


Tuesday, May 21, 2013

Leon's Silk Oak Tea Box-Discussion and Plans

Hi Everyone,

Well, it's a lovely day in my neighborhood. Trees and flowers and birds are all blooming and chirping away. Here are a couple of photos:


It's so green here that it's beginning to look like Ireland.

Time to go and take a look at the silk oak block I wrapped up some weeks back. If you will remember I had a silk oak block that I shaped into a cylinder in preparation for making it into a tea box. Here is the story behind this:

I have a lovely cousin whom I've mentioned before and who has been quite ill this year. Fortunately she has a super supportive family in her husband, three marvelous daughters, and a large extended family of cousins and others. Her husband Leon is a great guy and he's loved and admired by all of his family members and he's done a great job of being a caregiver. So I think after all the work he's done and worry he's been through he deserves a special Selkie Wood Works tea box as a way of saying thank you to him.

Plans

Here is a photo of the block. It has no cracks and it's perfectly straight:


I am going to turn this into a Japanese-style tea box with an inner and outer lid for loose tea with the goal of producing a Japanese-style tea box along the lines of the one made in this YouTube video by a Japanese turner whose name escapes me at the moment: http://www.youtube.com/watch?v=HhJPfIaHa_0. I absolutely love to watch this video and have always wanted to make one of these tea boxes. I'm going to do it a little different from what the gentleman in the video does.

As the wood is still probably damp inside I'm going to be doing this in careful stages so the wood blanks don't crack or distort as they dry out. So this is going to take a while to produce. My first step will be do cut it into sections and then hollow them out some. Then I'll re-wrap the sections and let them dry for several weeks more before proceeding further.

So here we go again.  So get some coffee or tea and drop by the wood shop. As always we have more adventures ahead.

Best,
VW

Moore, OK

Keeping the good people of Moore, Oklahoma in my thoughts and prayers today.

Sunday, May 19, 2013

Tree Branch Wine Bottle Stopper

Hi Everyone,

Well, spring has arrived in full force in Minnesota. Everything is green, there are flowers everywhere and the temperature is perfect in the high 70s today. Good day to go to the wood shop and make something!

And that's just what I did. This is another small project dedicated to using up small pieces of wood in the shop and also tree branches. I've been needing a few things and a wine bottle stopper is one of those things. These are small wooden stoppers that have a tapered end that will fit into a wine bottle and keep the contents fresh after the bottle is opened. You can purchase a metal stopper and then make a wooden top for the top of the stopper and you can find these all over the Internet. Or you can just make the whole thing out of a single block of wood. They both work fine for this.

I have a small diameter Norwegian maple tree branch left over from a larger branch that fell earlier this year and I decided to give this a try. It's very hard wood and it should hold up well in the kitchen. Here's the branch:


This is about 5 inches long and about 2 inches in diameter. I've had it since January so it should be dry enough to use.

Here is the branch on the lathe. I've mounted it between centers:


I've turned it down and taken off the bark:


And here it is roughly turned. Note the taper on the left side of the stopper. I'll need to taper the stopper and get it to 20 mm in order for it to fit the bottle opening:


This is a photo of the taper. It's now 20-23 mm in diameter. Perfect for a bottle:


Now I've begun shaping the top of the stopper. Note the waste wood on the right and left sides of the stopper:

I've taken the stopper off the lathe and I'm going to cut off the waste wood on the top and bottom and then sand it smooth:

Here is the stopper next to the original cork stopper:


Here is a photo of the unfinished stopper on a wine bottle. Note the cross section of the branch:


Here's a side view of the stopper:


Here I've applied a little flakseed oil to the wood to preserve it:

And here is our finished stopper:


This took about 30 minutes to turn and sand. If you have small pieces of wood in the shop you want to get rid of, try laminating them together to make a turning blank. If you do a nice job or use a metal stopper, these make really nice gifts.

More later,
VW

Tuesday, May 14, 2013

Wow! I got a present today!

Hi Everyone,

Well, when I came home today and checked the mail there was a medium sized box that contained the following:


My cousin Marian made me a lovely crocheted shawl and a bonus neck scarf. It is so beautiful and it will be used daily when the weather turns cold again later this year (it's 90 outside right now). It's just the perfect size and I can wear it all over the place. The colors are really beautiful and the neck scarf will match my barn coat perfectly.

Thanks so much Cuz. I miss you and I look forward to seeing you later this year.

Love Always,
Vickie

Sunday, May 12, 2013

Mother's Day Wood Turning Marathon-Special box for Sarah

Hi Everyone,
Well the big day has arrived.

I've sharpened the tools:

And I've cleaned up the shop..well almost cleaned up the shop:


And this means it's time to go to work-let's go:

If you saw my last posting, you'll have seen the small blocks of wood that this project is comprised of. My aim today is to make a small round box that will fit in the hand. So I began the turn by turning a tenon on both the bottom of the box and the underside of the lid. This will let me attach the box to the lathe later on. 

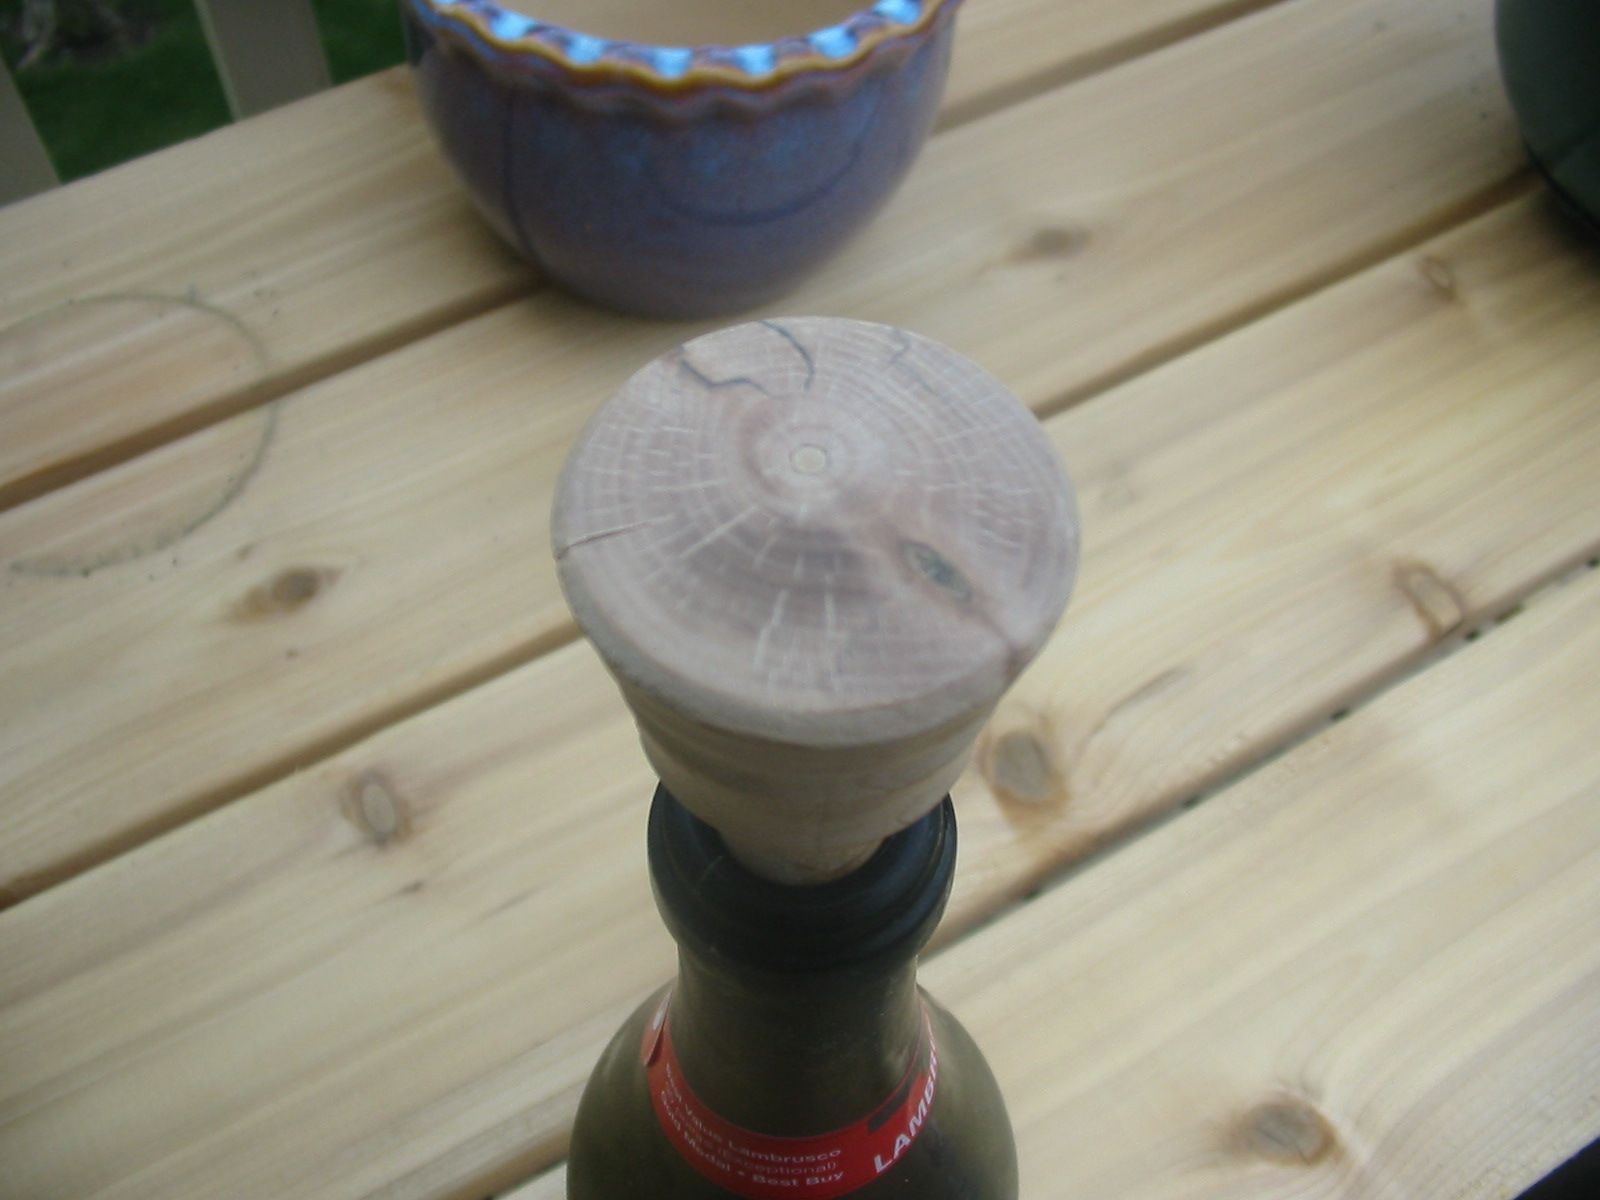
This is a photo then of the box attached at the bottom to the lathe. It's ready to turn:


I'm going to round off the top of the box first and then hollow it out. Here is the beginning of this stage of the turn:

Here is a photograph several minutes later. I've rounded off the sides and created a small bead on the mouth of the box:


Here I've begun hollowing out the box. I just wanted to make it deep enough to hold earrings or other special stuff and not completely hollow it out:


This is the box several minutes later. You can see that the box is deeper and a little wide and the bead shows up prominently:


Here is the box after it's been sanded, both inside and out. Now it's time to turn the lid:


I turned a tenon on the top of the blank and attached it to the lathe:


And I've begun turning a tenon on the underside of the lid. This has to fit exactly into the box so it took about 20 minutes of turning between this photo and the next photo:


Great. This fits the box perfectly:

And here is a photo of the blank on the box. Time to shape the top:


 Since the top will be the first thing everyone sees it has to look great and emphasize the roundness of the box. There also is not going to be a finial on the top of the lid so it needs a a rim that can serve a a point for picking up the lid off the box.  Here I've begun undercutting the lid:

I wanted the underside of the rim to match the diameter of the opening of the box and they match:


Here is the lid back on the lathe. I'm about to begin rounding off the top of the lid. This part of the turn took about 45 minutes of careful cutting. This wood is soft and it tends to tear and so I had to take very tiny cuts to the surface as it spun. At one point it looked like a flying saucer and then it looked like a hat. But I finally got it to where it looked nice and emphasized the round shape of the box:


Here is the lid almost done. The top is a little too high so I turned it down more:


And now the lid is finished:


Now the last step of the turn-removing the tenon on the bottom of the box. This only took a few minutes of cutting and shaping:


And here is the bottom of the box. The turning it done:


Here is a photograph of the box:

Woo Hoo!

I took it inside and wiped off the dust and put a coat of linseed oil on the top and bottom. Here are the finish photographs:


And here is the lid. If you look closely you'll see a tiny hole at the edge of the lid at about 9 0'clock. That's a tiny worm hole that was present in the block of wood at the beginning. I kind of like having that little hole there:

And we're done. I am going to apply a coat or two more of oil to the box and the lid and then let it cure for a day or two. At weeks end I'll send off the box to Sarah.

Happy Mother's Day to you all.

If you're a Mom, I hope you have great kids and you get to see or hear from them today.

If you lost your mom this year or if she's ill, know that I'll keep a prayer for you.

___________

Our next project is to finish Holly's bowl and I'll get to that later this week.

Take care and have a wonderful day and thanks for dropping by the wood shop. As always it's a pleasure to have you here.

Best Always,
VW