Saturday, July 27, 2019

Rustic-X Console-completion photos

Hi Everyone,

Sorry to be so late in getting back to you but I've caught a summer cold and I'm miserable. But I did 
finish the console and are the photos:

Here it is-all in all I'm really pleased with the way it came out. There is a lot of shelf space for the TV monitor and the DVD player and DVDs and other stuff.  It's heavy and very stable so if I ever wanted to use it as a free-standing piece of furniture I could. And of course Rhubarb the Cat approves:


Here it is in the living room with stuff on it:


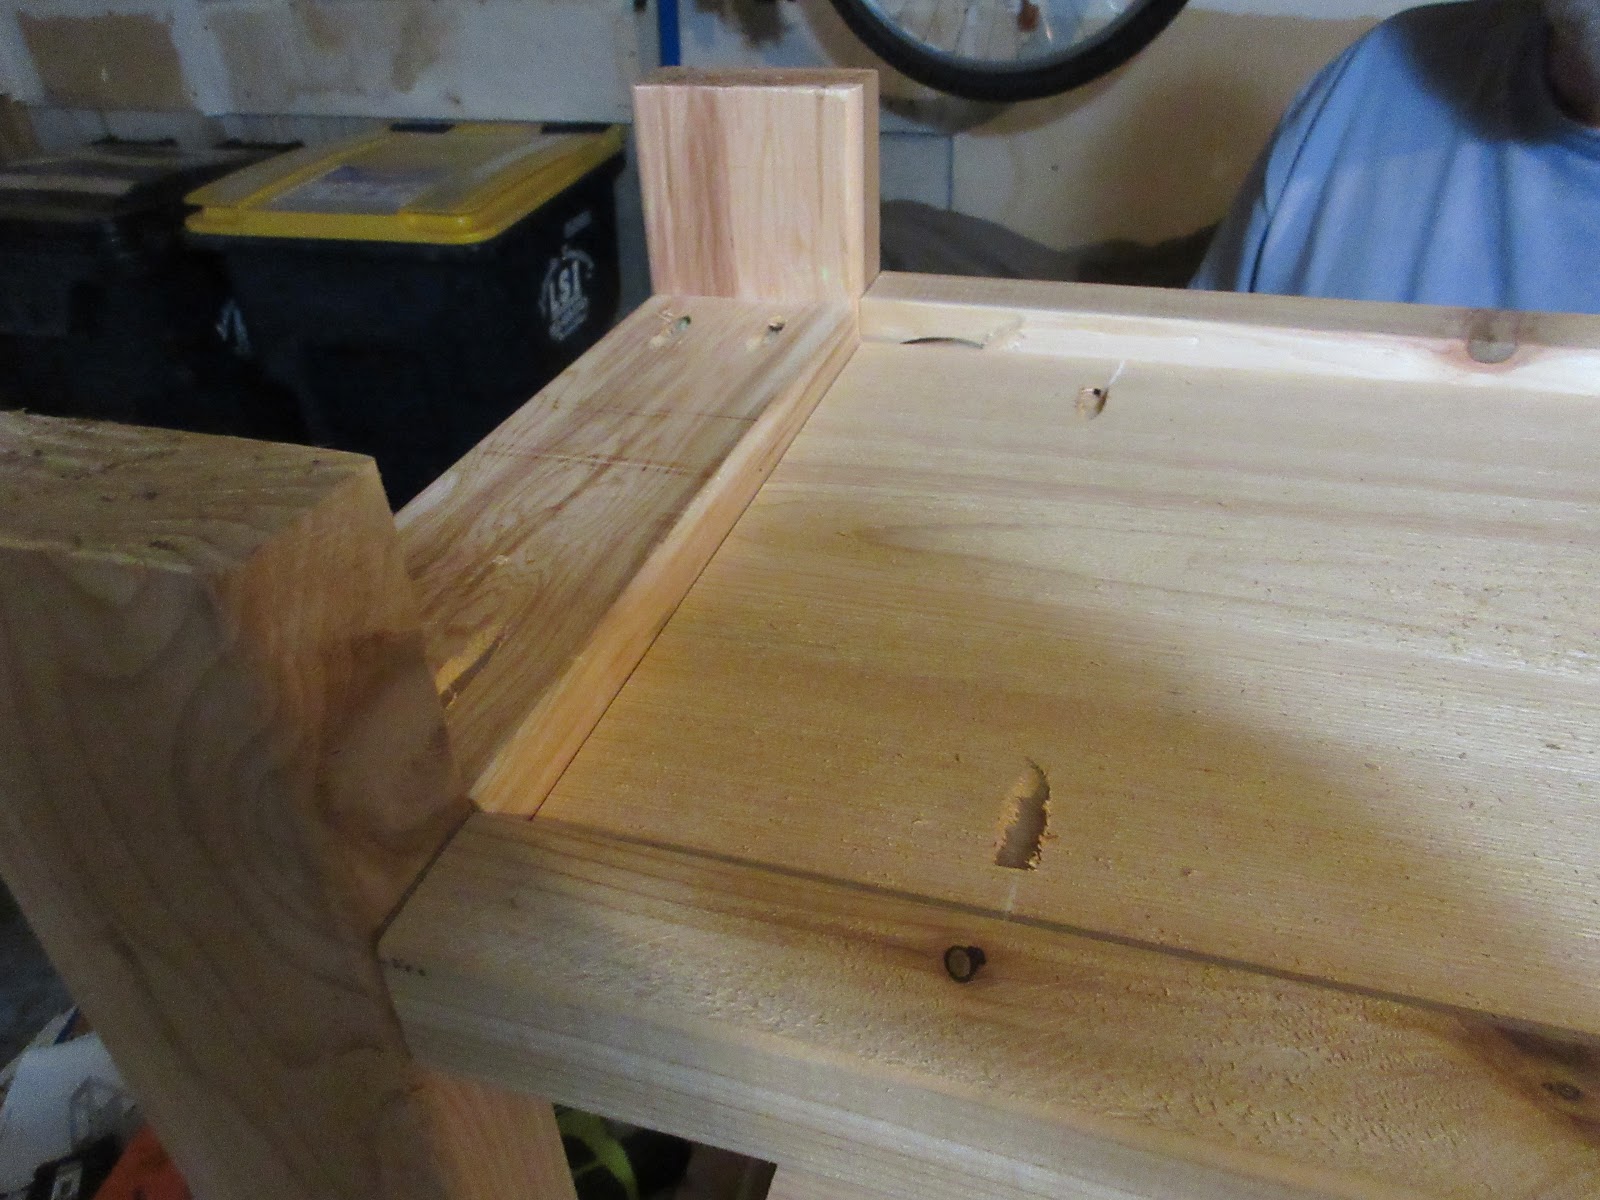
This was a good and challenging build as I've discussed earlier. But the plans are excellent, simple to follow, and if you are careful in cutting out the parts, the parts fit perfectly. Just remember to have a lot of clamps and an extra set of hands when you're assembling this.

Ana also has plans for smaller pieces of X-style furniture if you would rather have a small piece of furniture on her web site and if you go online to Pinterest or Google and search for "rustic x-console" you will see other consoles that have been built using these plans with different finishes and other corner braces other than the x.

Let's put a fork in it and call it done. And many thanks to Ana for her website and all the work she's done over the years.
_______________

What's next? Well I need to get over this rotten cold and then I'm going to take a few weeks off and contemplate a new chair for my deck.

In the meantime have a great summer and I'll see you all soon!

Best,
VW

Saturday, July 20, 2019

Rustic-X Console, continued: shelving completed

Hello Everyone,

Well, we (my husband and I) have finished assembling the rustic console and I'm quite please with the way it came out:


But it was a real challenge to assemble it. Here's some photos and discussion:

The plans specify attaching the shelves to the frame first and I wasn't sure if the drill I have would have fit inside the frame in order to set the screws so I assembled the top, cut it to length and then flipped it over and began attaching the frame to the top first.

In the photo below you can see the frame attached to the underside of the top. We measured carefully to ensure that we got the frame centered properly and then we screwed one side of the frame first, then the second side and then the 2x4 cross pieces. This makes the rest of the assembly a little less challenging as the frame will stand up on it's own without us holding on to it:


Next, we attached middle shelf to the frame and that required both of us and a lot of wood clamps to make sure the top surface of the shelf sits flush with the 2x2 crosspieces. The easiest way to do that is to take some scrap lumber and clamp it to the 2x2s and then lay the shelf on top of that and then screw it down.
We had to constantly move the clamps and the scrap wood down the length of the console in order to get the shelf placed properly and to make sure the frame was square:


After we got the center shelf screwed into place, we screwed the bottom shelf down. The console parts fit together very well:


The X part of the build:
After we flipped the console over and looked at it, I decided not to add the X braces. The structure is sound and very tight and strong so the bracing isn't required. And I'm not personally big on adding that kind of visual element to furniture and that's just a personal thing. So I won't be adding that to the console. If you decided to add that, cut the pieces to size at this point to ensure that you get a good fit.

Ok, the console needs some sanding and then I'm going to apply polyurethane to it. I'll show you the final photos next week.

Stay tuned,
VW

Thursday, July 18, 2019

Rustic-X Console, continued: working on the top and shelves

Hi Everyone,

Today I worked on the two shelves and the top. Here's today's photos:

Well, it seems I don't have any photos of the shelves. They are simple shelves, 1x12" and they are western red cedar. I cut them to size and I'm going to need to drill them with the Kreg jib. Hmmm, for got to do that yesterday.

I just finished assembling the top and I do have photos of this. This top is made out of 1x 8" western red cedar and screwed together with Kreg screws:


This is a photo of the jig in place:

The boards are long-8ft-and you can see they don't line up perfectly. Kreg clamps to the rescue!
I also clamped the boards together while I was screwing them together with bar and pipe clamps:


And here is a photo of the assembled top. It needs to be cut to length and sanded and the shelves need sanding next:

Ok, I'm going to sand the parts, then begin assembling the console.

Stay tuned,
VW

Wednesday, July 17, 2019

Rustic-X Console continued-assembling the framework

Hi Everyone,

Well between hot miserable weather, lots of rain, tons of bumble bees chasing me around in the wood shop, and some difficulty is assembling the frame, I've made slow progress on the console.

Here's some photos:

General notes: the frame is very long and you will either need a very long work table, or two shorter tables pushed together (my solution), or a very flat floor or deck surface to assemble the sides of the frame. It also helps a lot to have a second pair of hands, some wooden wedges, and some long pipe clamps (I'm using 48" long pipe clamps) to hold parts together while you're assembling and screwing the parts together.

The frame consists of 6 2x4s, 12 2x2s, and two 1x12 boards that are the shelves. All these parts need to fit together snugly so as to result in a strong frame that doesn't wobble. In this first photograph you can see that the 2x2 and the 2x4 on the right hand side of the frame don't line up very well. This would result in a gap between that structure and the shelf so I had to unscrew it and  re-assemble it:


I think you can see what I'm saying in the photo a little better:


 Here is a photo of the set up I used. Those pipe clamps really come in handy. It also helps to have a plastic mallet handy to tap parts into place:


And this is what it looks like completely assembled:


I'm in the middle of assembling the second frame right. I decided to come inside and cool off a bit. Tomorrow I'll put the whole thing together.

See you then,
VW

Saturday, July 13, 2019

Bad News-the wood lathe has died

Hi Everyone,

Well I have sad news for everyone-my lathe has finally died. I've been having electrical problems with it for some time now. The original on/off switch died and none of the replacement switches I found worked properly. And then in spite of an electrical upgrade a few years ago in the shop, every time I turn it on, it overloads my electrical system.

So, time to begin thinking-should I save up for a new lathe or should I give up turning?

Stay tuned,
VW
:(

Friday, July 12, 2019

Rustic X-Console project, continued-cutting everything down to size

Hi Everyone,

Well it's time to get this project off the ground so here goes:

I'm going to be making this out of western red cedar which is not entirely dry. If you decide to use this type of wood, it can be a challenge to cut it on table saw. The lumber is heavier than dry wood and the wood can be difficult to move across a saw table. It can also shift position while your cutting it and that can lead to an accident. It's best if you cut the parts by hand with a handsaw and trim off the edges and cut it to length on the table saw. Also it's not ready to be sanded at all at this point. So be very careful.

I'll be cutting the wood up and then letting sit and stabilize for a few days before I resume working on it.

If you're a little leery of making something out of this type of wood I would recommend using kiln dried pine for this project or if you have access and a lot of money, red wood would be nice too:


Then just as I was about to really get into cutting the wood, a storm with 60 mile per hour winds moved in so I'm inside for the time being.

I sure hope it blows out just as fast as it came in:


I got upstairs just in time to move my tomato plants and rose bushes into a sheltered area when the wind suddenly died down. Typical.

I'll be back I hope in a little while.
Stay tuned,
VW

OK, I'm back. At the last minute as the wind was really riving up for a good blow, it suddenly stopped and went some place else.

I finished cutting the rest of the wood for the frame and I've taken the cut parts inside and laid them out on the floor to dry some. The top is made out of 2x6 cedar and I'm going to wait and cut that to length when I'm ready to fasten that on. And I need to get another 1x12"x6' cedar board tomorrow as I only got one when I purchased the wood.


Ok. I'll check on the wood on Sunday and see how it's going.

Tomorrow I'll be working on an iron pour project. Those of you who have been following me a long time will remember that I went to several of them years ago and made some molded iron plates out of them. Tomorrow I'm going to go and pick up a sand mold and get it ready for the iron pour next month so stay tuned for that.
And I'm working on a spoon too:

See you tomorrow,
VW

Wednesday, July 10, 2019

New Project: Rustic X Console with Ana White plans

Hi Everyone,

Well it's time for a new project. Here's what's up:

Most of my old furniture this year has given up the ghost-it's worn out and we got rid of a lot of it. Furniture that could be rebuilt I worked on and we're using it, but one of the things we need in our living room is a console for our TV set and DVD player.

I looked all over for some plans and finally decided on plans for a very simple console from Ana White's website. If you're not familiar with her website, it's got a ton of diy plans for all sorts of furniture and even a couple of house plans. I've made a book case and something else from her plans (I can't recall what the something else was) and I've found that the plans work well and the resulting bookcase is strong and has been used over and over again here at home.

The piece I'm going to make is the Rustic X-Console out of western red cedar. I find I like cedar. It has a nice clean look to it and the grain patterns and colors in that wood are very pretty and will work well in my living room. And it has a nice scent:

The console dimensions are 74 1/2" long, 16 1/2" wide, and 30" high. And there will be enough room for the TV, the DVD player, dvds, nick knacks, and the occasional cat. I plan to follow the plans exactly.

I'll probably get started either tomorrow or Friday so get some coffee and drop by the wood shop. There's another project afoot!

Stay tuned,
VW