Well, we (my husband and I) have finished assembling the rustic console and I'm quite please with the way it came out:

But it was a real challenge to assemble it. Here's some photos and discussion:
The plans specify attaching the shelves to the frame first and I wasn't sure if the drill I have would have fit inside the frame in order to set the screws so I assembled the top, cut it to length and then flipped it over and began attaching the frame to the top first.
In the photo below you can see the frame attached to the underside of the top. We measured carefully to ensure that we got the frame centered properly and then we screwed one side of the frame first, then the second side and then the 2x4 cross pieces. This makes the rest of the assembly a little less challenging as the frame will stand up on it's own without us holding on to it:


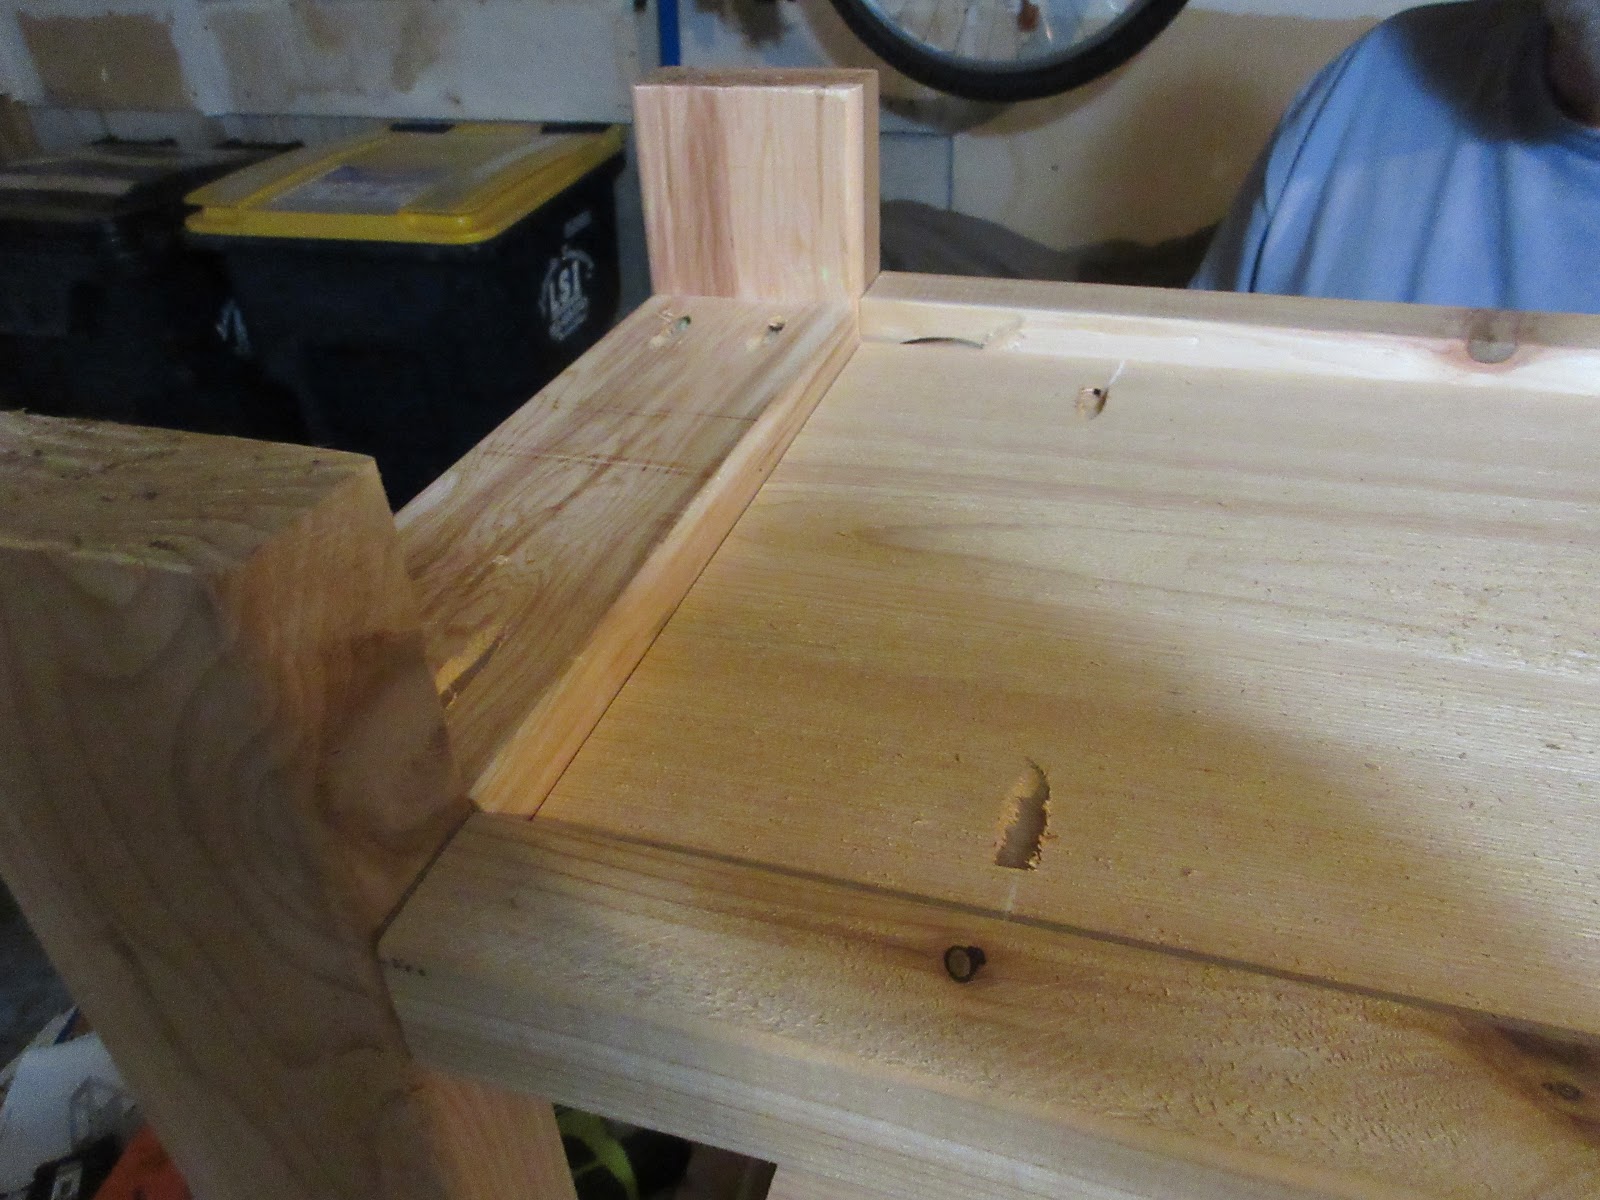
Next, we attached middle shelf to the frame and that required both of us and a lot of wood clamps to make sure the top surface of the shelf sits flush with the 2x2 crosspieces. The easiest way to do that is to take some scrap lumber and clamp it to the 2x2s and then lay the shelf on top of that and then screw it down.
We had to constantly move the clamps and the scrap wood down the length of the console in order to get the shelf placed properly and to make sure the frame was square:


After we got the center shelf screwed into place, we screwed the bottom shelf down. The console parts fit together very well:
The X part of the build:
After we flipped the console over and looked at it, I decided not to add the X braces. The structure is sound and very tight and strong so the bracing isn't required. And I'm not personally big on adding that kind of visual element to furniture and that's just a personal thing. So I won't be adding that to the console. If you decided to add that, cut the pieces to size at this point to ensure that you get a good fit.
Ok, the console needs some sanding and then I'm going to apply polyurethane to it. I'll show you the final photos next week.
Stay tuned,
VW
No comments:
Post a Comment