Friday, August 19, 2016

Making the Bed-It's Done-Completion Photos

Hi Everyone,

Well the bed is finished and today was the day I moved it and assembled it for my young friend who needs it.

The bed is quite heavy so I disassembled it into the mattress frame, the headboard, and the footboard and then I enlisted my son Critter and good buddy Elary to help move it in their vehicles for the 5 minute drive to their place. Once there we got all the parts and the tools to re-assemble it upstairs into their apartment.

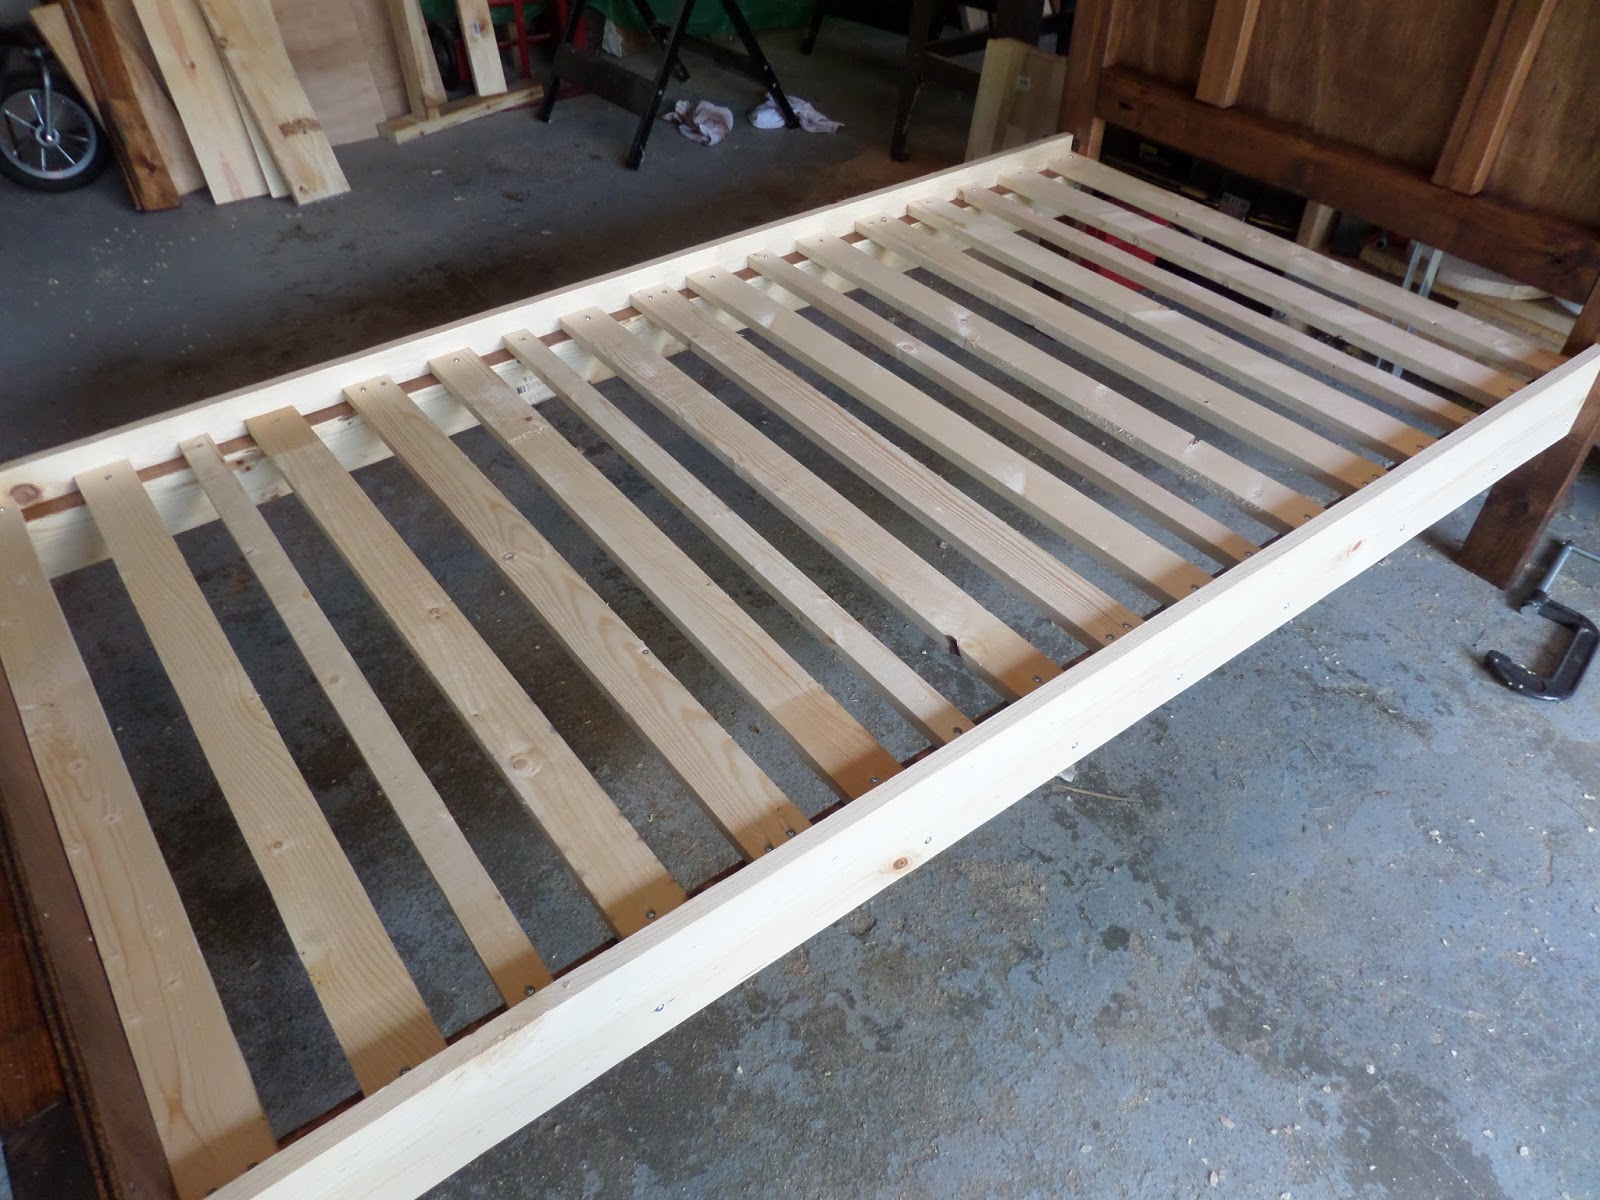
It took the 3 of us about an 1 1/2hrs to assemble it as the room it went into was small and cramped but we made it. We screwed the mattress framework into the metal 2x4 brackets and that was that. It was finished.

Here is the bed with the mattress, some nifty red sheets, and a new red comforter:


The leg in the photo belongs to Critter.

And with this, this bed project is completed. Many thanks to Elary, Critter, and Jim the Engineer in helping out with this project.

What's next: well, it's time to clean out and organize the wood shop as it's a gigantic mess right now. Once that's finished, I have a couple of Christmas projects to do and you'll get a front row seat in the wood shop as I tackle these two projects.

As always thanks for hanging around the woodshop with me. And remember, there's almost always something going on here at Selkie Wood Works. Just grab some coffee and put your feet up and away we go!

Best,
VW

Monday, August 15, 2016

Making the Bed-framework finished

Hi Everyone,

Well, I've finished the mattress frame and this part of the bed went well. Here are the photos:

The first thing I did was to screw the facing boards onto the 2x4s:


Then I began cutting and installing the slats. I used 1x3 pine for this:


The end slats along with several more that I evenly placed along the 2x4 rails are doubly screwed into place. This is to make the frame very rigid and to keep the frame from scissoring when I disassemble the bed in a couple of days when it's time to move it:


Here is a photo of the slats that have double screws in them:


Now for the rest of the slats-the person I'm making this for only has a mattress-no box spring so there will need to be a lot of slats to ensure that the mattress stays in place and not have a "lumpy" feel to  it when it's laid on. The slat positions in the photo would be fine for a box spring but it's probably not enough for just a mattress so I added more slats to the frame (see next photo):


Here is the same section of the frame but with an additional slat. I did this for the entire frame:


And this is the completed framework. This might be overkill but I don't want the bed to be uncomfortable. This also helps to strengthen the framework:


And with this the construction of the bed is completed.

I'm going to eat some lunch and then go down and do a little more staining and then apply polyurethane to the bed. It will need several coats. When that's finished it will be time to take it apart and move it to the person who will be receiving it.

Stay tuned,

VW

Friday, August 12, 2016

Making the Bed continued-Working on the Mattress Frame

Hi Everyone,

Well, I went and picked up some extra lumber that I forgot to purchase when I began the project:


Time to get to work-let's get started!

I decided to fit the frame to this bed exactly so it fits the foot and head boards and to minimize any movement in the corner joints. So the first thing I did was screw the two 2x4s in place (and helping out today is Jim Woodcock-I'm recovering from a rib injury and it would probably take me forever to finish this alone. And he's an engineer and can make stuff fit perfectly). These will be the basis of the frame and also give me a platform for putting the frame together.

Here's the photos:

The bed frame and indeed the entire structure needs to be square so we began by squaring the head and foot boards with the floor. For this a carpenter's square is required:


Next we checked to make sure the 2x4 rails were squared up to the head and foot boards:


Then I screwed the 2x4s in place-note the bed rocks a little from head to foot at this point:


And this is what the structure looks like:


Next, the plans call for a 1x6x75" pine board to placed over the long face of the 2x4 rail. This acts to hold the mattress in place and it will eventually be screwed to the legs of the foot and head boards to help stiffen the mattress frame joints. In the photograph you can see one of the 1x6s clamped in place:


Now the screws that I used to attach the 2x4 to the bracket protrude slightly and would push the end of the 1x6 away from the surface of the bracket so I'm going to drill a small hole through the 1x6. In order to get the placement of the hole correct, I clamped the board in place and gave it a whack with a mallet and created a small indentation which will allow me to drill the hole exactly:

To avoid tear out, we clamped the 1x6 to a piece of scrap lumber and I drilled the hole with 1/2" forstner bit:


And I got a nice clean hole:


And here is the board in place and ready to be screwed to the 2x4:

I'm going to stop for today and pick up with this tomorrow. I'll attach both face boards and then cut the slats and screw and glue them in place. At that point the construction will be finished and all that will be left is applying the finish and then disassembling it and transporting it to my young friend's home for assembly and finish photographs.

Stay tuned-almost finished,
VW

Thursday, August 11, 2016

Making the Bed Continued-Beginning the Mattress Frame

Hello Everyone,

I've finished the headboard and footboard and now I'm beginning the mattress frame section of the bed.

The plans call for two 75" boards that are attached to the the legs of the head and foot boards. I've decided to use metal brackets to attach 2 2x4's and use these as the basis of the mattress frames. Here's some photos:


In this photo you can see the metal brackets I'm planning on using. They fit around the ends of the 2x4s and are screwed in place:


 In this photo I've screwed the brackets in place on the foot board. They are 11 1/4" above the ends of the legs:


This is the headboard with a bracket screwed into place and one of the 2x4s inserted into it:

And this is what the frame looks like so far. I haven't completely attached the 2x4s into the brackets as yet:


Tomorrow I'll purchase some more 1x3's for slats and also attach a 1x6x75" pine board along the long side of the 2x4s. This will help keep the mattress from shifting on the frame.

Stay tuned,
VW

Monday, August 8, 2016

Making the Bed continued

Hi Everyone,

I had the day off today so I decided to spend part of the day working on the bed project. I finished the foot board by cutting a plywood panel to size and screwing down to the back of the foot board. Then I stained everything. Here's today's photos:


This photo shows the plywood just lying on the backside of the footboard:


Here it is with the screws in place:


And this photo shows the foot board and the headboard-the construction of these is completed.


After all this I took both pieces outside for staining. I'm using Minwax honey colored stain. It's coming out a medium brown color. The wood pieces that make up both the head and foot boards are different and so they absorb the stain differently so you can see a color difference in the photos. I'm going to let the stain dry for the next several days and then stain them again so as to make the color more even:


After the stain part of the project I'll begin varnishing everything but that won't be until the end of the week.

Next, I'll make the frame for the mattress.

Stay tuned.

VW

Thursday, August 4, 2016

Making a bed continued-screwing up but winding up ok

Hi Everyone,

I'm back-between very hot weather, high humidity, and a rib injury, I haven't felt much like working with anything, let alone a wood project. But this bed is needed and as I'm feeling a little better at the moment, and rounded up my husband to help out, the project is proceeding.

In the original plans, the headboard had a cross-shaped center piece made out of 3 pieces of 1x4" pine. And I had cut the pieces out but I cut one about 1/4" too short. Damn, it was too short to fit in the center and as I was out of 1x4 pine, I decided to re-arrange the design. Instead I used a 2x3 fir stud to make two pieces of wood that are screwed into the headboard frame. Here is a photo:


I also decided not to inset the plywood backing but instead screwed it to the rear of the frame. This modification makes the headboard very stiff so it shouldn't move at all.

All the headboard needs now is to be stained to match the frame.

Next I'll make the footboard and after that the framework that will hold the mattress.

Stay tuned.

VW