Tuesday, July 30, 2013

Poplar Bowl and Art Project Update

Hi Everyone,
I decided to go down to the shop for a couple of hours this morning to continue work on the poplar bowl and begin completing one of the art show pieces. Off to work we go:
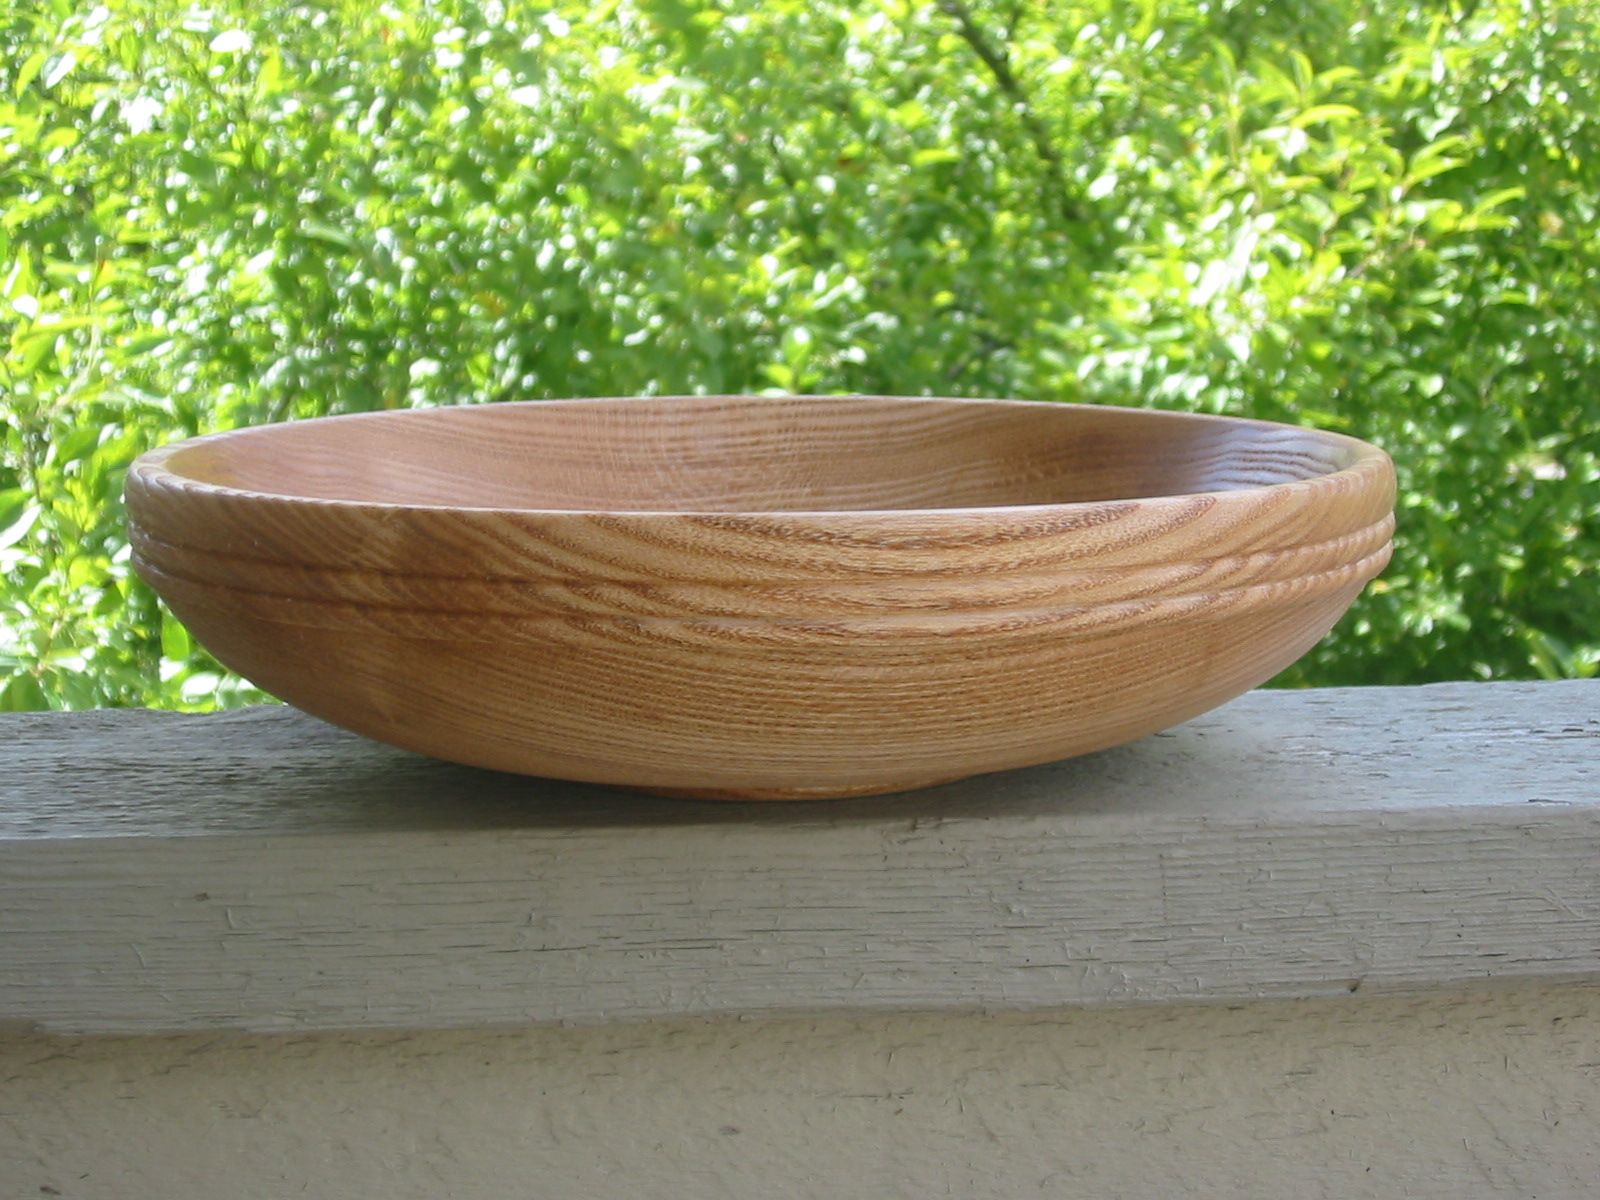
Poplar bowl

You'll remember from last time that the surface of the bowl needed more work. Looking at it after the first coat of varnish dried showed that the surface was scratched from sanding and the end grain areas had a lot of pitting and crushed grain fibers. This needed to be corrected before proceeding with the rest of the varnish application so I took it down to the shop and put it back on the lathe.

I began sanding the inside with 120 grit sandpaper and 900 rpm. While the bowl is spinning I drag the sandpaper across the surface of the walls of the bowl very slowly and from the inside of the bowl to the edge of the bowl wall. I don't press hard on the sandpaper either, instead I just let the weight of my hand press down on the paper. The point here is to very gently shave the surface of the wood to remove any crushed grain and reduce the pitting on the surface. I went from 120 - 600 grit paper and this produced a smooth, shiny surface that was ready for another application of varnish:


Here is the bowl after it's been sanded:


And here is the bowl after a coat of varnish. It's hard to see but the surface looks much better:


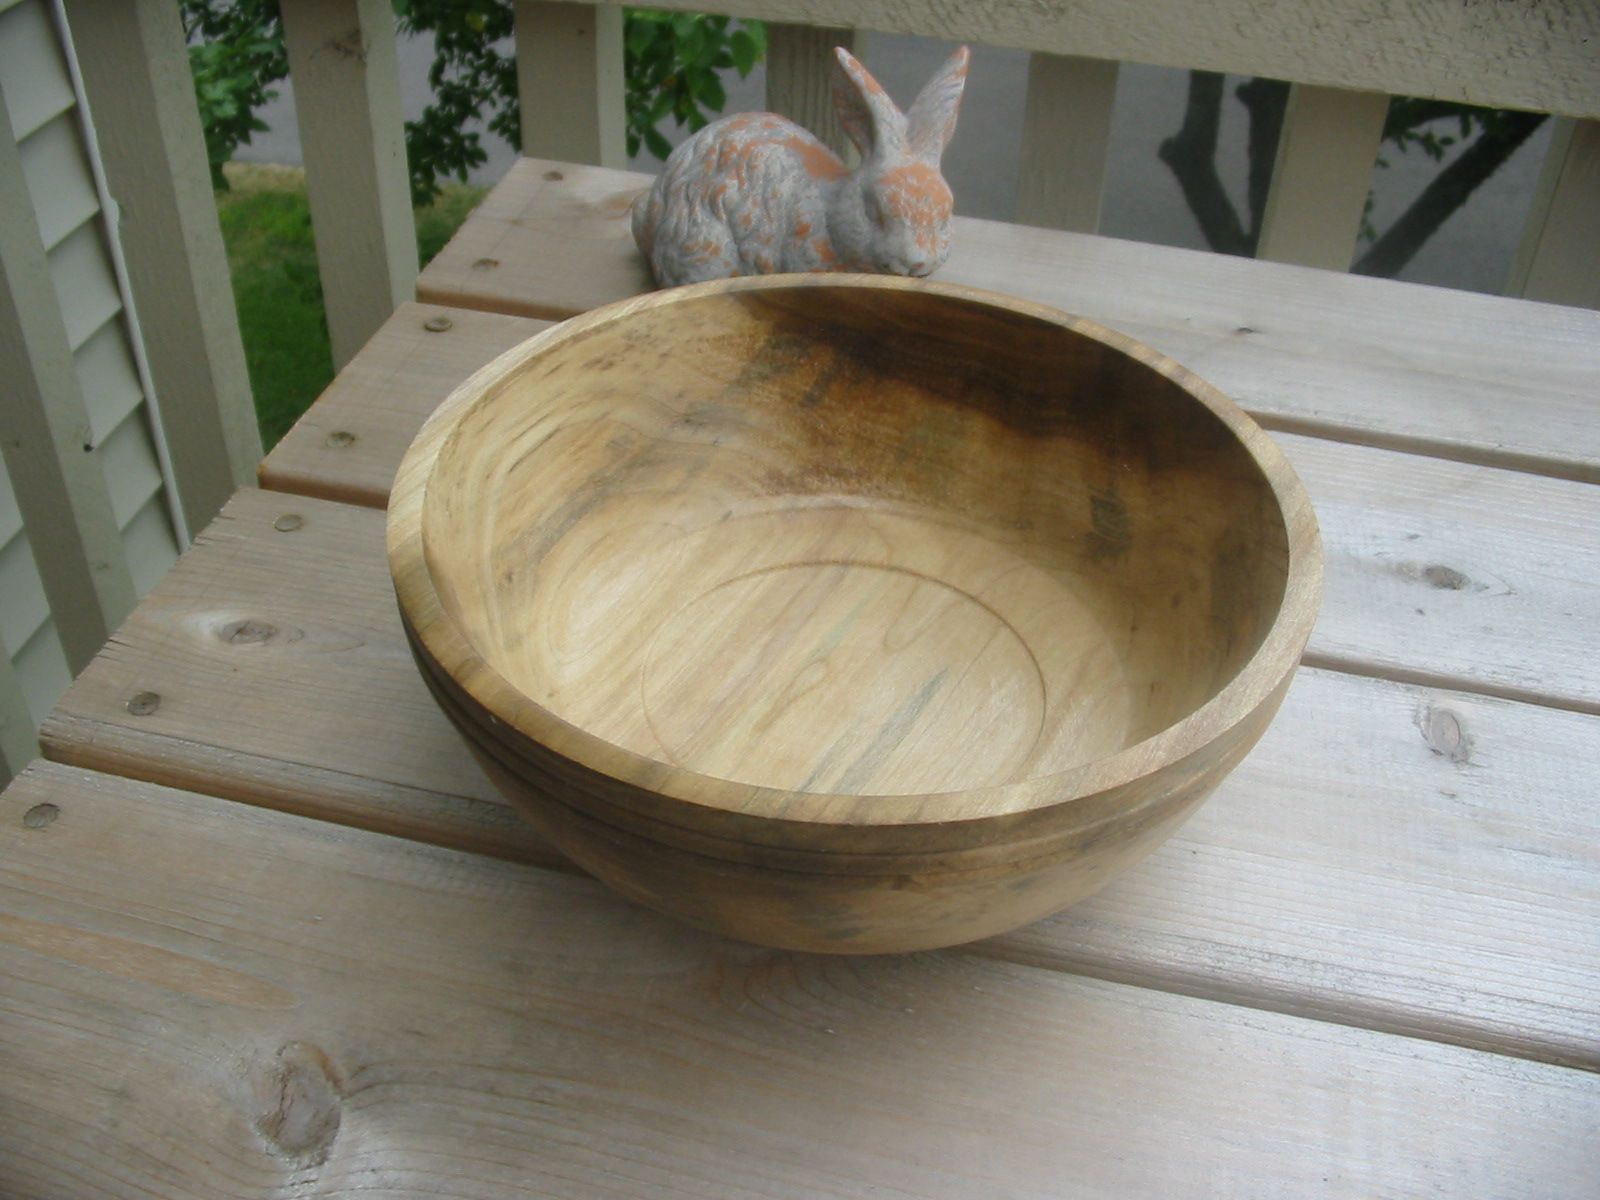
And while I was doing this I gave the coffee wood bowl another coat of salad bowl varnish too:


Both bowls will require another 1-2 coats of varnish before they're done so stay tuned for more photos. The poplar bowl will be re-mounted on the lathe after I'm done varnishing it so I can clean up the underside of the foot. So it has a little more time in the shop before it's done.

Apple wood box

After looking at the apple wood box, I decided not to turn it any more but to instead sand it and get it ready for finishing and thats what I did. Here is a photo of the lid on the lathe:


 The lid needed finish sanding and the finial needed a little more turning so as not to look stubby. I also wanted to shave the surface of the finial more so I wouldn't have to do so much sanding. I took my skew chisel, sharpened it really well and very gently cut the surface of the finial until it was smooth and a little narrower. I also sanded it with 400 grit sandpaper and got it very smooth:


The box portion presents a different challenge as the surface is comprised of both solid wood and tree bark. I didn't want to accidently knock off any of the bark so I placed the box on the lathe and locked the lathe in place and hand sanded it. I used 120-400 grit paper on this and I got it really smooth without damaging it: 

It's now ready for a finish to be applied. For this I'm going to use a spray lacquer so as to get the finish applied evening to the surface and into all of the nooks and crannies on the bark areas:


Here's the lid after one coat of lacquer:


And here is the box. I'll continue to use spray lacquer for several coats and then I'll take it off the lathe and gently polish the surface by hand:

While the above pieces are making their way through the finishing process, I'll continue working on the art pieces. The next project will be working on the black ash tea box. More about that tomorrow.

VW

Sunday, July 28, 2013

Coffee Wood Bowl-sanding and finishing

Hi Everyone,

After I sat the poplar bowl down, I turned my attention to the coffee wood bowl and I must say I'm quite happy with it but I thought it was a little on the heavy side. I took it down to the wood shop re-turned the inside of the bowl. This had the effect of thinning the sides and bottom and it also made the interior of the bowl rounder. Here are some photos of today's work on this bowl:


The bowl needed more sanding after I re-turned the interior. Sanding can be an onerous activity but you can speed up the process and get smoother results with a modicum of sanding equipment. This star-shaped sand paper is 2" in diameter and it fits on a small foam backed sanding disc (see below). The rounded "points" on the sand paper allow me to fit the whole thing into the bowl and sand the interior without gouging the surface:


The disc in the photo above is 120 grit sandpaper and this smoothed off the surface very well:


Another type of sanding equipment is the sanding mop. These are great for sanding the interior of bowls, and also for sanding very irregular surfaces like the rim on this bowl. They come in a variety of grits. I have an 80 grit mop and a 120 mop. They are especially helpful for sanding the interior of spoon bowls too:

And you can see how this fits on a hand drill:


At this point I put down the camera and sanded until I reached 400 grit. Here are two photos of the bowl:


Another thing to try if you're having problems sanding is to wet down the surface with mineral spirits and then sand it. It keeps the wood cool and it dampens down wood dust too. This will produce a very smooth surface:


After I finished in the wood shop I came inside and took the following photos. This one shoes the finished surface of the bowl:


And these last two photos show the inside and side views of the bowl after it's first coat of salad bowl finish. It's a very lovely apricot color:


This will get two more coats and then it will be buffed and turned over to the new owner at the end of the week. I'll post finish photographs on Friday.

Next I have to do some work on the art show pieces for later this fall and that's what we'll do this week. As always, you're always invited to grab some coffee and drop by the wood shop and if you have a question or comment, by all means send me a message.


Best,
VW


Poplar Bowl-sanding and finishing-problems

Hi Everyone,

Well, I went downstairs retrieved the poplar bowl and then went out to the wood shop and started working in it. I'm happy to say that the bowl is still round and not distorted and there's no cracking. This is good news in that the bowl is very stable and probably will continue to be.

I put it back on the lathe and began sanding it and I went from 80 grit to 400 grit and the end grain is crushed. Sometimes in softer woods, cutting across the end grain doesn't cut it cleanly. Instead it tears or even just crushes the fibers so instead of a smooth surface in which the end grain shows clearly, the end grain areas have a sueded feel and if you put a varnish on it, it will look muddied.

The answer to this is to varnish the surface or lacquer it and let the surface dry for a day until it's really hard. This will harden the fibers and with a really sharp tool, I'll try re-cutting the interior of the bowl. The exterior of the bowl looks fine and needs no further treatment.

Here are a couple of photos:

Here is a photo of the bowl on the lathe. You can see some faint mineral staining on the surface:


These next two photos show the bowl with a preliminary coat of salad bowl varnish. As the wood is quite soft and porous, it will take several coats before it has a good, solid surface:


I think the bowl is a good size and the person receiving it will be happy to get it. But the surface needs more treatment so more about this bowl as the week progresses.

Next I'll post about the coffee wood bowl.

VW


Saturday, July 27, 2013

Hooray! The Lathe is back and New Project: The Coffee Wood Bowl/Plans, Discussion, and Photos

Hi Everyone,

Well, I'm as happy as can be-the lathe is back in the shop. I can stop fretting and worrying about it and get back to work, which is exactly we'll do next.


The Coffee Wood Bowl

I've got a friend in St. Paul who asked me to make her a large bowl. We discussed it and she settled on the large block of coffee wood that I bought for my birthday and was saving for just a fun turn at some point:


Discussion
I've turned coffee wood before. These were several small pieces that I made into salt and pepper shakers last year and it very much reminded me of hickory in terms of hardness and grain pattern. Coffee wood however has a lovely pinkish-orange color and a strong open grain pattern reminiscent of red oak. So I was excited to get going on this and I decided this would be my first project as soon as the lathe came back from repair.

Plans
So, I'm going to turn a bowl approximately 11" x 3" out of coffee wood and give it a salad bowl varnish finish.

The weather outside is cool and rainy today and it's perfect turning weather so here we go:

Here is the block on the lathe but before I began turning it. I've drilled a deep tenon on the back of it and I've cut the corners off on the bandsaw. As this is a heavy piece I'm going to turn it between centers and at about 400rpm until the piece is turned round and is balanced better and lighter in weight:


I've stopped the turn and taken a picture just about 5 minutes into the turn. I like to true up large flat surfaces by cutting from the side. I'm far less likely to get a catch this way and it's easier on the end grain with less tearing and pitting the result. In the photo you can see two arrows. I'll true up the side of the blank by cutting to the left and shape the flat bottom by cutting to the right:


Here is the blank after about 30 minutes of cutting. Next I'm going to shape the underside of the bowl and create a foot and a tenon:


Here is the bowl about 20 minutes later. You can clearly see the foot and tenon. Also note the grain pattern. This wood is really turning well-no chipping or tearing. And look at that grain. This is going to be a lovely bowl when it's done:


Here is a side photo of the bowl. I'm going to remove that squarish shoulder on the bowl and leave some extra wood for the rim:


And here is the bowl again without the shoulder:


I've begun shaving down the surface here with a very sharp roughing gouge. This creates very fine shavings called angel hair shavings and it prepares the bowl for sanding:


 This is the bowl after it's been sanded down to 400 grit. I've left the rim alone because I'm going to cut it next:


This is a closeup shot of the rim. I've turned two beads into the surface and prepared the wide area for smoothing. I'll finish the rim when I flip it over for hollowing in a little while:


I've taken the bowl off the lathe and here is the underside of it completed:


Now to hollow it out:


I've flattened the surface of the bowl and we can now see the color and grain pattern. Very pretty:


Now I'm into serious hollowing here. I like to create the walls of bowls but leave the center thick and unturned while I'm working. This helps to dampen the vibration that sets in whilst it's spinning and you can see the center is still intact:


I put down the camera and continued to hollow out the bowl. Here is a photo after about 40 minutes of turning. It still needs the bottom flattened out and the whole surface shaved smooth:


And here is the bowl after the turning is finished. The sides are about 1/2" thick and I think this gives the bowl a good feel in the hand, and if it's ever dropped it's less likely to crack:


Here is a side view. Note the rim:


And here is a photo for the wood fairies:


 Now tomorrow I'll completely sand it smooth and put a first coat of varnish on it. Monday it will get a second coat and if all goes well, I should be able to deliver this fellow by Thursday or Friday. So stay tuned for more photos this week.

Also tomorrow I'll begin the finish work on the poplar bowl I was making last week. See you then.

And also welcome home dear... :)

More later,

VW


Friday, July 26, 2013

The Lathe Returns Tomorrow!

Hi Everyone,

Well, after a week of wringing my hands and worrying myself to an early grave, the repair service just called. The lathe has been repaired and I can pick it up tomorrow.

Stay tuned for the gala homecoming!

VW

Saturday, July 20, 2013

Moving on to Spoons

Hi Everyone,

Well, I'm getting over not having the lathe in the shop and so I've gone back to spoon carving. I made 5 of them today out of various woods and I'll be doing some posting about them while I'm waiting for word on the lathe.

As I've changed the way I make them  and I've re-done the design I'll be posting later this week with photos and discussion. In the mean time here is a photo of Biscuit playing with a maple wood spoon:


Stay tuned,

VW

Lathe breakdown, continued

Hi Everyone,

Well, I've had to take the lathe out of the shop and into town to an authorized service center for Delta lathes for repair and I'm worried  about all of this. Since I purchased the lathe, Delta has been sold to another company and according to Internet postings about this, their customer service has really deteriorated. I looked around for replacement switches for the lathe but everyplace I checked had backorders for them. I hope the service center can either locate a replacement switch or find a comparable switch for it. They'll let me know in 10-14 days what will happen.

So it's in the hands of the specialists.


Where once there was a lathe there is now only sawdust.

Sigh,

VW

Friday, July 19, 2013

Poplar Bowl, continued and Bad News

Hi Everyone,

Well, I looked at the bowl and decided to hollow it out more and I'm much happier with it. Here is a photo of it:


Now for the bad news: my lathe has suddenly stopped working. I had switched off the lathe and took the bowl off to look at it and then I put the bowl back on to begin sanding it. I reached for the switch and nothing happened. I tried several times to turn it on but it isn't working.

I'm not sure what's wrong with it. It is hot outside and the motor is hot and covered with wood shavings so it might have over heated.

I'm going to let it cool off and try it again in a couple of hours.

Keep your fingers crossed.

VW

The Poplar Bowl, continued

Hi Everyone,

I went back down to the wood shop this morning and hollowed out the poplar bowl. Here are the photos and notes for this phase of the turn:


In this photograph I had been turning the bowl for several minutes and it's beginning to hollow out. Note the center of the bowl we're I've drilled out the center with a large Forstner bit. This helps to establish the depth of the bowl and it also removes the center, which owning to the fact that the center spins more slowly than the rim, can cause it to tear instead of cut smoothly:


I put the camera down and turned the inside for another 45 minutes or so. The turn has proceeded very well as the wood is dry and it's cutting easily:


Before I take it off the lathe, I turned my attention to the rim. Here you see a wide area-this is going to be divided into a rim and two narrow beads below it:


And this photo shows this area turned into a fancier rim:


I took the bowl off the lathe and took it inside to look at more. I think it still needs to be hollowed out more and deepened a little bit. Here is are two views of the bowl as it stands right now:


I'm going to leave it for a few hours and think about hollowing it out more. After the turn is finished it will need considerable sanding and smoothing. I'll cover all of this in a subsequent posting.

VW