Friday, December 11, 2020

Old School Desk-Completion Photos

 Hi Everyone,

Well here it is:


Discussion

This turned out to be a tougher project than I thought it would be. The finish, even though it was worn out and damaged, was really tenacious and I finally wound up sanding most of it. The drawers were especially difficult. But eventually I got most of the old finish off and the new finish in place.

The interesting thing about this is the variety of woods that were used to make the desk. I saw black walnut on the top (matching walnut veneer at that), poplar, white oak, beech, plywood, maple, and whatever the frame was made out of so the color of the stain wasn't uniform. I made up for that by staining it several times to get some uniformity. The drawers and the frame match but the top doesn't. I do like the walnut top so I left that alone.

We also strengthened the frame with new screws and we tightened all the older existing screws so it's a little more steady and no so wobbly.

And to give it a more contemporary look I bought new cup-style handles in black for the drawers and I'm pleased with that. My husband screwed those on for me and I'm grateful for his help.

The General Finishes products worked very well. The stain helped to cover up a lot of damage that I couldn't sand off and most of the dents and dings are invisible. I plan to get several more colors of their gel stain in stock for future projects. I have an old, smallish wooden set of drawers that I got at a garage sale a couple of years ago. Next spring I'll re-finish this to match the desk and use it as a printer stand.

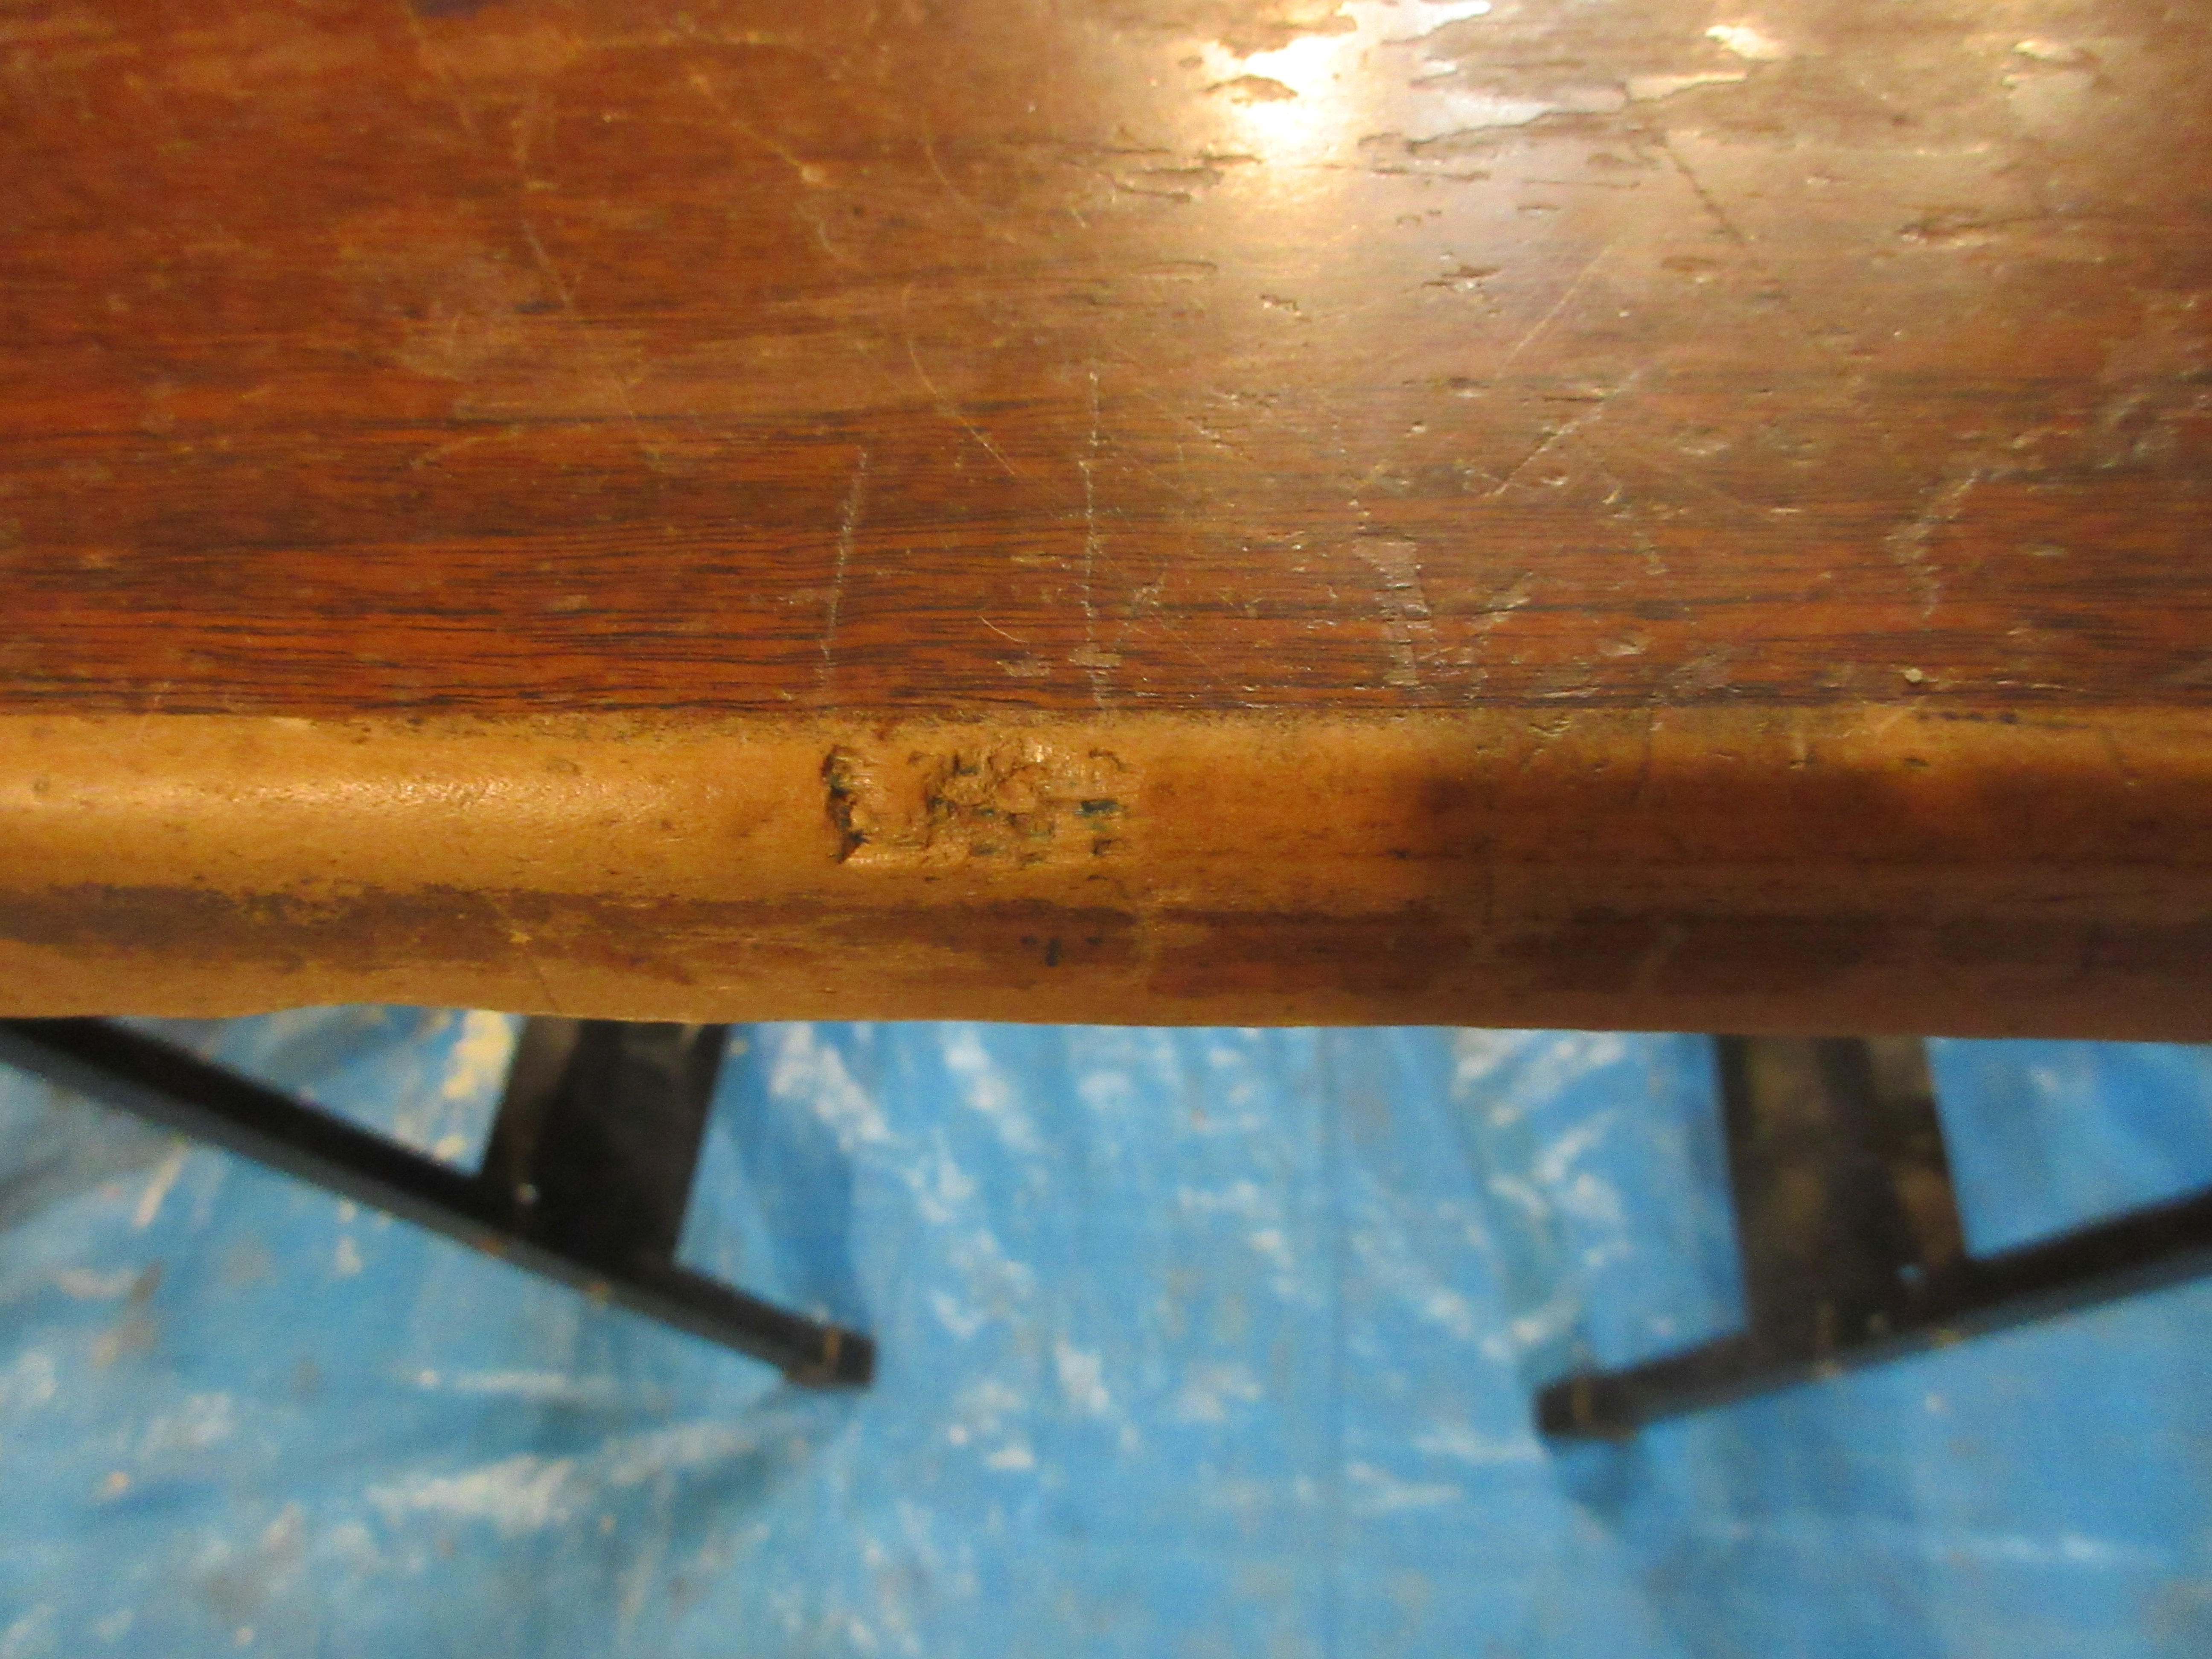
Unfortunately I never found a stamp or a plate from the manufacturer so I have no idea who built this. I suspect these were turned out by the thousands over the years and it's easy to find them on ebay and elsewhere on the internet. 

So it's time to put all the stuff we had in the desk back into the drawers and call it a day. 

Oh, and cats wanted me to show you this photo:


I'm not sure what the next project is-ah yes, I need to finish mailing holiday cards! 

This year has been a tough year for everyone no matter where you are so let me wish all of you here a better 2021. Thanks for hanging around the woodshop with me and I'll see you all next year.

Best Always,
VW

Thursday, December 10, 2020

Henri le Chat Noir Dies

 Hello Friends,

Henri le Chat Noir, the cat who was the star of a series of short videos about his ongoing ennui and relations with other cats, has passed away. I've been a big fan of his over the years and always had lots of laughs over his videos.

My condolences to Will Braden, aka The Thieving Filmmaker. 

Henri, you'll be sorely missed.

Today's Facebook announcement: https://www.facebook.com/henrilechatnoir/posts/225789765574284

VW

Wednesday, December 2, 2020

Old School Desk, continued: Working on the Drawers

 Hi Everyone,

Well I hope everyone here in the US had a good holiday and everyone else in the world had a good week.

Ok, back to the desk.

I finished the desk top and now it's time to get the drawer faces cleaned up and finished. I took the smallest drawer first and worked on that. Here's today's photos:


Here's the desk top:


Here is the face of the drawer and you can see it's beat up like the rest of the desk. I wanted to replace the handles on the drawer and it looked like these just screwed on. It turned out that it was glued and screwed on and it didn't readily come off:


So I gave it a sharp rap with a mallet and a chisel and it came off. Fortunately the glue was dry enough that it came off without damaging the wood underneath. And the whole face, handle and all was finished at the same time:


This is what the handle looks like: 


The drawers were also made out of beech, some kind of laminated panel, and an unknown hardwood:


So I started scraping and sanding and this is what it looks like. I don't really have a good way to clamp the drawers down so I couldn't scrap the surface firmly:


This is a photo of the new and the old handles side by side:


And this is what the drawer front looks like with a single coat of stain gel on it. It's still a mess. The unstained part that the handle covered up is still visible so I'll have to give it another coat of stain later on:


I'm going to use that one drawer to experiment on before I do the rest of them. 
Stay tuned,

VW

Saturday, November 21, 2020

Old School Desk Project: frame finish and the desk top

 Hi Everyone,

Well, I've made a lot of progress with the desk-I've got a finish on the frame and I also got the old finish off of the desk top. Here's the photos and discussion:

The Frame

You'll remember how beat up the desk frame was when I first started. I honestly think someone at some point must have pushed it over a cliff and landed it on the rocks below! And the frame joinery is loose and wobbly as well. So I spent several days scraping off the old finish with cabinet scrapers and sand paper. I also cleaned up a lot of the scratches and dents on the edges of the frame parts:


Here's what it looked like afterwards:


Here's a photo of the entire frame. It got a lot more sanding after this:


I also found out that the panels are walnut plywood and the frame is a light colored hardwood of some type:

After all the scraping and sanding I sat down and did some research online about how to deal with a desk made out of several different types of wood (there's also poplar). There are a number of blogs and photos of old beat up furniture that has been re-painted, to marvelous effect. Several other projects showed furniture that had been restored and that looked really great too. I even put this questions to friends, should I paint or should I re-finish it?

As I'm not terribly good at painting or selecting colors I decided to re-finish it and bring it back to more of it's original state, with a few up grades thrown in for good measure. As a lot of the damage is still visible, I decided to go with a gel stain that would be less transparent but impart a good solid color. So I purchased a can of General Finishes oil based gel stain and brushed that on and I must say that worked very well. It covered up the damage and it also stained the different woods the same color:


After I took these photos I added a second layer of stain and it looks really nice. More about that later on.
______________________________


The Desk Top

I've looked at the desk top over and over during the years and thought about what the desk would look like when I finally got around to re-finishing it. Here are several photos of the top before I began working on it:

A lot of the finish wore off over the years:


And the edges of the top were really damaged and worn:


LOL, I love this one spot in the center of the photograph. It's a bunch of tiny holes, probably made by pencil or a pen in kind of a square shape. I can imagine a teacher in the past having a really bad day and taking it out on the desk top. I decided to leave that one spot there and not repair it!


I thought seeing as how the old finish was so battered it would easily come right off. It took several hours of scraping with cabinet scrapers to get it off. It was really tenacious:


Here it is with most of the finish removed:


And here is a photo of one of the corners. The edges were really a mess and the corners had been dented too so I sanded and filed these areas with sand paper and a wood file and they came out very well:


After the scraping, I sanded it completely with an orbital sander and then I wiped it down with mineral spirits to clean out the dust and this is what it looks like. You can see that it's book matched walnut veneer with a light colored wood for the edge:


It's really pretty. 

So for this part of the desk, instead of staining it, I'm going to stain only the edging and apply a clear polyurethane finished to the top so the grain will show clearly. 

What's next? My husband the engineer has offered to reinforce the frame with wood glue and screws and I think we'll have a posting about that. While he's doing that I'll be working on the drawers and the shelves and getting some new drawer pulls to replace the old ones. 

Stay tuned.
VW

Friday, November 13, 2020

Old School Desk project-the frame/scraping, sanding, and thinking about the finish

 Hi Everyone,

Well I've begun removing the old finish from the desk frame and what a mess that frame is in. I was right in that a lot of the joinery is old and no longer holding the frame together so as I go through this, I'm gluing and screwing the joints together. It's still rocks gently so I'll have to flip the frame over and run more screws in from a different direction.

The finish is pretty old-it's flaking off easily with cabinet scrapers. I also found out that it's been finished twice, probably once at the factory where it was made and again at another point in time. The original finish was reddish and the other finish was thick and very dark brown. It almost looks like molasses. I can see how it was just brushed on. And it's really dirty and there were quite a few spider nests in the corners underneath.

The surface of the wood is really beat up. Check this out:


Here's what it looks like after being scraped and sanded a bit:


There are still shallow dings in the surface. The entire frame is turning out to look like this and I'm wondering if I should paint the frame and leave the drawer faces and the top natural wood or should I stain the whole thing the same color?

I looked at some photos on Pinterest last night and saw a lot of old furniture that had been re-finished with paint and stain and some of the pieces looked amazing after they'd been finished. I'll have to think about this as I go.

The frame is enclosed with thin plywood panels that were stained the same color as the frame and I'm going to have to remove that part of the finish with paint remover as the surface is in good condition and the finish is still tightly adhered. More about that later.

Stay tuned,
VW

Tuesday, November 10, 2020

Old School Desk re-do project-Discussion and Plans

 Hello Everyone,

Well, it looks like autumn has hit-we're in the middle of an ice storm! It's cold and slippery outside so this is the perfect time for a project.

Many many moons ago I bought an old teacher's school desk at a yard sale. It had several owners before me and it showed-it had lots of dings, the finish was peeling off in places and I always thought it would be the perfect summertime re-finishing project. 

Fast forward about 35 or 6 years and I'm just now getting around to it. It's gone through several large scale moves and numerous smaller moves, the finish is still peeling off, and it's seriously dinged up. Also the frame is sagging so it needs help.

Here's a photo of it upside down


Plans

I've taken the top off and the drawers out. I'm going to assess the framework first. The desk had a noticeable sag in the middle so I'm going to be looking at all the joints and fixing them:


Then I'm going to remove the finish, then look at all the dings:


The legs are really banged up. Once that's dealt with, I'll sand it smooth and apply a new poly finish to it. 

The top is heavy and it has a walnut veneer on the top and of course the finish is peeling off of that as well. That will get sanded and finished.

Lastly the drawer joinery needs to be looked at and the drawer faces re-finished and maybe some new drawer pulls applied.

So hopefully by the time I'm finished I'll have a desk that will last another 100 years or so.

So stay tuned-we're off on another adventure.

VW


Sunday, October 4, 2020

The Calico Bowl Project-Completion Photos

 Hi Everyone,

Well, here it is:


So we've gone from this:


To this:


I don't usually run around signing things but I think today this one deserves a signature:


A note on the Powermatic 2014 lathe and stand: this is a new piece of equipment for me. My previous lathe was a Delta midi-lathe and difference between the two is incredible. The Powermatic performed perfectly in every way imaginable and it's also whisper quiet. It's very stable. It handled the weight of this block flawlessly and I'm very very pleased to have this in the shop going forward. Well done Powermatic!

I'm going to let the finish on the bowl cure and I'll probably send out the bowl at week's end.

_______________________

What's next? I am going to do something a little different with the next project in that we're going to have the cement floor in our downstairs living room re-surfaced and coated. I have to remove some linoleum squares first and I'll be doing that this week, and I'll show you the progress of the floor as it goes.

After that it's time to re-do the coffee table and if it isn't too cold, build a couch. 

Thanks for dropping by the woodshop for this project-see you all soon!

Best,
VW

Thursday, October 1, 2020

Calico Bowl continued-finishing & Coffee table update

 Hi Everyone,

Well, the sanding is done and there is nothing left to do with the bowl except apply the finish. Here's today's photos:

Here's the bowl with a preliminary coat of salad bowl varnish. It has amberised the color a bit and I think that looks really nice:


I used General Finishes salad bowl finish for this project. I've used it in the past and it makes for a durable finish. And if the finish is damaged it's easy to fix it.


I'll put two more coats on it and then it's done. I'll post completion photos this weekend.

______________

The Coffee Table

Ahem...I finished the table and triumphantly carried upstairs to the living room expecting another Selkie Wood Works victory. I set it down in front of the couch (which I'm building another one beginning in a week or two) and it was like someone had let all the air out of a balloon. It just fizzled out. It doesn't look at all good in the living room (it doesn't look good in general) so I'm going to re-think it for several days and probably re-do it. 

Sometimes these things don't work out. It's probably the wood fairies fault. Oh well, back to the drawing board.

Stay tuned,
VW

Tuesday, September 29, 2020

Calico Bowl continued-the scraper worked!

 Hi Everyone,

Well I tried out the scraper and it worked! Saved me a lot of time trying to smooth out the roughness inside of the bowl.

Here's a couple of photos to look at:

These two photos show the bowl on the lathe-


And here are a couple that show the bowl outside in the sun:


Now I'm going to spend the next several days sanding and I'm hoping by Thursday I'll be able to begin applying the varnish to the surface.

Stay tuned,
VW