Thursday, October 31, 2013

Scrap Wood Project-MYSTERY PROJECT! and Happy Halloween

Hey Everyone,

It's Halloween here in the US-time for lots of chocolate and the undead walking the streets. Kinda sounds like a normal day.

Anyway, here is a really simple project for an item I bet you could really use and you don't need a lathe to make it.

And I'm not going to tell you what it is until it's done!

Here are the photos:

Ok, I took two pieces of 1" x 4"x13" pine (see the previous project) and ripped them down to 1 1/2" wide. Then I took each and cut a small 3/8" x 3/8" rabbit along each edge


Then I glued and clamped them together-be careful to line up the rabbits so you have a channel that runs down the center of the block:


Can anyone guess what this will be?

Oh No! A zombie is trying to break into the wood shop! I'm getting out of here!

See you this weekend.

VW

Scrap Wood Project-Veggie platter/Discussion and Plans

Hi Everyone,

Here is another scrap wood project that I'm going to make out of some pine I have here in the wood shop.

Discussion

I have several 8 ft lengths of 1" x 4" #3 common pine from I project I decided not to pursue earlier this summer. So to keep it from gathering dust and to make it into something useful, I'm going to turn it into a veggie platter with a glass insert in the center that can be filled with dip and removed for washing.

Plans
I'm going to cut 12 pieces of 1" x 4" pine 13" long and stack them together and laminate them into a block. When that's done I'll cut a large turning blank from it and put it on the lathe and hollow out the center to accept the glass insert and then I'll hollow out a section between the insert and the rim for the veggies. I'll complete the whole thing with salad bowl varnish.


Ok, here are the photos:

Here are the pieces lined up together. As pine has a lot of knots, I'm careful to avoid placing a piece of wood with a knot than might wind up on the rim:


I've also line up the pieces so that the end grain matches up together (look carefully at the end grain-if you click on the photo you may be able to see it):


And this is the insert. It's a small Pyrex glass bowl that's about 3" in diameter. It can be removed for washing and if it ever breaks, it can easily be replaced as Pyrex bowls like this are common in the US:


I'm out of glue! I'll be making a glue run later today and I'll try to glue and clamp it later today or tomorrow.

Let's all meet up here on Saturday and I'll proceed with the project.

VW

Wednesday, October 30, 2013

Project Completion photos-the yarn bowl, the spurtles, and salt cellars

Hi Everyone,

I've had a number of smaller projects that I've brought to completion today so let's take a look at some photos:

Spurtles

The spurtles are finished. I've made them out of some scrap lumber and several tree branch sections I had ear marked for spoons. They are approximately 13" long and I've created substantial handles on them to make them comfortable to use. And two of them are shaped like thistles. All of them are finished with salad bowl varnish and this needs about a week of curing before I turn them over to the new owner who will be incorporating them into a Christmas project (more about that in another posting):

The wood species are from left to right: red oak, mineral stained poplar, red oak, and poplar:


Salt cellars

Earlier this summer I demonstrated a project using scrap lumber and jam jars. Put them together and you get a salt cellar. The jam jar is an 8oz wide mouth Ball jam jar which are readily found here in the US-and I suspect any wide mouth jar would work well for this project. These were all made with small scrap wood pieces. The lids are black walnut, maple, tiger wood, and laminated hickory and jatoba wood:

This is a side view of the tiger wood jar:


And these will be donated to a Christmas sale later next month. More about that later on.


The Yarn Bowl

Well, this is finished too and I must say I'm not very happy about the bowl. It's is large and rather crude looking and the added stain ruined what little merit it had.

Now I'm not going to go off on a rant about the evils of stained wood. I've made most of my furniture in my home and almost all of it is stained pine or other wood. I think staining wood for furniture is entirely appropriate. And there are a lot of wood artists who stain wood and use paint and other means of coloring to beautiful effect. This bowl isn't in that category. I think it looked fine in it's natural state but the owner of the piece wanted it stained a mahogany color and so I did it. In retrospect I should have declined as this is simply a large pine bowl that is stained red. Here are the finish photos:


I'm never doing this again.

__________________________________

Ok, I have another scrap wood project and I need to figure out a way to cut a large tree trunk into sections to get it ready for turning and I don't have a chain saw. More on that soon.

Take care and enjoy the autumn.

See you all soon,

VW

Tuesday, October 29, 2013

National Cat Day

Hi Everyone,

As a life long cat lover, I just wanted to say happy National Cat to the Ginger Majesties:


...and get out of my lunch!

More later,

VW

Monday, October 28, 2013

Scrap Wood Project- Spurtles for Oatmeal

Hi Everyone,

I got an email from a friend of mine asking me to make spurtles for a Christmas project she and her daughter have in mind a little later in December. As this is a Scottish kitchen implement, I'm going to dedicate today's posting to my lovely mate Alison in Glasgow (hey there lass!).

If you Google the word spurtle you'll see that it's basically a turned wooden rod with a handle that is used for stirring oatmeal. You can make it out of any type of wood and the example today is made out of a 1 /12" x 1 1/2" x 16" long piece of mineral stained poplar.

Here's the photos:

Here is a photo of the poplar on the lathe. I'm going to take the roughing gouge and turn it into a cylinder. The grain runs from right to left:


Here's the cylinder. I've marked off about an inch on either side as this marks off the ends for turning. The spurtle will be about 14" long:


Close up of the markings for the handles. You can make the handle any design you wish just as long as it's smooth and doesn't have any sharp protrusions that can hurt your hand when you're stirring:


Here's the handle I've turned. The knob on the top will be rounded over so it won't be uncomfortable to use:


And here is the whole thing, shaft and handle. I sanded it with 120 and 180 grit paper:

And here it is with a layer of salad bowl varnish on it:


And here is a photo of the spurtle in a sauce pan. It shouldn't be too short so it could be used in a larger pot but it shouldn't be so long that it flips out of the pan if you let go of it:


This took me about 30 minutes to make this afternoon and if you're good at spindle turning, you can probably turn these out by the millions and sell them to Scotland and retire...ok, maybe not but you get the idea.

I'm going to try this out for a few days in my kitchen and if the design and finish work out I'll make 4 for my friends.

More later,

VW

Friday, October 25, 2013

Scrap Wood Project-Yarn bowl continued

Hi Everyone,

Well, I've heard back from the future owner of the wood bowl and she wants it stained solid red inside and out. So I've taken the bowl down the shop and done just that. Here are the photos:

Here is the bowl on the lathe. I'm going to sand off the speckles:


Here is the beginning of the staining process. The wood has been sealed and I'm going to make this as deep and uniform a red color as I can. This means multiple layers of stain:


Here it is completely stained. I've left the stain on for about 10 minutes:


Here I've wiped off the excess stain. These are photos of what it looks like in natural light:


It's going to need at least one more coat of stain. The bowl will go inside now and dry completely for the next several hours as it's too cold outside for it to dry. I'll probably coat it again later this evening.

VW

Thursday, October 24, 2013

Wood Turner Lynne Yamaguchi is back

Hi Everyone,

If you've been reading my blog for a while, you'll remember my comments about Tucson wood turner Lynne Yamaguchi. She was badly injured in a lathe accident in September 2012 and has spent the last year having surgery on her left eye and face. She has posted about her journey since then and for a long time stopped posting. I was fearing the worst - that she had possibly had to give up turning all together but she's back working and getting on her feet again, which is great news.

You can see her blog at: http://www.lynneyamaguchi.com/wordpress/2013/10/22/thirteen-months-later/#respond.

Welcome back to work Lynne-I wish you smooth sailing.

Best,
VW

The Scrap Wood Project, continues/The pine yarn bowl-The Great Speckled Bowl

Hello Everyone,

Well, it's continuing to get colder and colder here and with the wind, our beautiful leaves are disappearing. I went out for a walk this morning and it was brisk outside. Snow will be here soon.

Back to the scrap wood bowl. I've begun finishing it. I previously applied a wood sealer to the surface and then a natural pine stain in order to deepen the pine color. I got into a discussion with the future owner of the bowl over the application of a mahogany colored wood stain, which I wasn't too keen on. She loves the color red ( I don't blame her, it's my favorite color too) and I wanted to accommodate that to the extent that I could so instead of applying a solid layer of stain, I elected to used two colors of wood stain and to sponge it on the surface.

Sponge painting is a common craft technique and it's easy to find images on the Internet of surfaces that have been painted this way using paint. I never could find anything about using wood stain instead so this was uncharted territory. I wanted to use wood stain so the pine color would show through a little in the hope that this would dampen the intensity of the red stains and not overwhelm the piece. I also wanted to use a second color to help add more detail to the surface. My goal then was to color a section of the bowl with three colors: a claret red, a cognac colored brown, and the native yellow of the wood.

I purchased two stains in claret and cognac by Varathane. Their claret stain is akin to a cardinal red and the cognac is a medium reddish brown. And I also got a very rough piece of a sea sponge for this project.

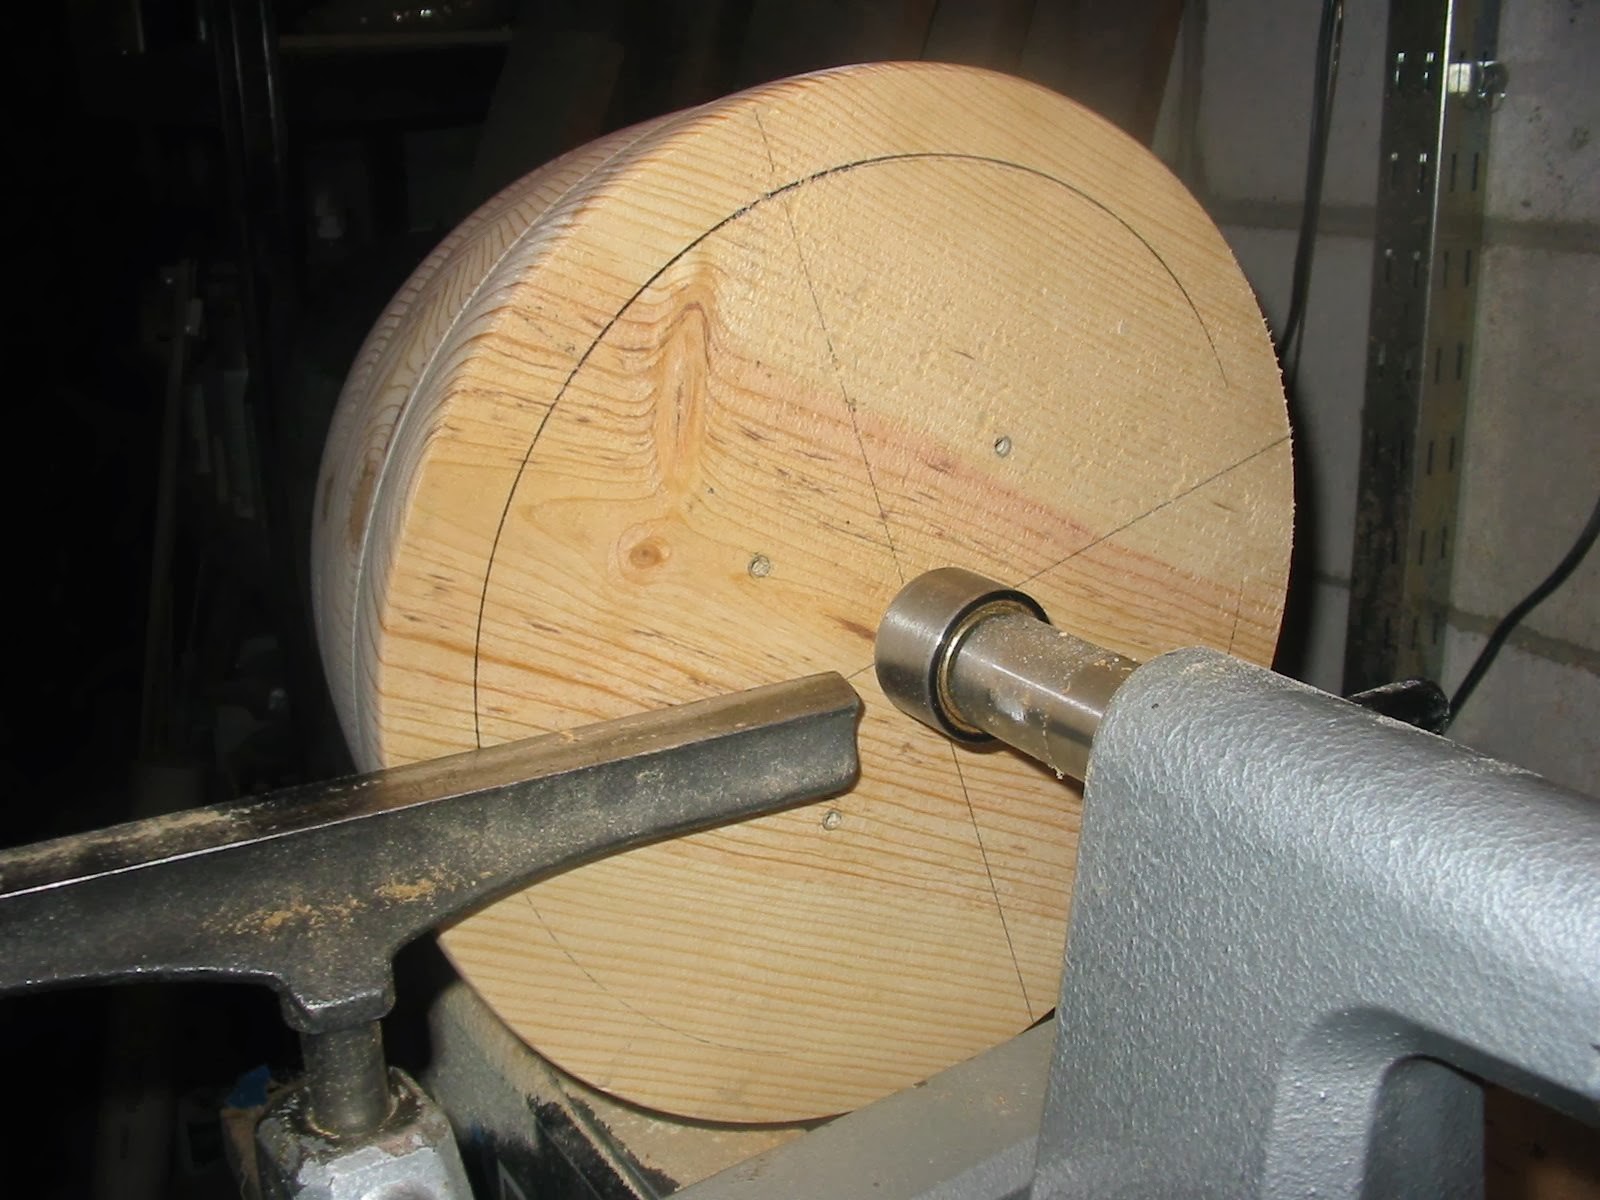
Here are today's photos:

Here is the bowl ready to go with all the stuff I bought:


I spent several minutes masking off the portions of the bowl that I did not want stained with blue painter's tape. I'm going to stain a wide area that includes the rim:


All taped up and ready to go:


I shook the cans to mix them well and then just lightly dipped a corner of the sponge into the stain and then applied it gently to the surface of this scrap pine board. This is the cognac colored stain:


In this photo on the left hand side you can see the claret colored stain. In the right hand side you can see the two colors overlapping one another.

Ok, moment of truth-should I stain or not?


Press On! Here is the bowl with the claret stain only. The stain is down the sides and on the top edge of the rim:


And here is the finish photo with the claret stain, the cognac stain, with a little bit of unstained pine showing through:


Now I'm going to let this dry for the next 2 days and then remove the tape and take a look at it. If it comes out looking positively horrid, then I can put the bowl back on the lathe and remove it (ahhh, the magic of wood turning!). Probably I'll finish the bowl at that point and then sit and look at it for a while.


Stay tuned, we're not done!

VW

Monday, October 21, 2013

Scrap Wood Project-Yarn bowl-sanding and beginning to finish

Good Morning All,

Well,  I went out for my morning walk this morning and walked right into a frozen rain-snow mix. And a lot of wind. It sure was cold but it was a welcome sight.

I went home and decided to work a bit on the bowl and here is where the project stands at present:

As I mentioned in a previous posting I'm making this for a friend who knits a lot and agreed to test the bowl for me. In emailing back and forth last evening, she wanted some finishing changes that upon thinking about them, I don't think would work well for this particular piece. That and she makes small handcrafts and this is a big bowl. I had it in mind to make large bowls for folks who make larger thinks like afghans and sweaters and use larger balls of yarn.

So I will be making her a smaller bowl in the near future that better suits her needs and esthetic requirements.

Back to the bowl:

I went down to the shop and sanded the bowl very well to smooth the surface and remove any surface scratching from the turn:


Then I took one of my French curves and drew the slot on one hole only. I think added an additional slot might weaken the bowl and cause it to break should it ever be dropped. I sawed it by hand with my coping saw:

And here it is with the slot in place. I then sanded it smoothly, along with the holes, so that yarn won't snag on the edge:


I decided to stain the bowl a natural pine color to deepen the yellow color and also to emphasize the reddish-brown color of the cedar foot. So I sealed the wood and then stained it inside and out:


And here is what it looks like at present. I may add an additional color to the outside wall between the foot and the lower edge of the rim. I'll cogitate on this for the next day or so:

I've brought the bowl inside as it's really getting cold outside and at this temperature, the stain won't dry. So inside it went.

I'm going to defrost my hands and have some lunch. I'll see you all tomorrow and we'll talk more about the finish. I'm beginning to have an idea...

VW

Sunday, October 20, 2013

Scrap Wood Project-The Yarn Bowl continued-hollowing out the center

Hi Everyone,

Well, it's getting colder and I've been outside working all afternoon and my hands are semi-frozen! Here's the latest from the workshop:

I finished turning the outside and I sanded it to 150 grit paper and it's smooth enough for a yarn bowl:


So I took off the faceplate, and flipped the blank over and screwed the faceplate back on with 1" #10 wood screws. I'm going to use the tailstock again to support this blank as it's very heavy and the screws are very short:


And here we are ready to go:


I turned it between centers for about 10 minutes and this is as hollowed out as I could make it. Time to remove the tailstock and hollow it out:


I like to drill out the center of bowls-it removed the center easily and establishes depth so I'm not cutting too deeply. Here I'm drilling out the center with a large Forstner bit:


Here is a photo of the blank with the center drilled out:

And this is that entire section of wood removed. I wound up drilling out the center several more times to reach the bottom as this bowl is really deep:


The bowl was quite deep at this point, in fact it was so deep, my tools wouldn't reach that far so I resorted to a large, heavy bowl scraper to remove the wood on the bottom of the bowl. I ordinarily don't use the scraper for this but it was the only tool I had that reached into the bowl and could cut with out a lot of vibration:

And it did a nice job of smoothing the inside:


 I worked on the bowl for another hour after the above photo was taken. I had to cut the interior until the holes that I drilled into the sides came through. Below is a photo of the bowl, off the lathe, with a flashlight inside so as to convey a sense of depth:


And here are several more photos-you can clearly see the holes in the sides:


Now, most yarn bowls have a hole-slot combination so a knitter can slide the yarn into the hole without having to break the yarn. I've emailed my friend to ask if she would like me to cut slots in the bowl. Until I hear back I'll continue to sand the interior and the rim of the bowl.

Stay tuned for the slot and the finishing.

VW