Well it's Tuesday and it's time to get back down to the wood shop and do some work.
Picking up where we left off-it's time to work on the lids for the gift boxes and possibly refine the designs a little bit so we're going to work on the hackberry box first.
This box if you remember wasn't my favorite of the lot. The wood is very soft and friable and it tears the second a tool is applied to the surface. And the color wasn't at all interesting. I turned it into a small calabash shape and left it for the weekend to think about it a bit.
I decided to leave this box alone as it has a good shape for it's size and the color isn't the worst thing in the world. It does need a well thought out lid to take it from a small wooden box to something that is eye pleasing and useful.
I looked through some books and decided to make a Raffan-style lid for it. Raffan boxes are named after Richard Raffan, the Australian wood turner who popularized this style and is well known in the wood turning world (you can see his webpage and his box style at http://www.richardraffan.com/node/105). The boxes have lids which tend to be rounded, often employ a flange-like structure at the base of the lid, and often feature short, triangular-shaped finials on them.
I think a Raffan-style lid is what the box needs and so I'm going to give it a shot.
Here we go:
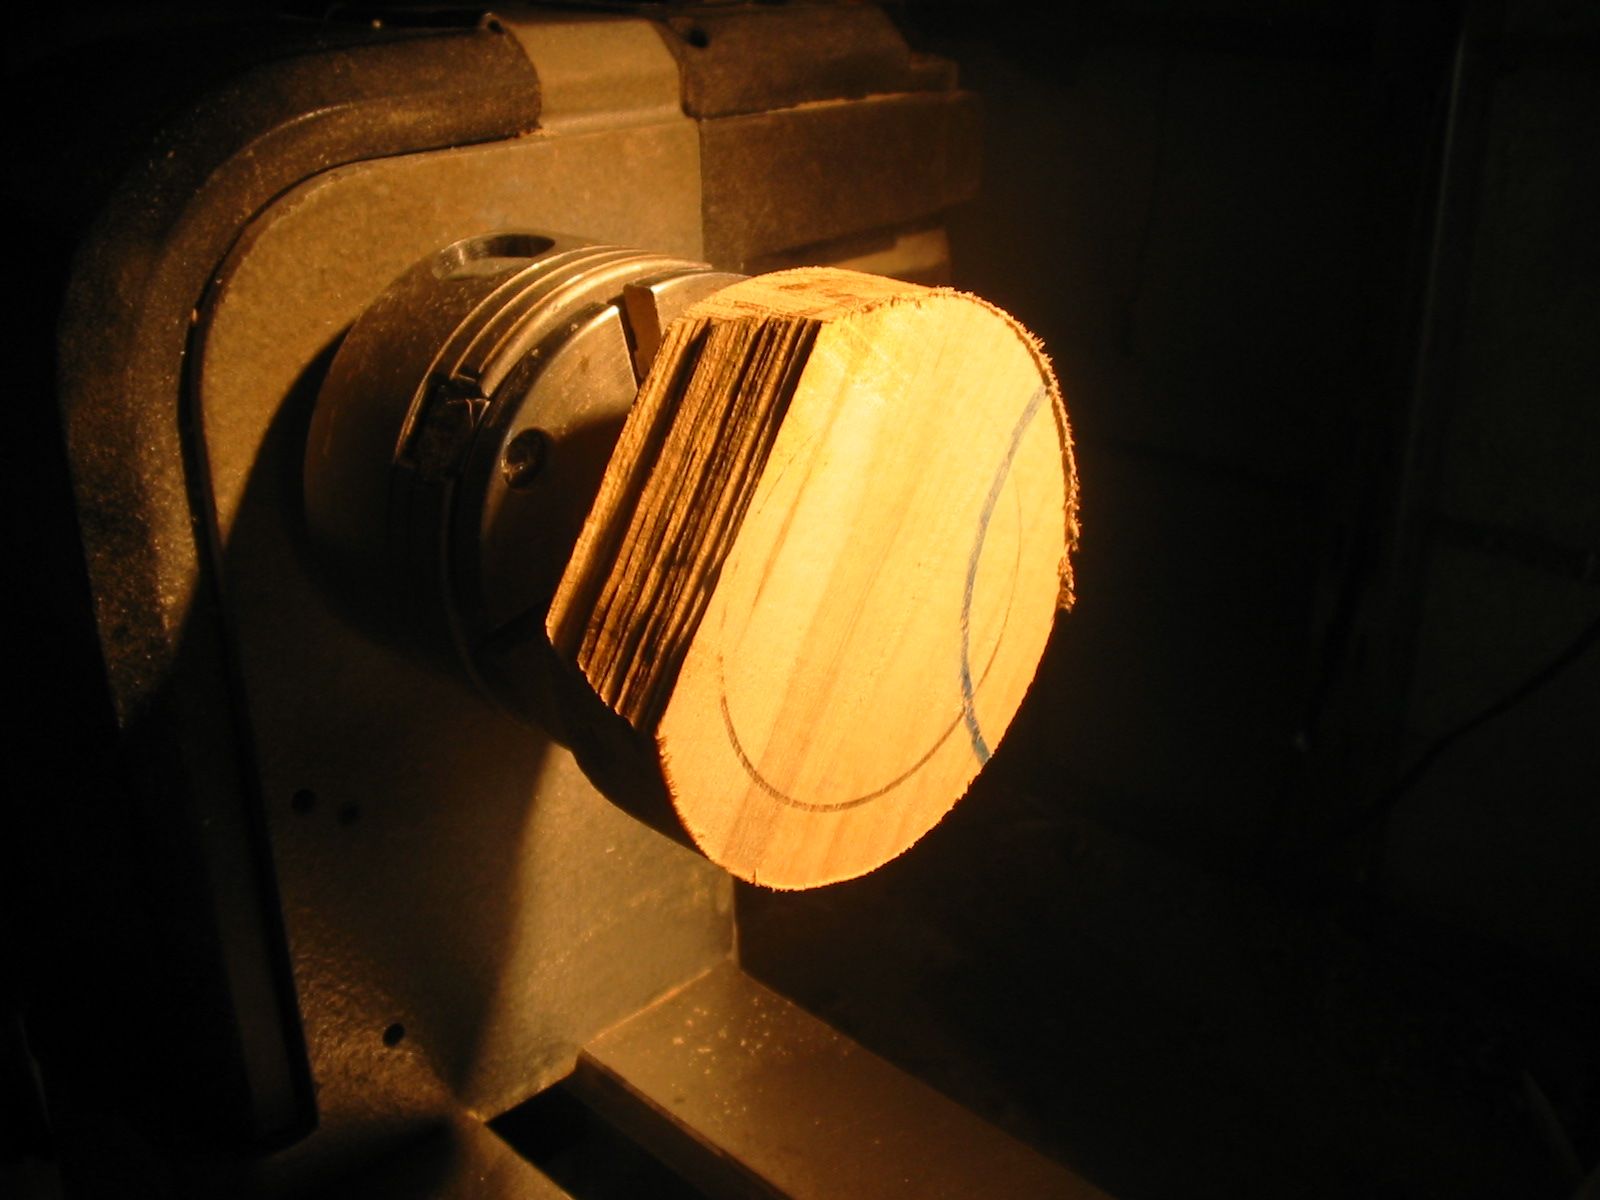
I have a lovely scrap piece of maple in the shop and I thought the color would work well with the box so I proceeded to make a turning blank and place it on the lathe:

A split second after I gently touched the wood with the tool, it promptly split off a big chunk of wood. So this had to be discarded and I started over again:
I looked around the shop and I didn't immediately see anything that would work for the lid. As I was beginning to do the wringing of hands-knashing of teeth thing, I spotted a small block of linden wood and decided to make the lid out of this. It's the right color, and it's thick enough for what I needed it for:

So I placed it on the lathe and turned a small tenon on the top:

And flipped it over to turn the tenon on the underside which will fit into the box:

And since linden wood is soft, that took all of about 2 minutes to do:

Once that was finished I flipped it over again and began to shape the top of the lid:

First I trued up the edge:

And then took it off the lathe and set it on the box. It's wide enough to proceed:

This lid is going to have a finial on the top, a rounded center, and a flange on the base. The first thing I did was to remove the wood between the two lines on the lid in the photograph:

And this step produced this shape. Next I rounded off the sloping area and rounded off the edges of the flange:


Here you can see the finial on the top. I turned away some of the rounded section and flattened it a little-I thought it was beginning to take on that hand-grenade shape I seem to be famous for. This gave me material to turn the finial. Here it is with a finial:

I then smoothed the edges and narrowed the finial just a little and then sanded it. Hmmm, it doesn't look half bad.
I'm going to stop with this box and look at it for another day or so and then determine whether to discard it and begin again or to finish it off.

The next box to deal with is the cedar of Lebanon box. As it's really hot here, I'm going to stop here momentarily and go inside and cool off a bit. Be back in a few minutes.

VW
No comments:
Post a Comment