Today I planned to sand the tray parts, assemble the frame, and stain everything and believe it or not I got it all done. Here's the photos:
The first thing I did was drill a hole into the edges of the side pieces to put screws into. I did that because that section is actually two glued pieces of wood and if the tray was ever dropped I was afraid those two pieces could come apart:

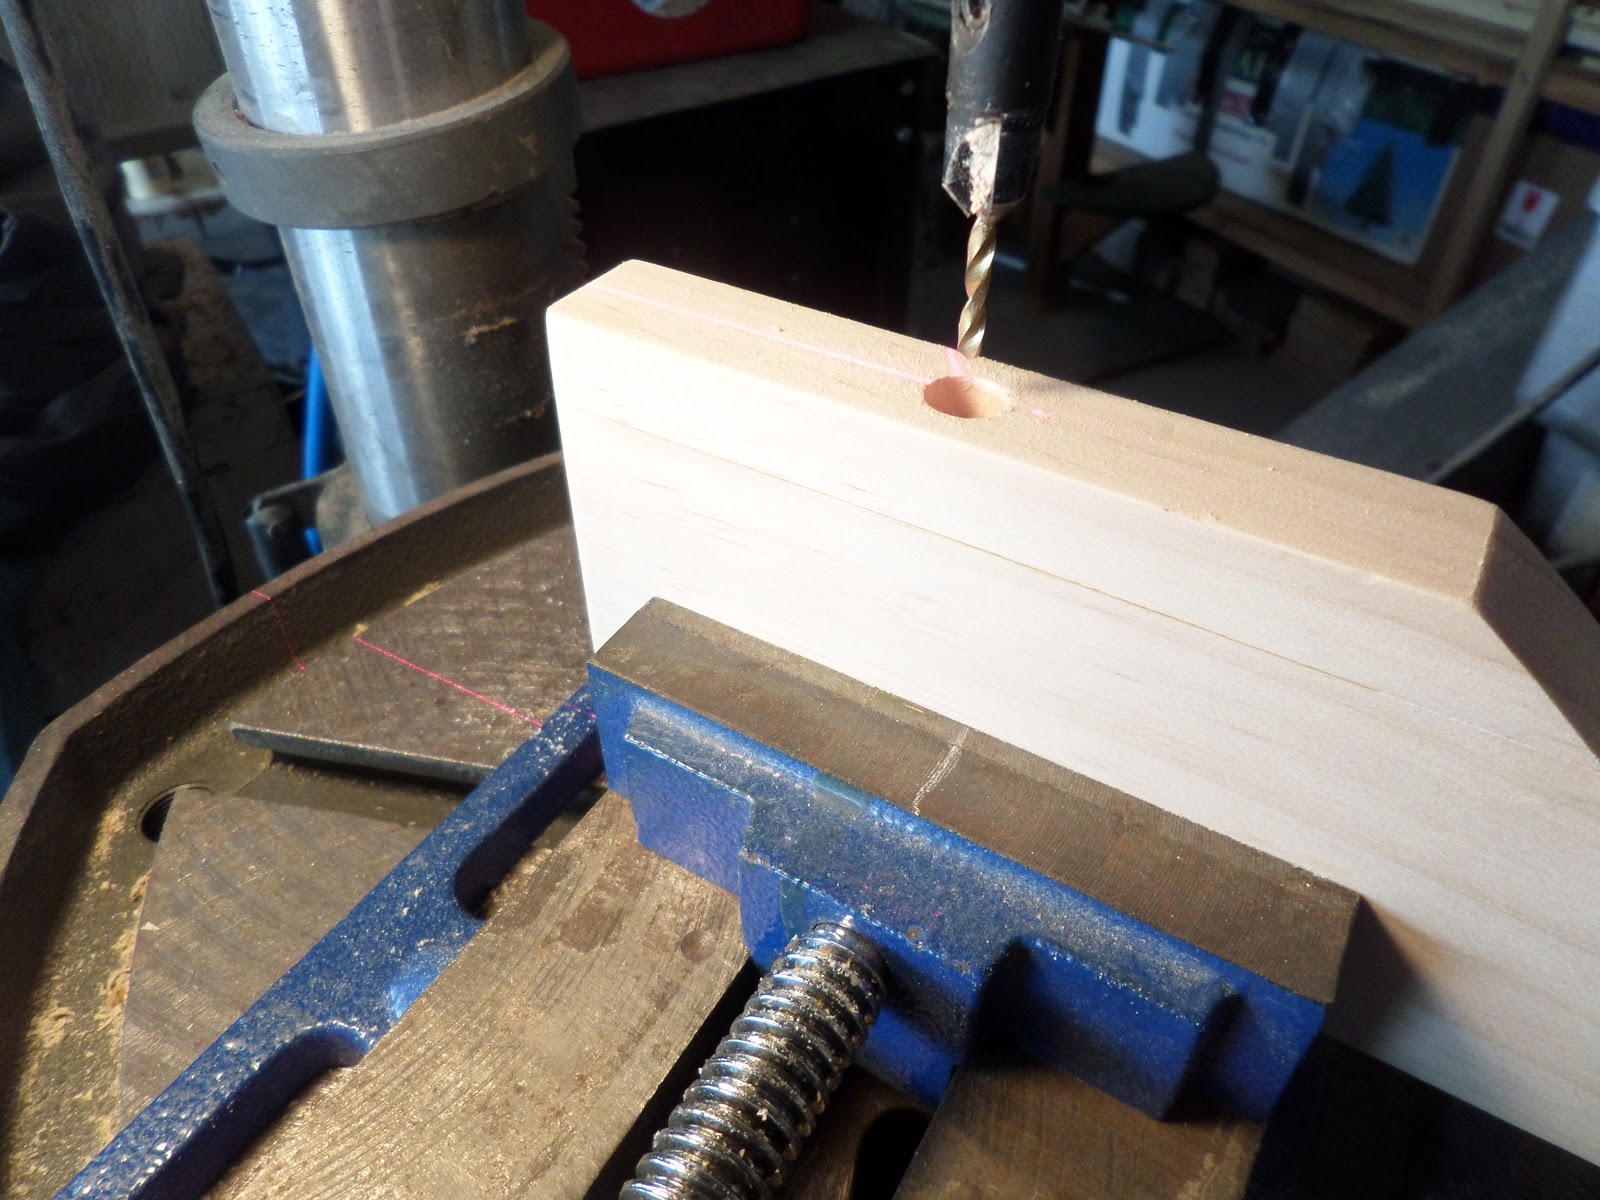
After that, I proceeded to drill screw holes in the ends of the frame to get it ready to be assembled:

And here is the frame assembled. Now it's time to seal the wood and stain it:

While I was waiting for the pre-stain to dry I took some photos. It is absolutely cloudless here today and just beautiful. We may have fierce winters here but our springs are gorgeous:


My friend wanted the color of the tray to be grey, with just enough color for the wood grain to show through. I have to admit I hate the color grey as my living room is painted grey and after a while it looks soooo depressing. But that's what she wanted so I used Minwax Classic Grey for the stain. I applied it and let it sit for about 15 minutes and then I rubbed it down with a paper towel and I must say I'm really pleased with the color. I was worried it would turn out to be battleship grey like my living room but it's a very soft color and there's just enough visible wood grain to make my friend happy:
These photos show the color in natural light:


And these two photos show the color in artificial light:


Ok, all the parts are drying and I'll leave all of that over night. Tomorrow I'll attach the bottom pieces to the frame and get the tray ready for polyurethane.
In the meantime, a very handsome gentleman gave me a present so I'm going off to work on my garden.

See you all tomorrow.
Stay tuned,
VW
No comments:
Post a Comment