Monday, October 11, 2021

Laminated Fruit Bowl project, continued

 Hello All,
I got outside early today and finished the underside of the bowl and flipped it over and hallowed it out. Here are today's photos:


The first thing I had to do was create a slot for the Nova Chuck and that went very well. The slot is about 1/2" deep and it's dove tailed. It made the turning blank fit very securely:


The blank has several challenges-it isn't very thick (1 1/2" thick) and I've already cut into it with the 1/2" deep slot. That doesn't leave a lot of wood left to create an arc-shaped bowl interior so I'll have to be careful with this turn, otherwise it's possible to cut completely through to the slot and the top of the wood vice. Not a good idea.
The other problem are the screw holes leftover from the face plate and the same problem applies-not a lot of wood to turn off so as to remove the holes which are visible in the middle of the bowl and you can see them clearly in the photo. So this is going to be a careful turning:


Here's another problem-the wood fibers along the edge of the blank tore yesterday leaving some pitting and holes. That needs to be dealt with carefully as it's easy to damage the edge. A fast turn speed and a very sharp skew chisel will take care of that:


And you can see that the edge got smoothed out:


I kept on turning and slowly removed the interior of the blank to create a bowl and did some preliminary sanding. The screw holes are gone and I didn't damage the blank while turning it. I did get some ridges in the surface, which look wavy in the photograph. I'm a little out of practice as I haven't made a wide flat tray or bowl on the lathe in quite a while so I'll have to flatten that out:


I kept turning and sanding and the bowl is in much better shape now. You can see the arc-shaped surfaces in the next couple of photos:


Tomorrow I'm going to sand the interior surface of the bowl and get it ready for a finish. See you then.

VW

Sunday, October 10, 2021

Laminated Fruit Bowl Project

 Hello Everyone,

Well, it's been a long summer and the serving tray project has morphed into a fruit bowl project. I'll spare you the reason why the project was delayed and apologize to everyone for the delay.

The turning block I made is simply made up of randomly placed lengths of scrap hardwood I purchased from my friends the cabinetmakers and it has a faceplate screwed to it to attach it to the lathe.

What is new is the lathe extension I got last Christmas. My husband gave me a hand attaching it to the lathe and lo and behold, it works perfectly. I can now turn blanks up to 20 inches in diameter:


So I attached it to the lathe and began by truing up the blank and then turning the underside of the bowl. I've got it sanded smooth but I'll still need to cut a slot in the foot of the bowl so I can use the large Nova chuck I have so as to re-attach it to the lathe.

Tomorrow I'll flip it over the hallow out the bowl but in the meantime here are a couple of photos:

Here is the set up ready to go. The extension comes with a tool rest extension:


And here are a couple of photos of the foot of the bowl and the rest of the underside of the bowl:


So that was it for today. Tomorrow I'll hallow it out.

Stay tuned,
VW

Wednesday, August 25, 2021

Laminated Serving Tray project

 Hello All,

I've got a new project for you-I'm going to make a large wooden serving tray out of laminated scrap wood. 

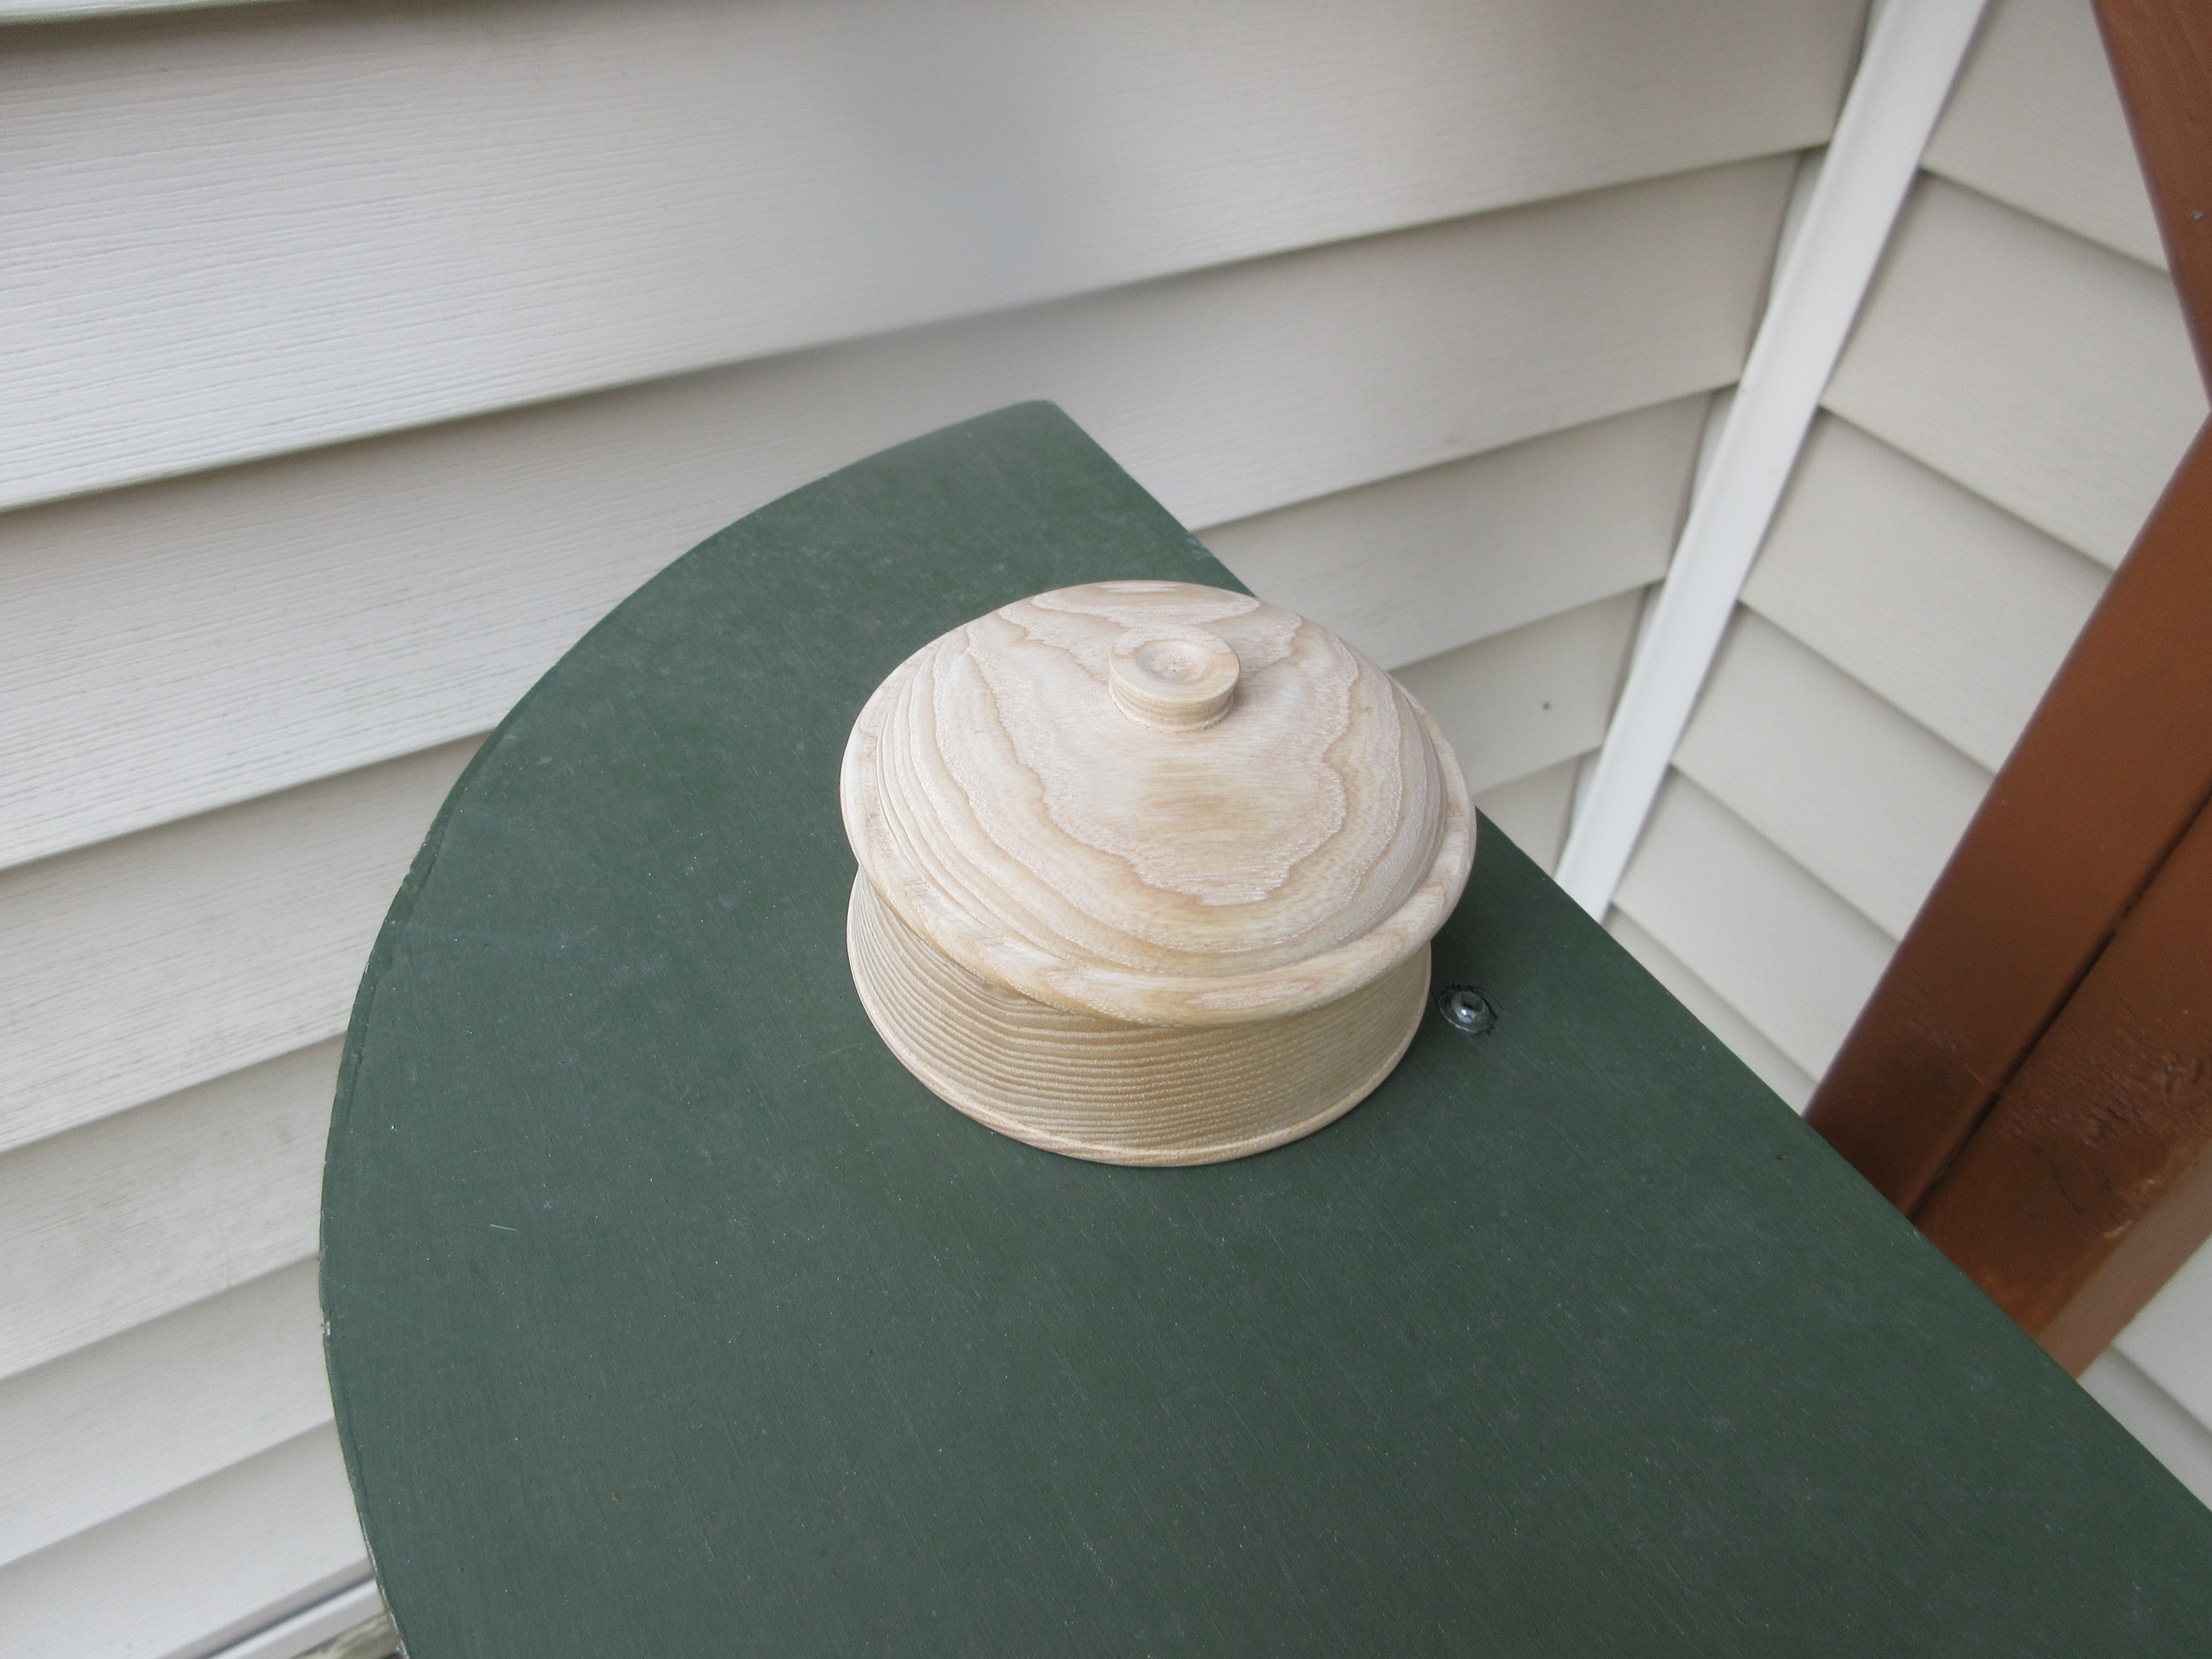
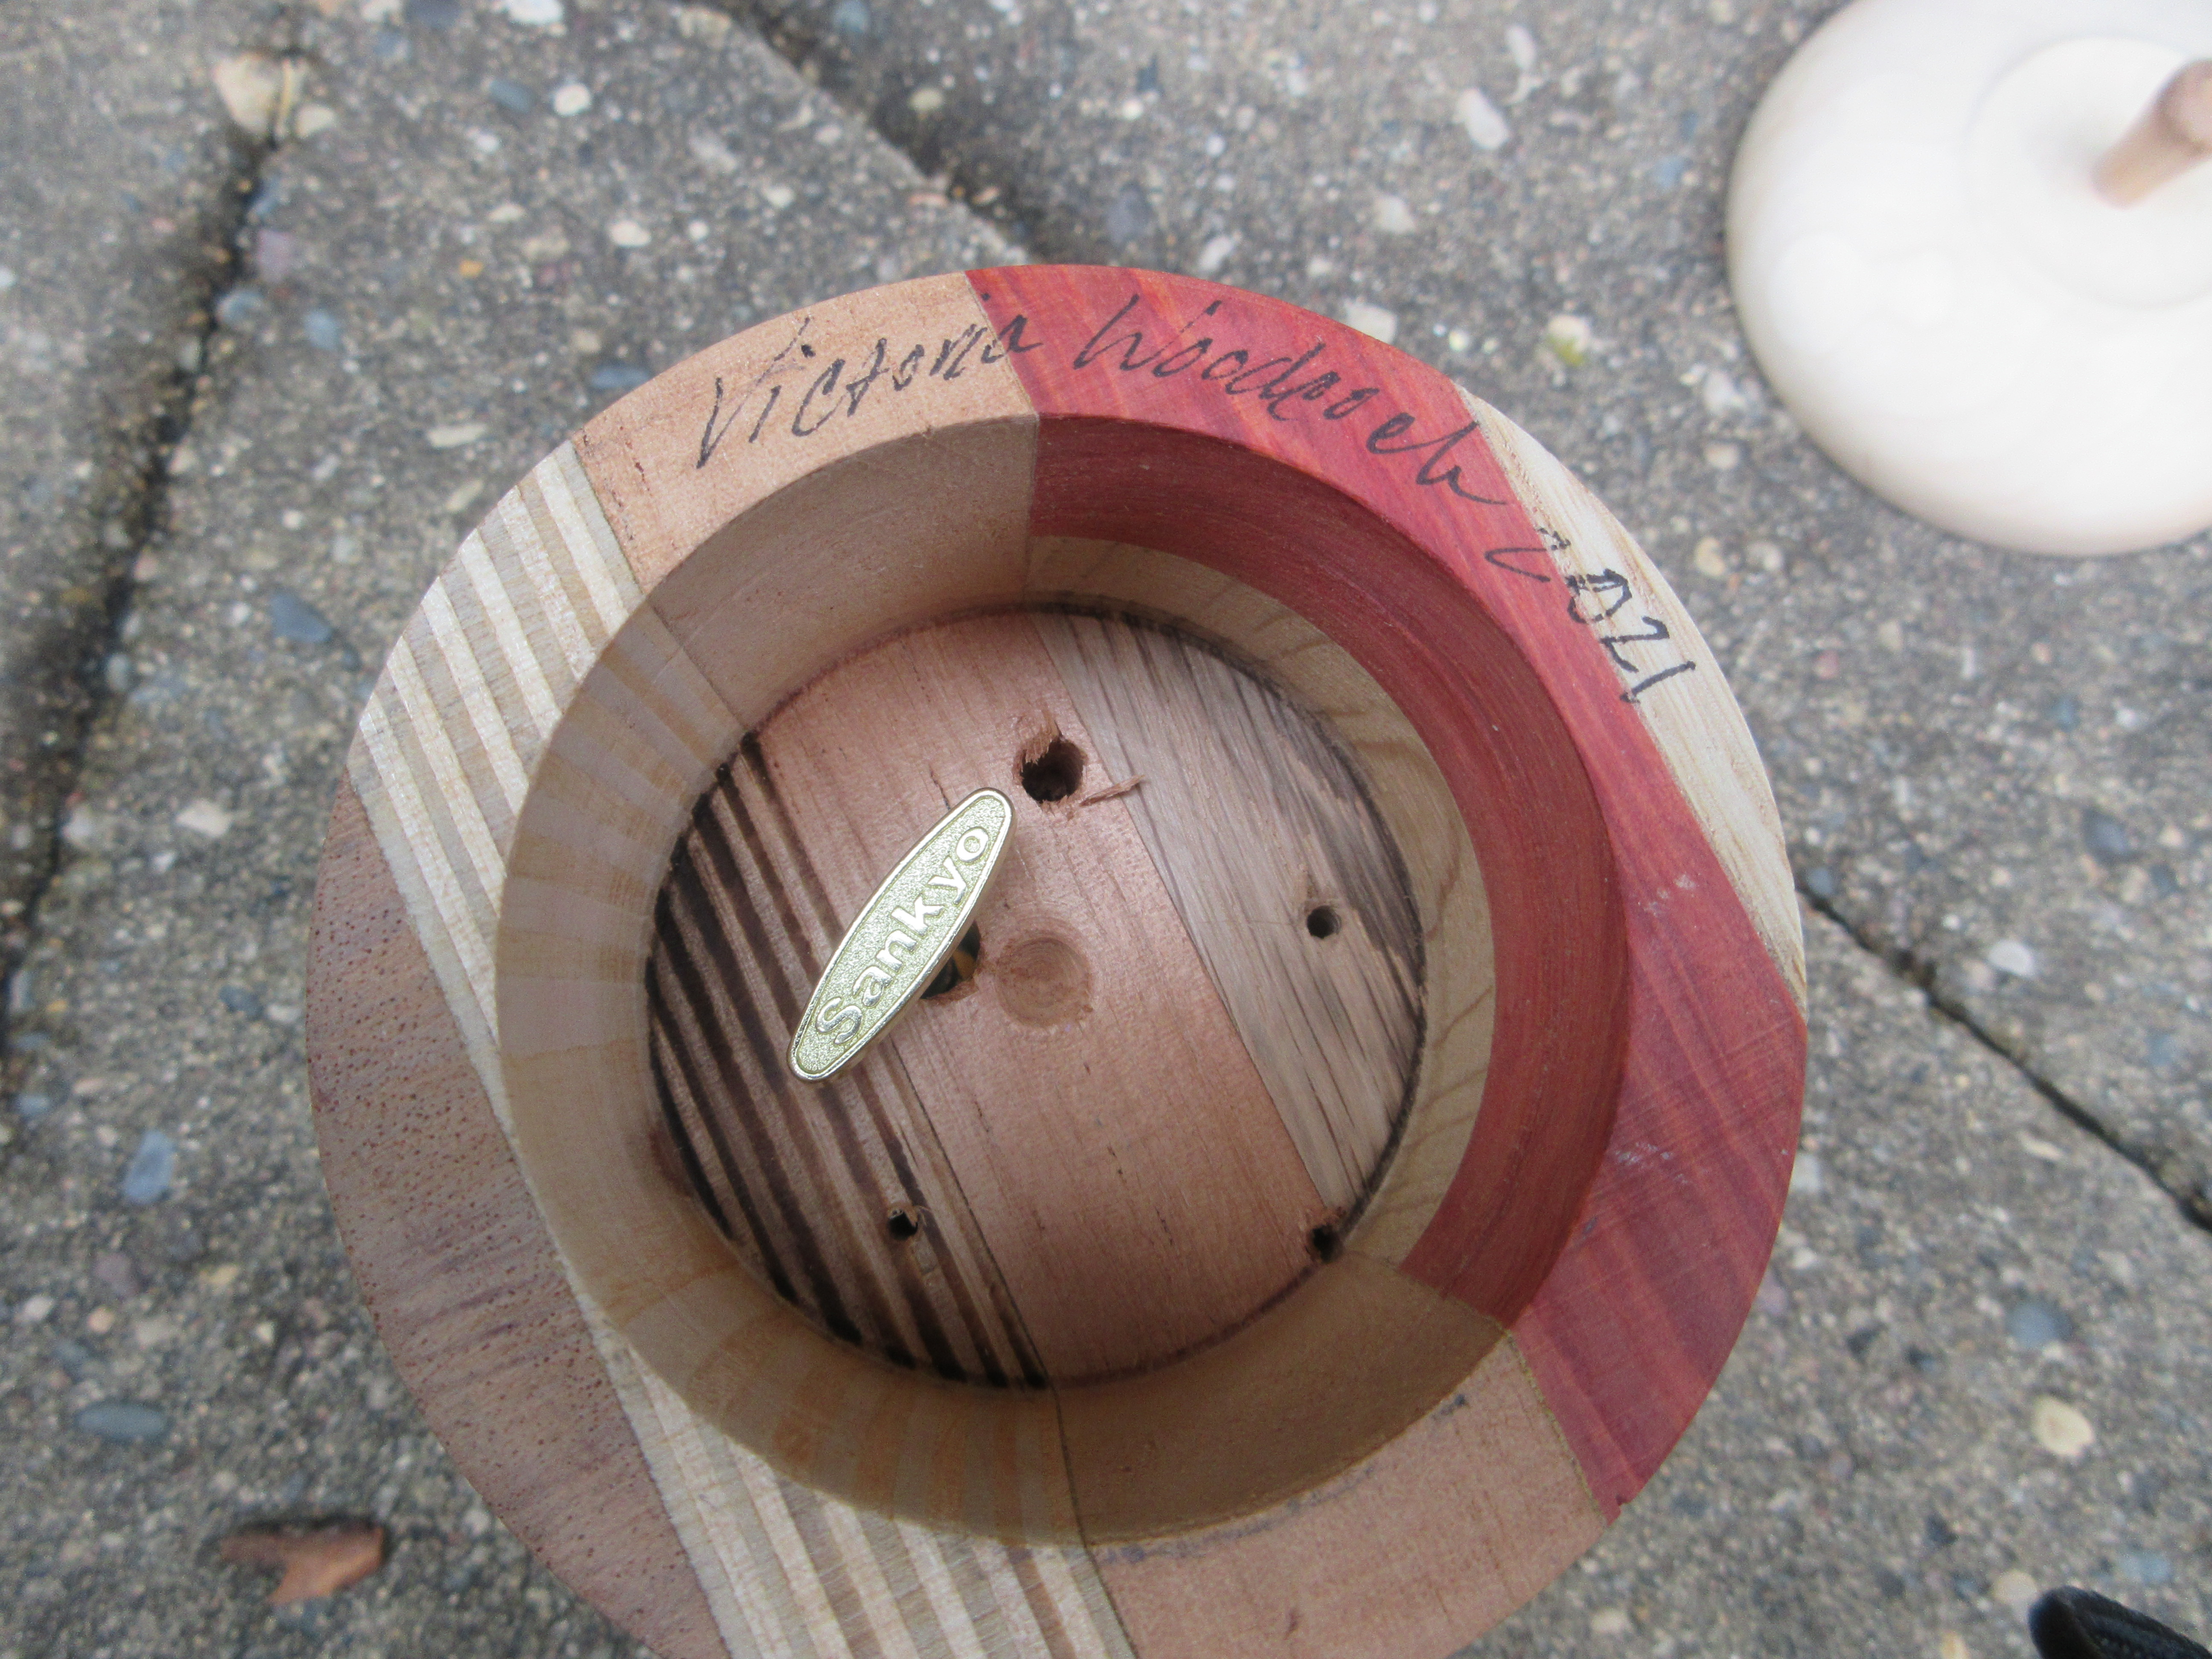
I just finished a smaller tray last week and here are some photos of that:


You can see the various kinds of wood that were randomly glued together and then shaped on the lathe into a round tray.

This project is going to be made the same way. The cabinetmakers I purchase wood from often have bundles of cabinet wood trimmings. These are just long strips of various hardwoods that are about 2" wide and 4' to 5' long. It's a great way to get a selection of hardwood that can be cut and glued into blocks for turning or made into cutting boards. I often purchase color woods like mahogany, black walnut, or purple heart to add color and interest in the blocks that I make out of the trimmings. And this is a great way to use up scrap wood.

Ok, so I'm going to make a tray, apply a food safe finish, and keep it in my living room. 

Here we go:

Here are two photos of the block I'm assembling:


The first photo shows the face of the block-it's about 16" square and the second shows the end grain. The block is made primarily out of white and red oak, with cypress, mahogany, black walnut, purple heart, furniture grade plywood, and a little bit of pine. And I'm going to attach the extension on the lathe that will allow me to turn a very wide block of wood. I think the mix of species and colors will make the edges look really cool.

The only question going forward is should I make it round in shape or cut the block into one large hexagon and turn that? It would be really interesting and would produce a different shape into my repertoire. I'll think about it.

Ok, here we go again.

Stay tuned,
VW

Thursday, August 19, 2021

End of Summer Roundup

 Hi Everyone,

I apologize for being gone for so long-it's been a blazing hot summer and I haven't been in the shop very much. But I have made a few things and still have a few more things to work on before the end of my shop season this year.

I've done some turning and I'm getting ready to do more. I made a big laminated oak-mahogany-and furniture grade plywood for a wedding present for a young friend. Here's the photos:

I made this out of a bundle of cabinet door trimmings from Forest Products Supply. This platter is about 14" in diameter and 3/4" deep. I used a mix of red and white oak. It's heavy and substantial and if it's ever dropped it won't break.


Next: I spent some time this morning making a small Raffan-type box for my husband's ear bud thingy out of some scrap ash that I had. I don't know why ash isn't used more in furniture and cabinetry as it's such a pretty wood and it machines well. Anyway, here it is-I'll be putting on a finish tomorrow:


Here's a photo of Biscuit the Cat sleeping on a chair I made a couple of years ago. I just thought I'd throw that in:


And speaking of chairs, this is a deck chair I built from a set of plans from an outfit on Etsy called Go Plan Bee. They sell plans for bee hives and they also have the plans for a modified Adirondack chair on their site as well. It's a great chair, easy to build and very comfortable without cushions. I made mine from a pile of scrap pine and I love the chair:


A couple of weeks ago our old bbq got accidently set on fire and was ruined. So we bought a much smaller bbq and I build a roll around cart for it so we don't have to place it on the ground. This is also another scrap wood project and I just made this up on the fly:


The bbq is sitting on top of a concrete paver and held in place by bungy cords and no they haven't melted with the heat. I also made a handle for it out of old plumbing pipe and spray painted a shiny red color. Now we finally have a place for all the bbq briquets and other stuff.

What's coming up:

I'm planning on making the king sized bed headboard on Ana White's website. I have almost enough scrap wood to build it and that should get rid of the remaining scrap soft wood in the shop. 

I'm also going to make a large laminated tray similar to the one in the photo above for fruit and veggies and I'll go through that step by step here on the blog.

And I'm planning on painting and re-finishing a book case and a chest of drawers I got from a neighbor and I'll show you those photos when I do those projects.

So I haven't been just laying around like the cat!

So thanks for dropping by and I'll see you all soon.

Stay tuned, 
VW

Sunday, May 30, 2021

The Music Box Project-Finishing the Lid, Installing the Mechanism & Completion Photos

 Hi Everyone,

I'm sorry for being so late in finishing this but something came up that had to be dealt with. Anyway it's done. Here are the photos:

The lid and the finial:
The lid turn worked out fine as hard maple turns like a champ. But I could not get the finial right. I made 5 of them, broke 3 of them, and the last 2 looked like chess pieces which did not look right on the lid. At one point I had a small tree twig on top of the lid, which didn't look bad but I wanted something more in line with the style with the box. So I got out a mahogany dowel and carved one by hand:


And there it is. I don't know why that was so difficult. That needs to be glued in place but otherwise the lid-finial is finished:


The Music Box Mechanism with Tiny Little Hex Head Screws

The install for this began very well. The interior space was more that large enough for the mechanism and the turn key (or so I thought). 

To get the holes drilled correctly I cut out a 2 3/4" diameter circle out of a 3"x5" card, placed the mechanism on top of it and marked out the holes for the screws:


The hole in the photo with a square around it was the hole for the stem of the turn key:


And so I drilled the holes for the screws with a 5/64" screw and a larger hole for the stem at 7/64". 
I had a helluva time getting the screws into the mechanism base and into the wood shelf below but eventually I got everything placed. Then I discovered that the hole for the stem was way too small so I had to unscrew the mechanism, drill a 3/8" hole for the stem, screw it all together again and it worked! What a relief that was.


And so here it is:


And here is a short video of the music box in action:


__________

Ok, this project is finished. I have to install the baseboards in my home and I'll be occupied with that for a while and I'm going to make a chair for my youngest son's upcoming birthday and you've all seen that before too. I'll be taking a short break and then I'll be back probably in July with a bedframe-headboard project.

Have a good spring and early summer.
See you all soon.
VW

Wednesday, May 19, 2021

The Music Box Project-The Finial that Wasn't

 Hi Everybody,
Well, it's warm and humid today which is always the pits in the wood shop. All that dust and crud seems to stick to everything and everyone. Meh.

Today I was making the finial for the lid and was well on my way to finishing it:


...when someone came into the shop to tell me something and I lost my concentration just for a second and ruined it. I tried turning it down until it looked like peg (not good). I was turning it off the turning blank when it flew into a big pile of shavings and disappeared forever


Tomorrow I'll make another one.

Stay tuned,
VW

Tuesday, May 18, 2021

The Music Box Project-Making the Lid

 Hi Everyone,
I lost the chuck key for the Nova chuck for a few days. Not only did it prompt a total lock down of the wood shop to find it, I couldn't proceed with the project until I found it, which was today. It was sitting in plain sight on top of a cabinet. Oh well.

So I decided to get going on the lid today. It's out of a piece of hard maple and I'm going to make a small finial out of goncalo alves wood:


I spent a few minutes getting it on the lathe and truing up the blank:


And fortunately I stopped shaping it in time for it to fit the opening of the music box. I needed to reduce the thickness of the blank and I spent the next 30 minutes or so just turning away and enjoying turning a piece of maple. It turns so beautifully: 


Here it is when I stopped. It's still too thick and the top of the lid needs to be dished out some. When I'm done I'll place a small block of goncalo alves in the middle and turn that in place:


See you all tomorrow, chuck key in hand.
VW