I've been busy since we last met, making some housewares that we need around here and using up the scrap wood monster, which lurks in all wood shops, in the process.
Here's what I've made thus far:
A stand for a large IPad out of some poplar shelving scrap:

A router shelf out of some scrap pine from the bed project:

And a wall rack for my never ending pile of bedside books:

And I am proud to say I've made a good sized dent in the wood pile.
Now that the holidays are coming up, I'm going to make a coffee bar out of some tongue and groove pine and a leftover 2x4 and some 1x4 pine as a present for someone special.
Here we go:
This is going to be a very simple rack for bags of coffee, the coffee grinder, and some coffee mugs out of scrap pine. I have an 8 foot long tongue and groove plank along with a 2x4 and some 1x4 common pine for this.
I made the backing for the rack out of the tongue and groove plank:

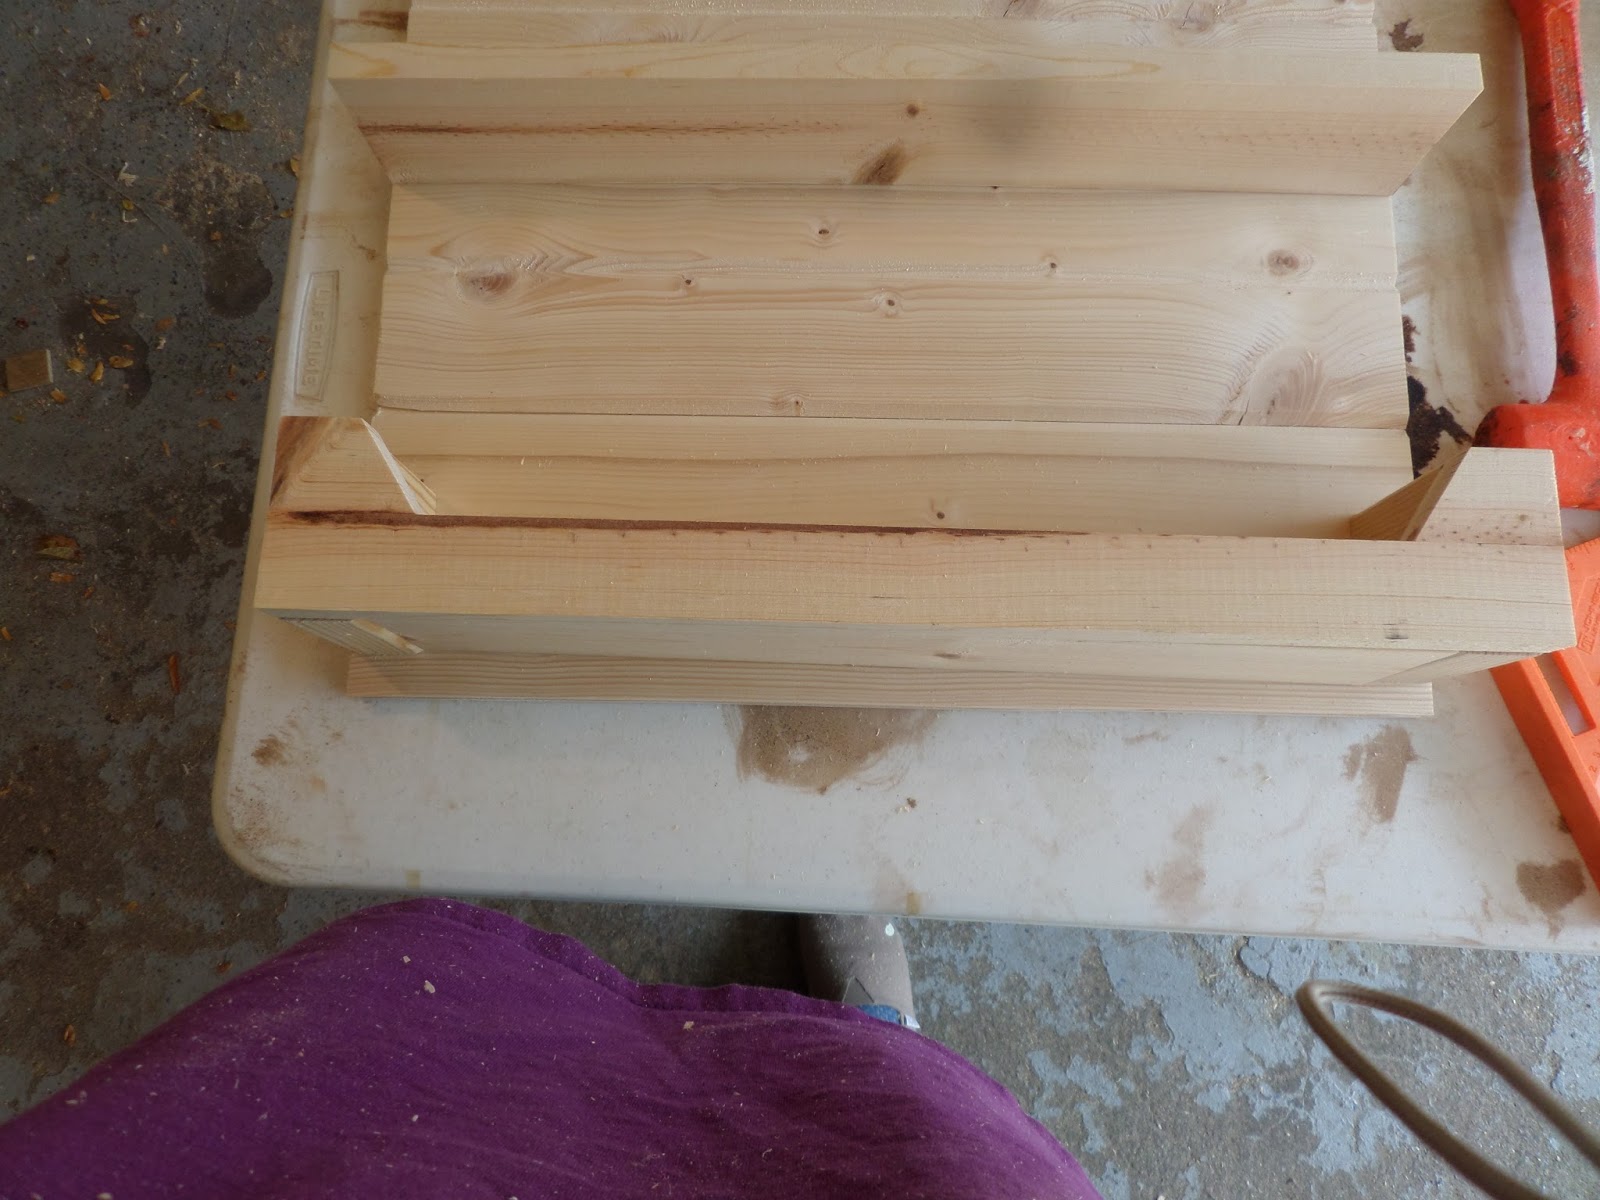
Here is a side shot of the tongue and groove. This feature is milled into the edges of pine boards and when the planks are assembled there are multiple grooves in the resulting rack backing. You can see how these fit together:


In this photo you can see the backing. I'm going to glue and clamp it together a little later on. The planks for the backing are 22" long. I've also cut the shelves for this. The top one will be 22" long and the bottom one was initially 22" long too but I will be cutting it a little shorter in the next couple of photographs:

I took another section of 1x4 pine, cut it 22 inches long and then ripped it into 2 1 3/4" wide strips:

I took one of the strips and cut off the corners and those will be glued down to the remaining 22" long strip. This will be attached to the bottom shelf:

I then cut the 2x4 into 2-3 1/2" blocks:

This is how I was going to assemble the bottom shelf initially but I changed my mind and decided to cut the bottom shelf down to 19" and fit it in between the 2x4 blocks. I think this will look a little better this way:

And this is what the bottom shelf will look like when it's assembled:
This is the underside of the bottom shelf:

I'm going to stop and eat some lunch. I'll be back a little later on.
VW
No comments:
Post a Comment