Well, it's a really nice day outside-it's cool and breezy and there is no snow to be seen. Perfect day to make a rolling pin and that's what I did.
Here's today's photos:
I left yesterday's laminated blanks in the clamps over night and this morning I removed the clamps and now we have two turning blanks-one that is white oak and Brazilian cherry (~15 " long) and the other is white oak with black walnut(14" long):

Next I trimmed the edges and marked the center. Then I drew a circle about 2" in diameter and I did this on both ends. The circle helps me to judge the diameter when I'm turning:

And I placed it firmly between centers and turned it at about 700 rpm. I've also applied a layer of wax on the tool rest and underneath my roughing gouge to make the tool slide along the tool rest little easier. And I've sharpened by large roughing gouge and I'm going to turn the whole block into a cylinder approximately 1 7/8" in diameter:

In this photo you can see the pin emerging from the blank. I'm shortly going to go to the other end and turn that section of the blank to a cylinder as well:

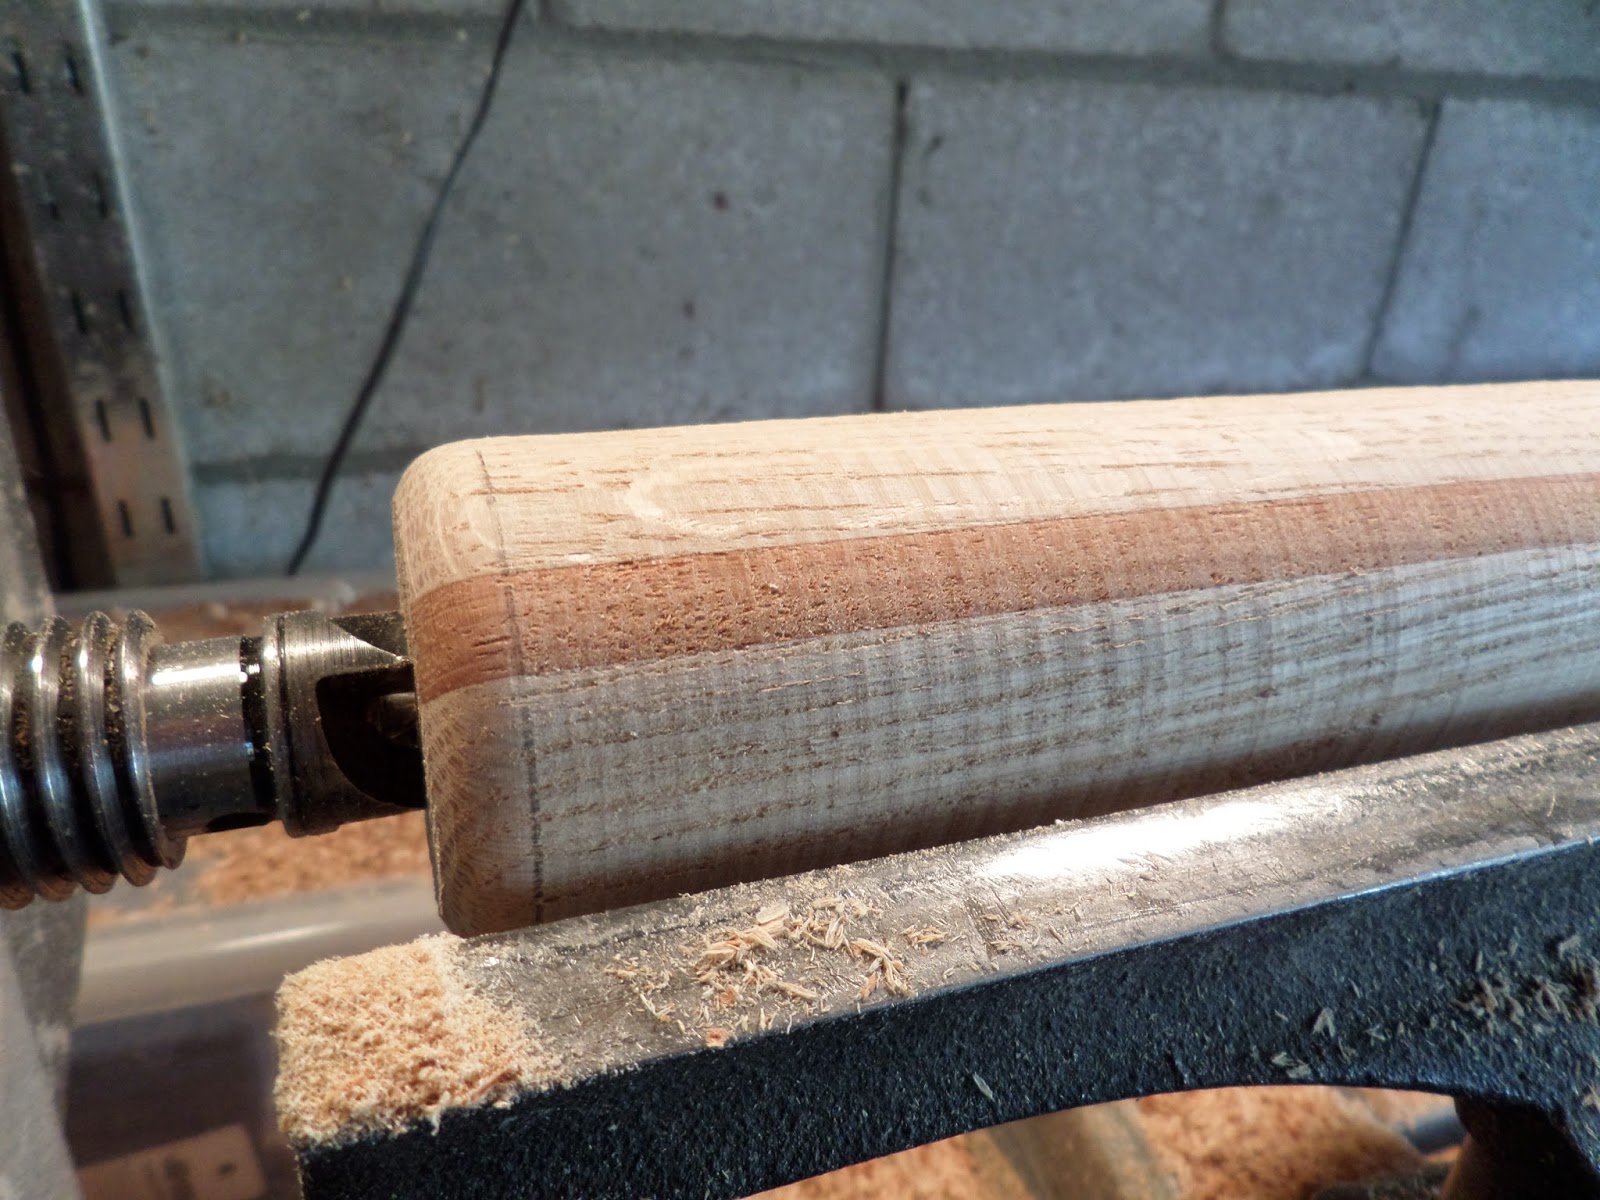
Here you can see a closeup shot of the left hand side of the cylinder. It's rough and the Brazilian cherry layer needs to be cut smooth:

Here is the cylinder. It's obviously not the same diameter all the way across. A good thing to do is to have a set of calipers ready from this point on because as the pin becomes closer in diameter from end to end, it's difficult to judge by eye if your turning is finished or if more turning is needed to even things out:

And here is the rolling pin. The cutting along the pin is done:

Next I'm going to round off the ends. I use my skew chisel for this:

And here I'm just smoothing the surface with the skew. I like to leave my skew chisel just a little dull for this as it's easy to get a catch with a sharper chisel:

Finishing the Pin
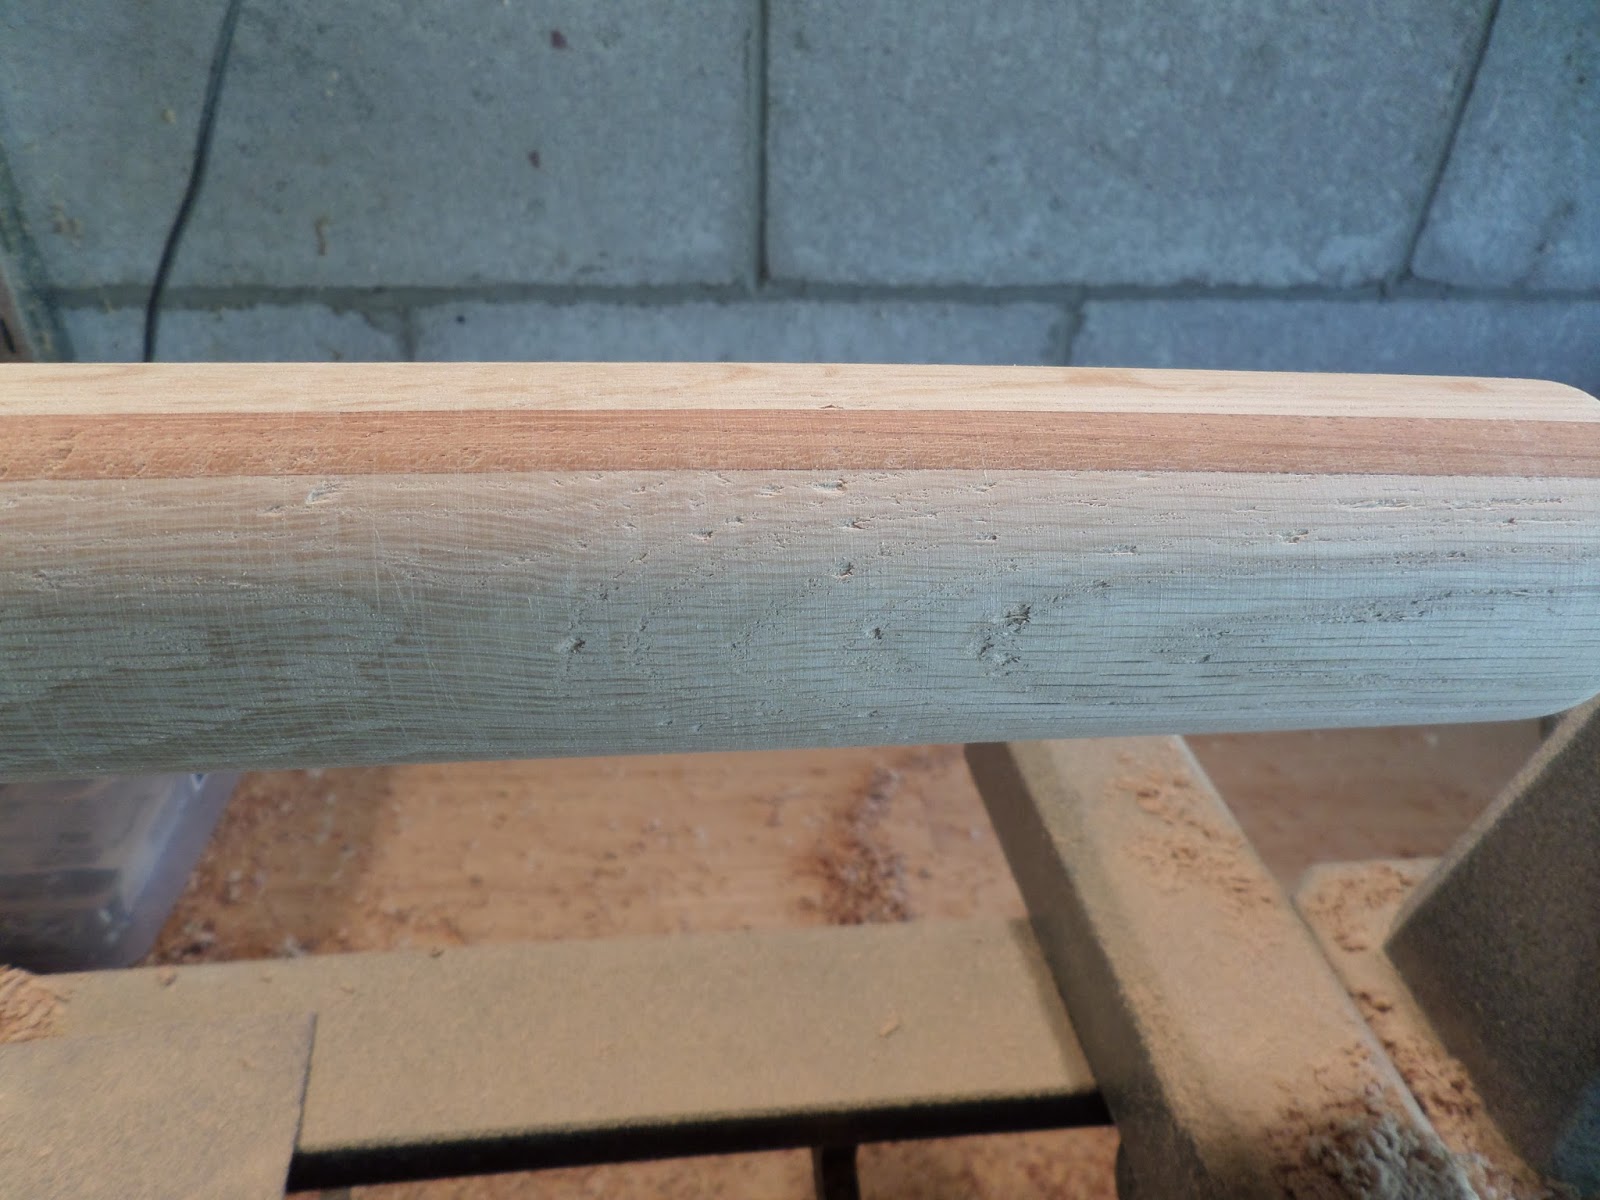
This is a closeup shot of the surface and you can see a little tear out in the photo. Sanding will take care of that. I begin with 80 grit paper and go to 220 grit:

And this is the finished pin next to the other turning blank:


To finish the ends-I like to drill and insert a dowel in a contrasting color in the holes in the ends of the pin and then sand the whole surface smooth. This is cherry from the ill fated pegging experiment yesterday:

And here we are about an hour later. Two hand made rolling pins that have been finished with flakseed oil.


And that ladies and gentlemen is how you make a rolling pin.
I'm going to be splitting a walnut log that I've been drying out and I'll make rolling pins out of some of that wood and when I do, I'll do a blog posting on that whole process.
I'm going to do another Mother's Day Turn-O-Rama this year and I'm going to keep this one a secret as it's my favorite thing to make on the lathe.
See you soon,
VW
No comments:
Post a Comment