Sunday, February 19, 2017

Cats vs Human continued-leveling the trunk

Hi Everyone,

I've been thinking of how to level the tree trunk and I decided since I wasn't exactly sure what to do, I'd grab my husband and go down and take a look at this. Here's today's shop photos:

Originally I had thought to prop up the lowest end of the tree trunk and I tried doing that with 2x4s and wooden wedges and I never really got the top very level:


I also wanted to install wheels underneath the trunk so it could easily be moved for vacuuming or for repositioning. I had some old caster wheels that I thought might work so my husband and I flipped the tree trunk over and temporary screwed the wheels into placed:


And it didn't really work very well. I tried inserting a 2x4 under the lowest part of the trunk:


And this got the top fairly level. But it looked crappy. So we through simply trial and error figured out that if we picked out three points underneath the trunk, we could screw in two 2" caster wheels (2" refers to the distance between the bracket on the wheel and the point of the wheel that touches the floor) along the lowest edge of the tree trunk and one 1" wheel along the highest edge of the trunk, we might be able to get the top of the trunk level enough to place a cup of coffee on it without spilling:


So we removed the larger wheels and replaced them with some smaller wheels:


And it didn't quite work out. The top was still not level enough. So I cut several spacers out of scrap plywood and screwed these in between the wheel bracket and the trunk like this:


The lowest point required an even thicker spacer so I cut out a section of 2x4 and a piece of 1/2 scrap plywood and made another spacer:


And here is everything screwed into place:


And it still wasn't level:


So we inserted another piece of 2x4 underneath the spot that had the 1" wheel and it seems to have leveled out the top as much as probably we're going to be able to get it:


So, after much discussion, since the table is going to be largely stationary, I'm going to declare victory and leave the 2x4 in place for now. I'm going to replace it with a small piece of 4x4 cedar to make this part of the tree trunk a little more stable. I gave the trunk a preliminary coat of polyurethane and left it to dry:


Here is the close up is a shot of a hole that naturally formed in the tree and to prevent it filling up with dust or cat hair or a stray cat paw, I'm going to fill it with concrete and some stones, which I'll do this week.

I'm going to work on the tree trunk for the next several days and I'll post completion photos soon.

Stay tuned,
VW

Saturday, February 18, 2017

Cats vs Human continued-Constructing a base

Hi Everyone,

It's a pleasant day outside so I decided to go down to the workshop for a while and press on with the tree trunk.

I made a base for it out of some scrap plywood and this is what I did with that:

Here is the tree trunk sitting on a partial sheet of 1/2" plywood:


I used a compass to draw an outline around the base of the trunk:


 And I cut out the base with a sabre saw:


The 1/2" thick plywood isn't strong enough on it's own so I used this as a pattern and drew and cut out a second identical piece of plywood and then screwed them together:


I took a disc sander and smoothed off the edges and this is what it looks like right now:


And here it is with the tree trunk on top of it:


You can see in the photo above that the top isn't level and that's the next challenge. Since the trunk is sitting on the base I decided to shove a 2x4 underneath it to see if that would help level things out. You can see that that looks like-not very good:


My husband was helping move the trunk around and he made the comment that placing some wheels directly underneath the trunk and not under base, essentially not using the base at all, might be a better way of leveling the top. I'm going to think about this for the next couple of days and possibly do that instead.

Stay tuned.
VW

Thursday, February 16, 2017

Cats vs. Human continued-removing old paint

Hi again,

The cut surfaces of the trunk has some old white house paint on it and this needs to be removed:


So I got out some paint remover and applied it to the surface and let it sit:


And I took an old stiff cleaning brush and a rag and proceeded to remove the paint and the remover. As it's dark inside of my shop at the moment, it's difficult to tell just how much paint came off. So I'm going to let the surfaces dry off for now:


Here is the top surface that will eventually become the table top. I used an awl to dig out paint and remover from the cracks in the surface. Some of that paint did come off:


I'm going to stop now as it's getting colder outside and the remover won't work well. I'll continue on this weekend when the temperature outside is scheduled to go into the 50s.

Once the paint is off and the sides are cleaned up and smoothed it will be time to construct a base for this and I'll use some leftover plywood for that and I'll attach some small, swivel wheels underneath so the trunk can be easily moved. More on that next week.

Stay tuned,
VW.

Cats vs. Human continued-working on the tree trunk

Good Morning All,

Well, I spent some time this morning taking off the bark off of the tree trunk and smoothing the wooden surface. Here's were I am at the moment:

As the bark was very dry, it wasn't at all difficult to remove it. I used a flat broad carpenter's chisel to remove about 95% of it and a gouge to remove the bits that were stuck in the nooks and crannies in the trunk:


The removal left a lot of shaggy and torn areas and as I want a smooth surface to work with, these areas needed to be removed. So I got out my hand drill and a wire wheel and proceeded to remove the shagginess and smooth the underlying wooden surface:


And this is where I am right now. The wheel really does a nice job of removing any remaining bark and leaves a very smooth surface:


I'm stopping for lunch and then I'm going to go out and completely smooth down the sides of the trunk. Then I'm going to use some paint remover to remove the pain on the cut surfaces.

More later,
VW

Wednesday, February 15, 2017

2017-Welcome Back and Cats vs. Human-they're at it again

Hello Everyone!

Well, February has arrived and the weather here is warming up so it looks like its time to get back to work here in the shop. We're off to another year of projects together!

Here's the first project for the year:

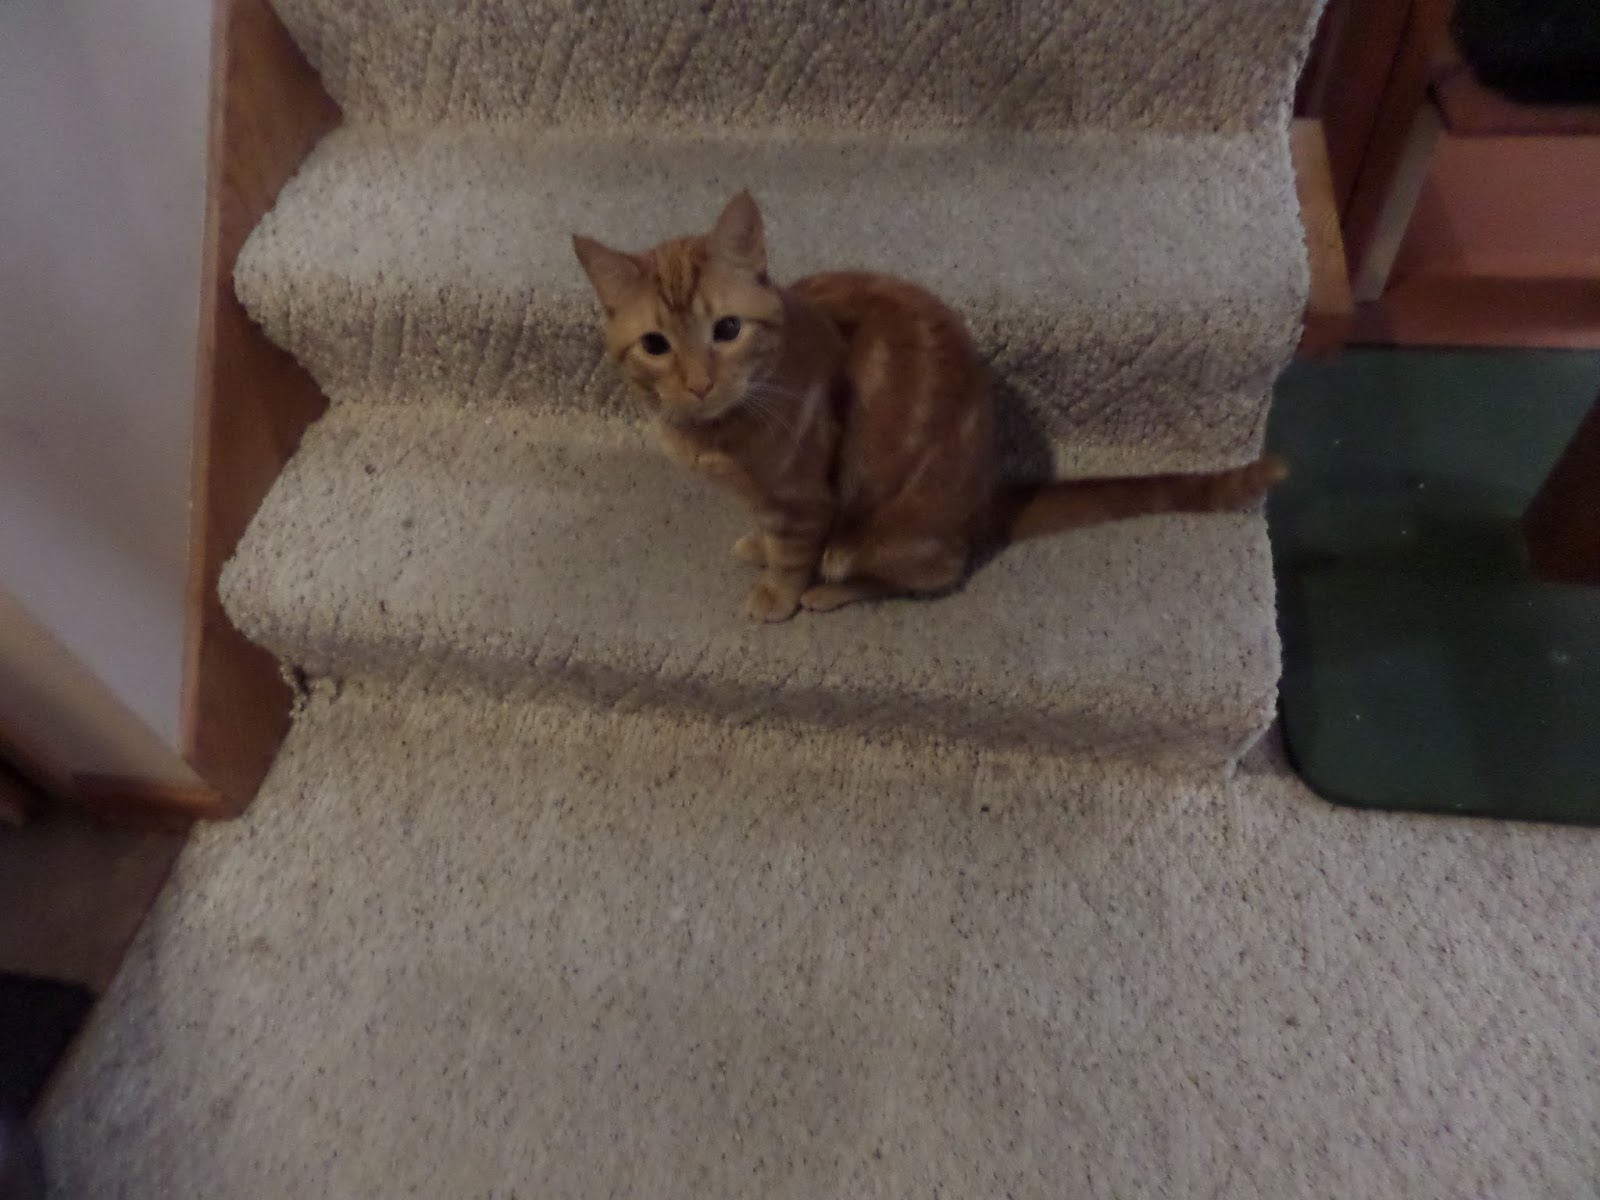
I have two cats, Biscuit and Rhubarb, who have been the subject of several cat projects in the past that, well, they've been able to out do me on (publicly humiliated would probably be a better way of thinking of this). I think they get a special pleasure out of this:

This is Biscuit, looking a little guilty:


And this is Rhubarb, giving me his "I-didn't-do-it" look:


Anyway, I have a much loved chair that those two have been scratching the hell out of;


The photo doesn't do it justice. The chair is getting some serious damage.

I also have a large wood pile that I've been saving for bowls. I was looking at it the other day and one large piece from a box elder tree stood out. Take a look at this:


This looks to me like a large main trunk with a large secondary trunk that was jutting out from the side. It was cut with a chain saw and I've been drying it and several other large trunk sections. This caught my eye because I've been thinking of making a side table out of it and the secondary trunk that is pointing straight at me in the photo would make a good scratching surface for the cats. So that's what I plan to do with this.

Discussion and Plans

There are a couple of challenges here: first I need to get all the bark off. As this is quite dry I don't think that will be a problem. Next, I'll need to clean off some old paint on the cut surfaces that was applied there to keep cracking to a minimum while the wood dried.

The top surface isn't level so I think the best way to deal with that is to construct a base for the trunk out of heavy plywood and then put the trunk on top of that and place a 2x4 underneath the trunk to help to level out the top. That will take some time and messing around with but I think I can make this work.

Then the trunk will need to be cleaned off as it's dirty and then lastly I'll apply several coats of polyurethane to it.

That should divert the cats from scratching up the chair and also give me a place to put a cup of coffee while I'm sitting there reading. Ok, this sounds like a plan.

Stay tuned,
VW

Saturday, December 17, 2016

Closed for the Season-Happy Holidays-Already Bored and Trying to Knit a Sock

Hi Everyone,

I came home several days ago and found that my husband and oldest son had packed up the woodshop and cleaned it out. They also closed the shop down, which I hadn't planned on doing just yet. It's also colder than Mars here right now. The upshot of this is that the shop is closed for the season so  I'm going to defer my last two projects until next year when it warms up, if it ever does.

Last night I caught myself wishing I could go out and work on something so I perused the Internet and decided to try my hand at knitting socks. I used to knit quite a bit but haven't done it in several decades. I still remember how to do basic knitting so I thought I'd give it a try.

Here's the photo:


It doesn't look promising.

But it will keep me out of everyone's hair for the time being. I'll post again when I'm done.

In the meantime, I'd like to wish you all a very happy holiday season and all my hopes for a good New Year. And thanks again for dropping by the woodshop and being my partner in all the projects here on the SWW blog.

Take care,
VW

Tuesday, November 8, 2016

Scrap Wood project-completion photos

Hi Everyone,

The coffee shelf is finished. Here are the photos:

Today all that remained was to screw on the shelves and several hooks to hang coffee cups on. The bottom shelf was placed 4 inches above the bottom edge of the back so as to allow enough room for a cup to be hooked and unhooked easily.

The top shelf was placed 5 inches below the top edge of the back. And all I did was place two screws into each end threw the back of the unit:


Next I placed the hooks evenly across the bottom and screwed them in:


And here is the final photograph. It used up more scrap wood and it produced a usable set of shelves for bags of coffee and tins of loose tea.


Ok, this project is completed. In looking at it, I can see that it could be configured in a variety of ways to fit your needs. And if you made the shelves a little narrower, it would make a nice spice rack. 

I'm not sure what my next project will be at this point. I have some bookshelves to make for some young friends which I'll do off line and then if I have time, I'll construct a camp kitchen. 

So in the meantime, I'm feeding the local critters and going inside for some hot tea.

As always, thanks for dropping by and see you all soon,
VW