Monday, April 14, 2014

The Artful Turn: The Catalpa bowl, continued

Hello Again,

Well I finished lunch and went back to the shop and continued to work on the catalpa bowl. After a near catastrophe, I've managed to produce something that doesn't look like my usual bowl. Here are this afternoon's photos:

I took the bowl back down and I narrowed the bottom band by about 1/16" and I think it looks better overall. The band doesn't flare out so much either. While I was turning I decided to give each surface of the bowl a different shape so no matter what direction the bowl is looked at, the person looking at it will see a unique surface:


I gave the bowl a good preliminary sanding to 320 grit and then flipped it over and began to turn the inside of the bowl:

In this photo you can see that I've hollowed out the bowl to a depth of about 1 1/2" and I've also marked off the walls of the bowl. I decided to turn two walls-the interior wall will be a little shorter than the exterior and the rims will be rounded and will turn towards each other:


Here you can see the walls beginning to take shape. I'm cutting the interior wall first:


Disaster! I got the two walls cut and the rims shaped and I needed to make the groove between them a little deeper so I picked up my skew to cut the groove with and WHAM! I got a catch. You can see the deep cut in the photo:


I took a very narrow bowl gouge and proceeded to remove some of the catch and then I remembered my bedan tool and I not only got rid of most of the catch but I was able to deepen the groove and round off the rims a little more as well. Saved by the bedan!


Here is the bowl after about 30 minutes of turning total:

So I took it off the lathe and came inside to photograph it. Here you can clearly see the double walls:

Here is a side shot of the bowl:

And here is a closeup view of the rim:

Now I'm going to stop work on the bowl and let the whole thing simmer in the back of my mind. I still need to finish hollowing it out and I need to thing about possible ways to accomplish that.

Stay tuned.
VW

The Artful Turn: embarking on more artistic work/The Catalpa project-discussion and plans

I've been working like a maniac lately producing kitchenware and I would like to begin taking some time out of my turning schedule to produce more artistic work.

Discussion

Wood turning as an art form has been a part of the art world for a number of decades here in the US and beginning in the late 1960's-early 1970's, a number of important artists began to produce serious work utilizing wood turning lathes. I've been collecting books for a long time on wood turning as an art form and at present turners in all parts of the world are producing amazing and truly beautiful turned wooden forms. I would like to take my work to the next level and begin to produce more artistic work too.

Now, I don't have any artistic training and that is a big drawback so I'm going to begin taking some art classes this fall and learn about lines, form, color, and painting. In the mean time I'm going to begin working on some artistic pieces to get a sense of what that is like and to begin to identify the technical challenges in turned wooden art.

I've long been intrigued with the buildings designed by Frank Gehry. The irregular shaped panels that make up the exteriors of his buildings are unique and very eye catching. I'm going to try to produce a bowl that will have several "panels" along the exterior and possibly interior of the bowl that will, I hope they will, appear to look independent of each other and reflect light at different angles and work in harmony with one another. We'll see how this goes.

Plans

When I went shopping for wood last week, amongst other things, I purchased a small block of catalpa wood. Catalpa trees are found all over the US but are native to the eastern portion of the US. It's not endangered. It's easily turned and it kind of resembles ash but instead of the yellow color of ash it is a medium golden brown. The block I purchased is about 2 1/2" thick and about 10 inches in diameter and this would be an excellent start for an artistic piece. I'm not sure at this point what kind of finish to apply. 

Here's today's photos:


Here is a photo of the blank that I began with. It's not heavy or very dense and it has a golden brown color and a nice figure:


Here is a photo of the underside of the bowl. I've given it a wide, thin foot so as to lift it off of the surface of a table or shelf.   I've begun to turn the rest of the bowl:

Here is a side shot. You can see the all the exterior surfaces of the bowl here and I've trued up the side. This portion of the turn went very well:


Next, I turned the first section which is the band of wood on the right hand side of the bowl. I want this section to flair out from the bowl a little. The second, wider band will flair out in the opposite direction:

Here's what it looks like:

Time to take it off the lathe and see what it looks like:


Here it is outside:

I'm inside right now and the bowl is sitting on my coffee table at the moment. I think narrower band needs to be made a little narrower, by about 1/8 of an inch. I think it overpowers the rest of the exterior of the bowl. I'm going to have some lunch and go back down to the shop and narrow it down a little bit. I'll be back in about an hour.

VW

Thursday, April 10, 2014

Rolling Pins Part 2: turning and finishing the pin and TURN-O-RAMA WILL BE BACK THIS YEAR!!

Hi Everyone,

Well, it's a really nice day outside-it's cool and breezy and there is no snow to be seen. Perfect day to make a rolling pin and that's what I did.

Here's today's photos:

I left yesterday's laminated blanks in the clamps over night and this morning I removed the clamps and now we have two turning blanks-one that is white oak and Brazilian cherry (~15 " long) and the other is white oak with black walnut(14" long):


Next I trimmed the edges and marked the center. Then I drew a circle about 2" in diameter and I did this on both ends. The circle helps me to judge the diameter when I'm turning:

And I placed it firmly between centers and turned it at about 700 rpm. I've also applied a layer of wax on the tool rest and underneath my roughing gouge to make the tool slide along the tool rest little easier. And I've sharpened by large roughing gouge and I'm going to turn the whole block into a cylinder approximately 1 7/8" in diameter:


In this photo you can see the pin emerging from the blank. I'm shortly going to go to the other end and turn that section of the blank to a cylinder as well:

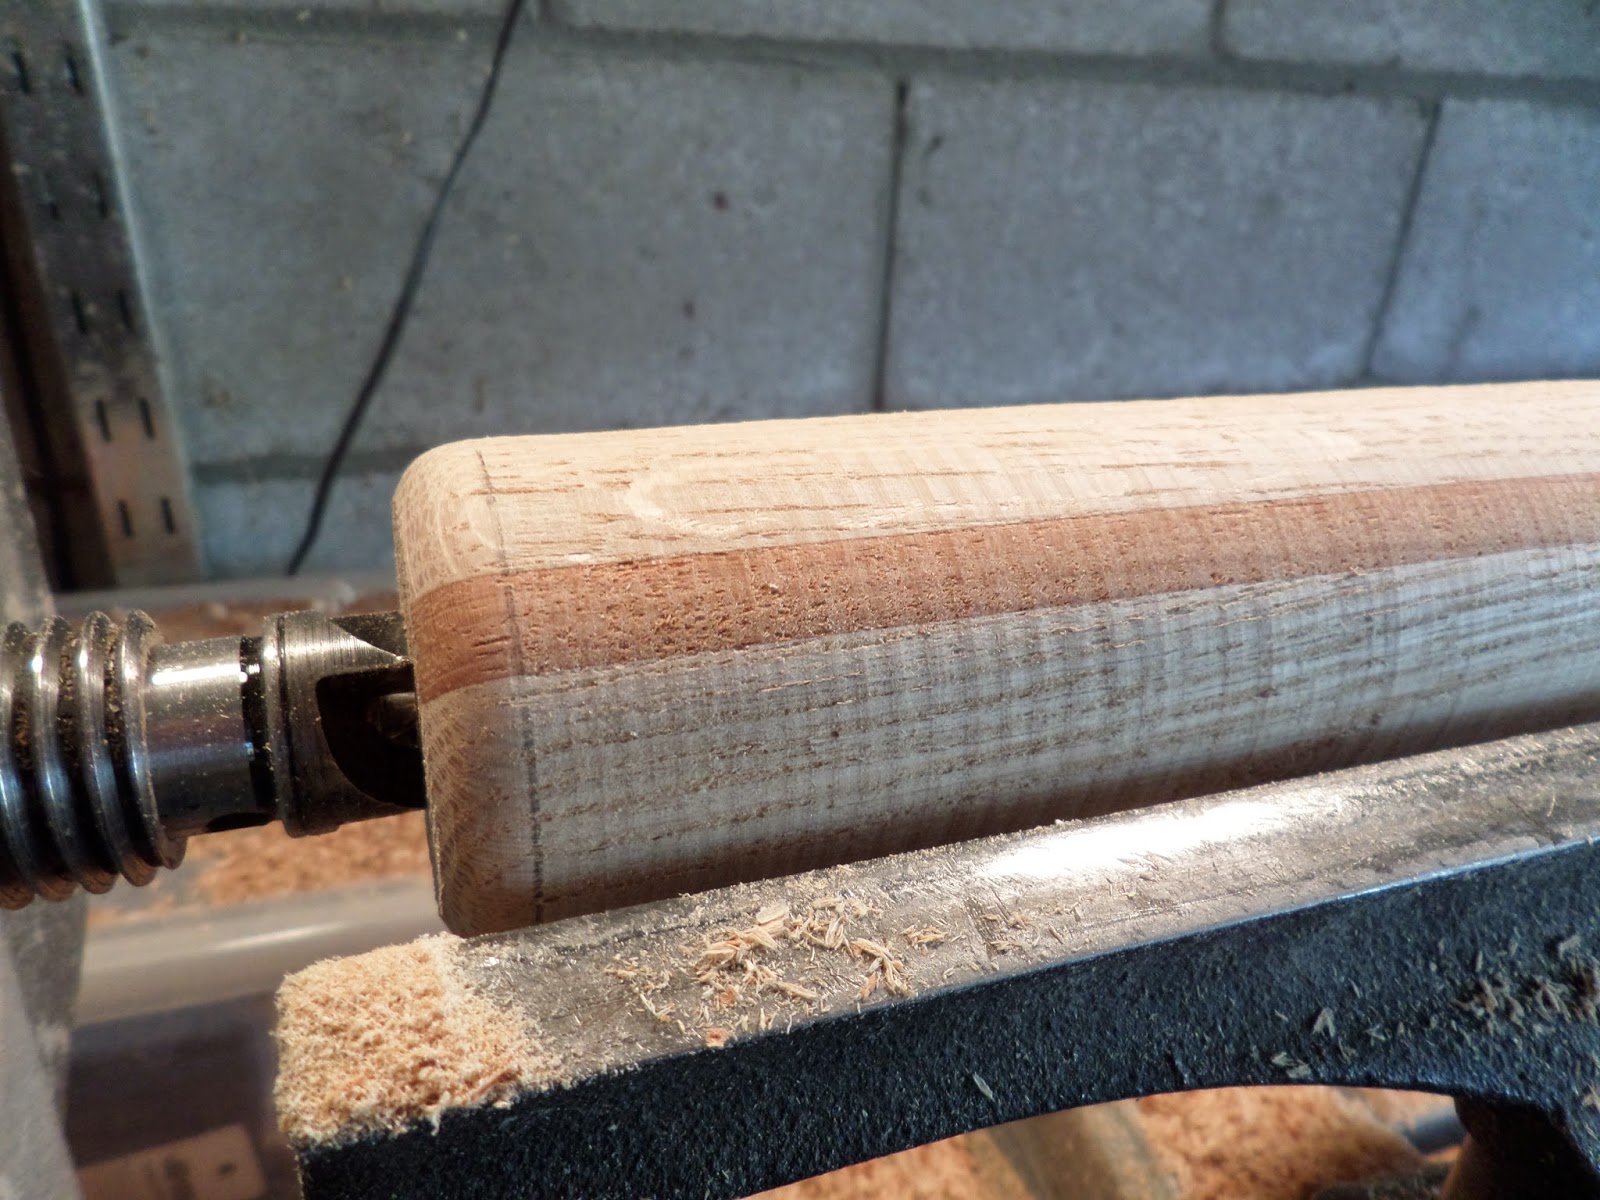
Here you can see a closeup shot of the left hand side of the cylinder. It's rough and the Brazilian cherry layer needs to be cut smooth:

Here is the cylinder. It's obviously not the same diameter all the way across. A good thing to do is to have a set of calipers ready from this point on because as the pin becomes closer in diameter from end to end, it's difficult to judge by eye if your turning is finished or if more turning is needed to even things out:

And here is the rolling pin. The cutting along the pin is done:


Next I'm going to round off the ends. I use my skew chisel for this:


And here I'm just smoothing the surface with the skew. I like to leave my skew chisel just a little dull for this as it's easy to get a catch with a sharper chisel:

Finishing the Pin

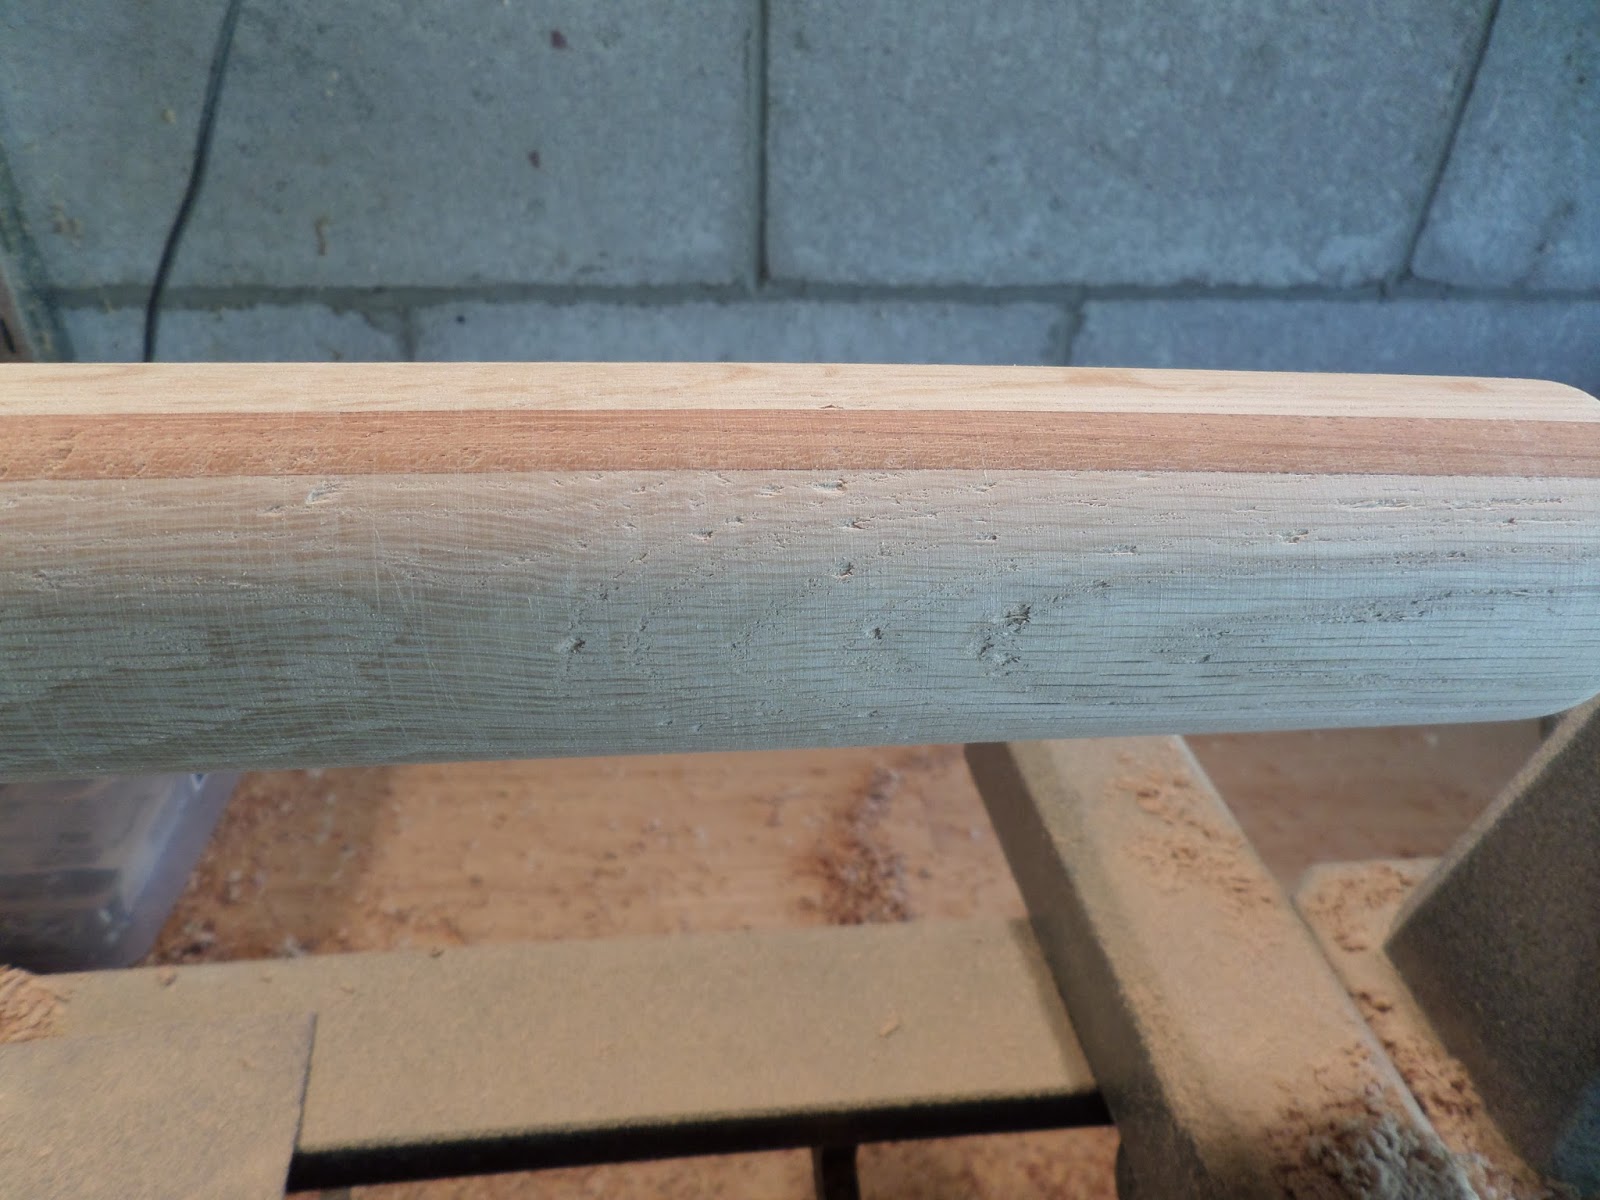
This is a closeup shot of the surface and you can see a little tear out in the photo. Sanding will take care of that. I begin with 80 grit paper and go to 220 grit:


 Here you can see that same spot a few minutes later:


And this is the finished pin next to the other turning blank:


To finish the ends-I like to drill and insert a dowel in a contrasting color in the holes in the ends of the pin and then sand the whole surface smooth. This is cherry from the ill fated pegging experiment yesterday:

And here we are about an hour later. Two hand made rolling pins that have been finished with flakseed oil.


And that ladies and gentlemen is how you make a rolling pin.

I'm going to be splitting a walnut log that I've been drying out and I'll make rolling pins out of some of that wood and when I do, I'll do a blog posting on that whole process.

I'm going to do another Mother's Day Turn-O-Rama this year and I'm going to keep this one a secret as it's my favorite thing to make on the lathe.

See you soon,
VW

Wednesday, April 9, 2014

Wood Pegging-discussion and comment

Hi Again,

I've been really busy in the wood shop lately making a lot of platters and fruit bowls for an upcoming farmer's market and I've been thinking about adding a little more exterior adornment to the items that I make. In fact, I've been thinking about that for a long time.

Normally I prefer to let the grain pattern and the wood color provide the visual interest in a turned piece and most people like that. But not ever piece of wood I turn is spectacular looking and I would like to just try to experiment a little bit. It can't hurt.

So I decided to try pegging, which involves drilling a hole or series of holes, in the surface of a wood turning blank and then inserting a wooden peg of a different color with the hope of producing an interesting pattern or design.

So here's what I did-

I was turning a piece of hard maple, my favorite turning wood, and encountering quite a lot of difficulty. The grain of the wood was very wavy and I was getting a lot of tear out (even though I love to work with maple, I'm constrained by the fact that it doesn't always love me in return). So I decided to stop and sharpen everything and then I thought, "Aha!" Great time to try something a little different and if it didn't work out, well, I'd turn it into a Frisbee or something else. So I proceeded to drill a lot of holes into the surface of the blank and hammer a lot of wooden pegs into the surface.

Sigh, here are the photos:

Here's the blank. I merrily drilled away on the surface and then when I got to the last hole I took a look at it and thought, "That's a helluva lot of holes."


I cut a corresponding large number of pegs out of walnut, cherry, and oak for the contrast and began pounding them in:


Here it is full of pegs. It almost looks like some kind of game:


And then I placed it on the lathe and proceeded to turn it flat. I had a helluva time with the maple as it kept chipping and I had some tear out on the pegs:

It took quite a while to get the surface flat but I finally did and I've sanded it a little. Then I brought it upstairs and oiled it. It's not bad looking if you like a lot of dots:


Comments
The next time I do this I'm not going to place them on such a wide flat surface. This led in part to the tear out on the surface of the pegs. Next time I'll try this on the edge of something.
I'll also cut the pegs exactly to size and then set them just slightly below the surface of the surrounding wood. This will allow me to sand instead of cut and hopefully not damage the surface of the peg.
And I won't drill so many holes. I'll be a lot more cognizant of the design.

Well, it looks like I've got a new bread board.

See you later,

VW

Rolling Pins: Discussion and Photos-Pt. 1

Good Morning Everyone,

Let's talk about rolling pins.

I haven't made a rolling pin in a long while now and it's time to get back to my kitchen ware roots and make a couple for sale.

Discussion
Rolling pins are not terrible difficult to make but the surface of the pin needs to be parallel or the pin won't roll correctly. You also need good quality straight grained wood. And you can either use solid wood or you can laminate a turning blank.

If you decide to use solid wood, go on line and look for baseball bat billets. That type of wood is kiln dried and absolutely straight grained. It's hand selected to be without defects and this is what you want in a solid-wood pin. I use maple or soft birch and I have some of this in stock.

As this is a multiple step project, I'm going to laminate a blank from some white oak and some thin walnut and Brazilian cherry stock that I've had for ages. Laminating has several advantages over solid wood, namely you can create a turning block that is close to the diameter that you plan to make you pin with so it cuts down on turning. It also is easier to make the resulting pin surfaces parallel. And they look really cool.

Here are today's photos:

I bought a stack of white oak cut offs this past weekend and this is going to be the primary wood for the pins and for several fruit platters a little later on. In this photo you can see the thicker white oak cut offs and the much thinner black walnut and Brazilian cherry stock (to the right of the photo) that I'm going to use.


You also need a lot of glue. It's important that you not try to economize by not using a lot of glue. You need a strong joint between all the pieces of wood that you plan to laminate:


I've cut all the wood down to size. I'm going to make a 15 inch pin and a 14 inch pin:


And here I've dry assembled them just to see what they will look like. This combination will produce a 2"x2"x14 or 15" long turning blank:


Here is a photo of the glue up. Note that I've got a solid layer of glue along the surface of the board. You don't want any gaps between the wooden planks-make sure the glue covers the entire surface of the wood. I also use a plastic trash can bag to protect the surface of my work table:


Here is what the turning block looks like after it's assembled. I am about to clamp it very tightly with a series of C-clamps. Make sure you really tighten the clamps as hard as you can. This will produce a fine cabinet maker's joint:

And here is the blank with C-clamps in place. I've set this aside and I'm going to let it dry over night:

Now tomorrow I'll trim the ends of the block and place it on the lathe and turn it down to a long cylinder shape.

See you tomorrow.

VW


Thursday, April 3, 2014

Scrap Wood Project-What to do with all those branches people give you

Hi Everyone,

If you're like me, you have lots of friends who love to give you branches from their favorite tree in their yard. This of course leaves you with the problem of what to do with it.

Getting branches from friends or finding them along the road can provide you with an interesting array of wood. The problem is what to do with small diameter branches. You can carve a spoon, or make very small boxes like salt cellars out of them but the range of things to make is rather limited.

One thing you can do with them is to turn small flower vases for dried flowers, or weeds, or branches. These were popular back in the 1970s when they were called "weed pots." People made them out of all sorts of different kinds of wood like old fence posts, wooden beams, and tree branches.

I have several branches in the shop that I was on the verge of discarding when I remembered the vases from 40+ years ago and decided to try to make one.

Here's today's photos:

This is a section of a siberian maple from a tree from a friend's yard. This particular wood came from a tree that was root bound and so the tree grew very slowly and as a result, is very, very dense. I've had it for a couple of years and it was dry enough to turn so I cut off a 6 inch section on the bandsaw:

Then I eye-balled the center of the branch and drilled a hole on the top and bottom:

And placed it firmly between centers. The branch isn't uniform in diameter so this is going to be an unbalanced turning:

 Here you can see I've begun to turn the stem portion of the vase. I used an old, roughing gouge to remove the bark as bark can have a lot of grit inside of it and this can be hard on tool edges:


Here it is a couple of minutes later:


Here is the vase after about 10 minutes of turning. The neck of the vase needs to be thinned down:

And this is the vase several minutes later. I used a spindle gouge for most of the turning and then I smoothed with with a fingernail gouge:

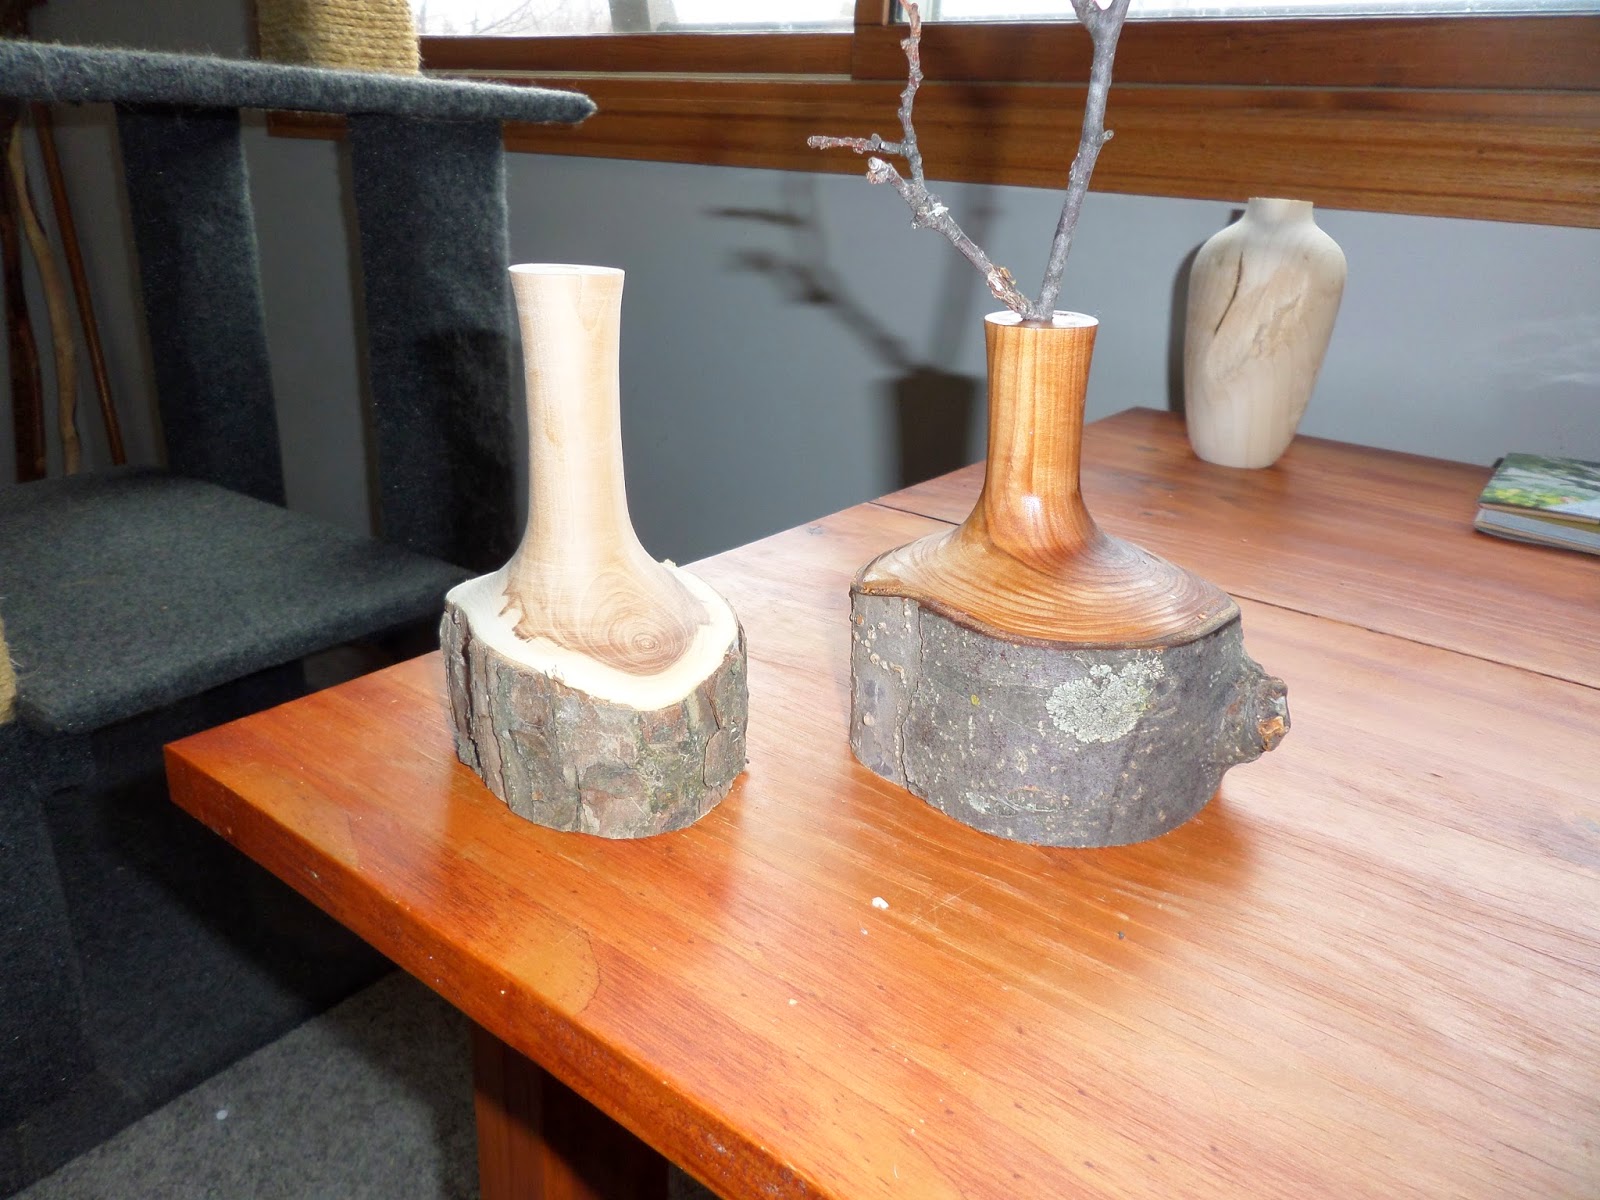
And here it is in the shop next to an additional vase out of cherry. I drilled the hole in the neck with a 3/8" twist drill bit on the drill press:


And here is the maple vase with a coat of wipe on polyurethane:

I think the neck of the vase could be tuned down and made a little bit thinner. But I certainly have more branches to practice with!

The weather here has turned really cold again and we're getting a ton of frozen rain right now and the temperature is dropping so that's it for today.

I have to make a trip to the lumber yard tomorrow for more wood so I'll probably see you next week when we talk about rolling pins.

Have a good weekend,
VW