Well, it's a nice day outside so it's time to get started on the first project for the year-turning a wooden fruit platter and instead of leaving it it's own natural color, I'm going to experiment a little and stain it. This will be the first of a two part posting today.
In the past whenever I've turned something I've left the natural color of the wood alone-I've only stained a turned object once and that turned out to be one of the great disasters of my life. Never did that again. But I've seen the work of other turners who do color their work with stains or paint and I've had a change of heart and decided to try it again.
I've been experimenting a bit by combining different colors of stains to extend the range of colors that manufacturers offer. I use Minwax products quite a bit and I've had some very interesting and lovely results staining some housewares I've made recently so I've decided to try this out on some of my bowls and platters.
I went and bought some spoon carving wood at Forrest Products Supply, one of my favorite wood sources here in the Twin Cities area and while I was there I spotted a couple of glued up turning blanks out of white oak that had been tossed aside. I purchased those and I've taken one of them and put it on the lathe and partially turned it for this first posting. I would like to stain it an English oak color and get the color as close to that traditional color as possible.
Plans
I'm going to turn a simple shallow fruit platter out of one of these blanks and stain it. It will probably be about 11 inches or so in diameter and about 1 inch deep. I'll turn the platter first and you can look over my shoulder now and see how that works out.
Here's the photos for this posting:
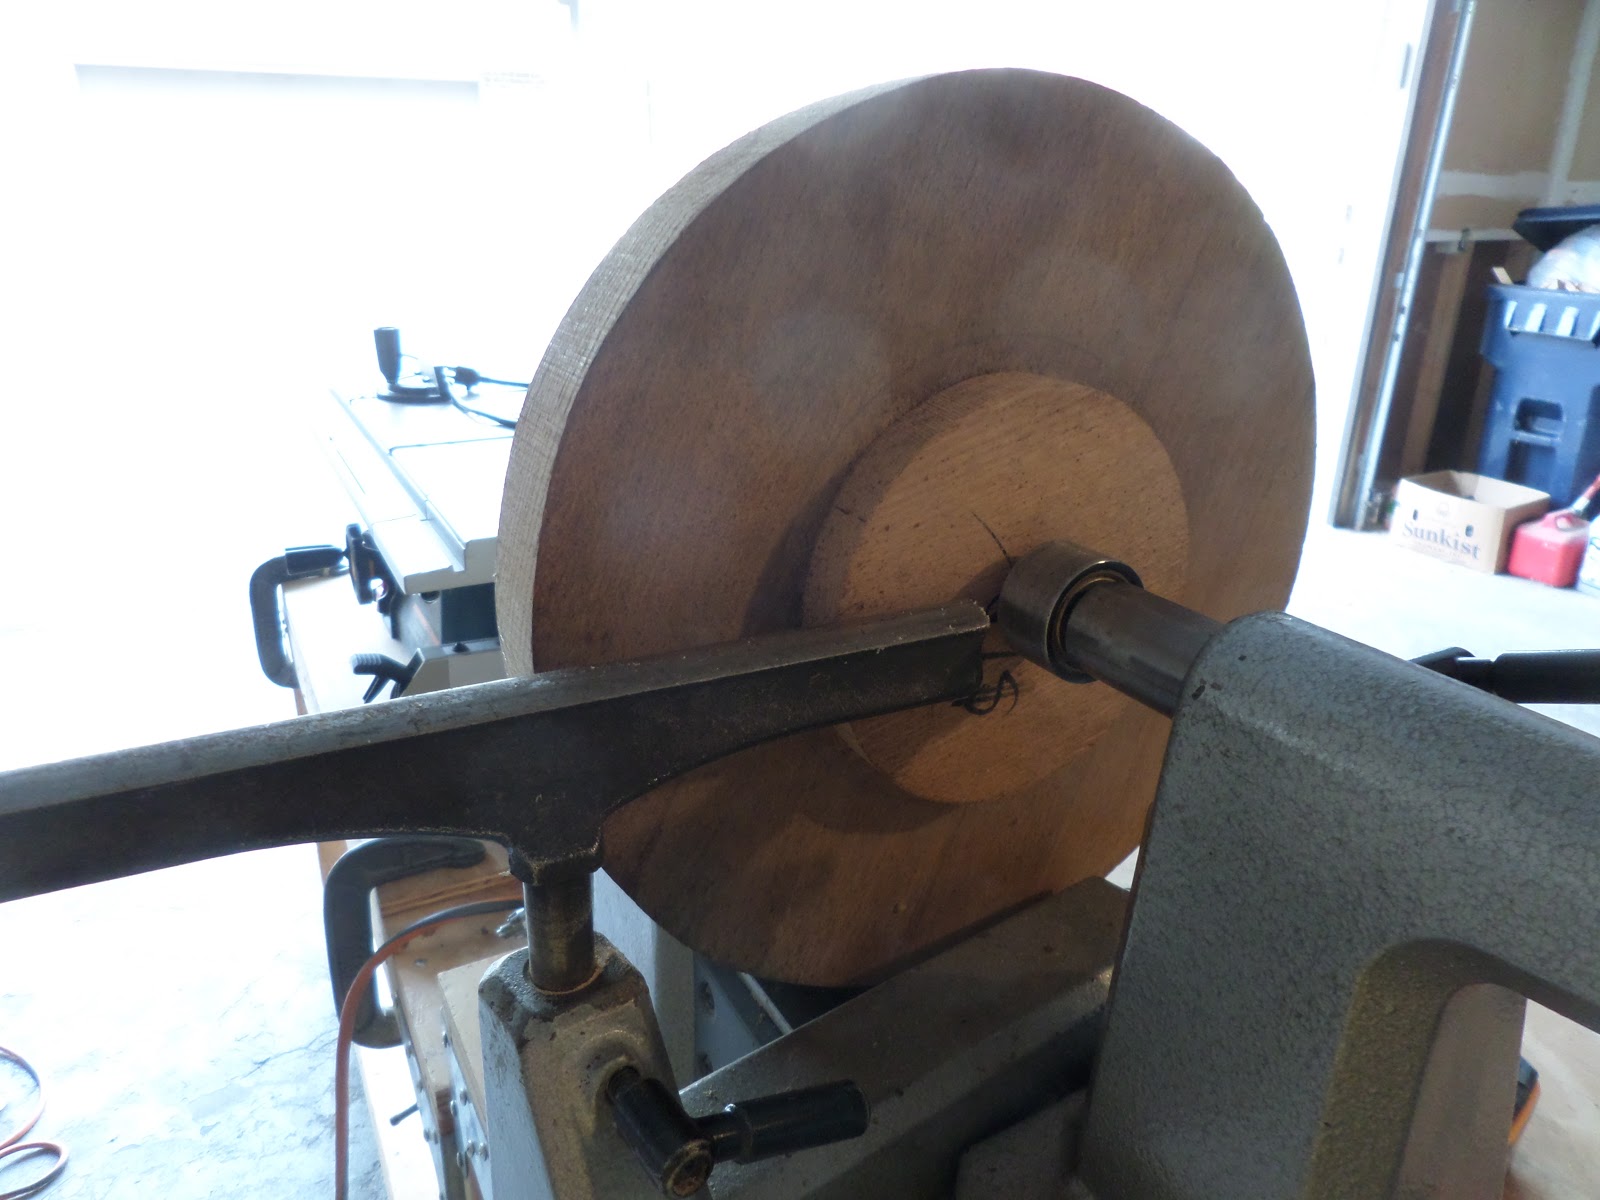
Here is the turning blank I'm going to use. It's about 12 inches in diameter and 1 1/2 inches thick and it has separate oak foot that someone glued underneath it:


The first thing I did was true up the edge of the blank. It had not been cur in a true circle so it took a few minutes to cut it down. Here you can see where I've removed some of the rim wood and an area where it still needs to be turned:

This is the edge after it's been entirely trued:

With the rim finished it was time to turn my attention to what will be the underside of the platter. The first thing I did was to flatten the area between the edge of the platter and the edge of the foot:

Then I created a long, sweeping curve between the uppermost edge of the blank and the edge of the foot. You can see these two points by looking at the arrows in the photo:

When I finished that, I turned my attention to the foot. You can see that the foot is not centered and is also was not cut into a circle so the first thing I did was cut it down and flatten the face of it:


In this photo I've finished creating the curve I want but there still are a couple of high spots on the surface. I took a sharp skew chisel and gently removed these areas:

Ok, the curve is finished.
The foot of any turned piece is important-it is point of contact for the platter and any flat surface it will be placed on so it has to be perfectly flat so it doesn't rock. It is also the attachment point between the body of the platter and the lathe.
I could screw the face plate back on but that will involve drilling holes into for the screws and the foot isn't really thick enough to prevent the holes from penetrating the platter and becoming a problem when turning the floor of the platter. So I'm going to drill a large hole into it and use my Nova chuck to attach the platter to the lathe:


This is a photo of the chuck. I've used it many many times in the past. Also in the photograph is a 2 1/4" forstner bit which is what I'll use to drill with:

This photo shows me drilling the hole for the chuck:

Drilling straight into the foot produces a hole with straight sides. As the jaws of the chuck are dove-tailed it's important to dove tail the sides of the hole so the jaws will sit securely inside. And this is the tool that is used to produce this. Very handy to have around:

And here is the underside of the platter. I've sanded it smooth to 320 grit sandpaper:


In this photo I've taken the face plate off and mounted it on the lathe with the chuck. And as this is going to be stained I used a stain sealer on it. It has a nice color:

This is the top of the platter waiting to be hollowed out. I'm going to stop and have some lunch and then come back to the shop for more turning:

Stay tuned,
VW
No comments:
Post a Comment