Thursday, August 11, 2016

Making the Bed Continued-Beginning the Mattress Frame

Hello Everyone,

I've finished the headboard and footboard and now I'm beginning the mattress frame section of the bed.

The plans call for two 75" boards that are attached to the the legs of the head and foot boards. I've decided to use metal brackets to attach 2 2x4's and use these as the basis of the mattress frames. Here's some photos:


In this photo you can see the metal brackets I'm planning on using. They fit around the ends of the 2x4s and are screwed in place:


 In this photo I've screwed the brackets in place on the foot board. They are 11 1/4" above the ends of the legs:


This is the headboard with a bracket screwed into place and one of the 2x4s inserted into it:

And this is what the frame looks like so far. I haven't completely attached the 2x4s into the brackets as yet:


Tomorrow I'll purchase some more 1x3's for slats and also attach a 1x6x75" pine board along the long side of the 2x4s. This will help keep the mattress from shifting on the frame.

Stay tuned,
VW

Monday, August 8, 2016

Making the Bed continued

Hi Everyone,

I had the day off today so I decided to spend part of the day working on the bed project. I finished the foot board by cutting a plywood panel to size and screwing down to the back of the foot board. Then I stained everything. Here's today's photos:


This photo shows the plywood just lying on the backside of the footboard:


Here it is with the screws in place:


And this photo shows the foot board and the headboard-the construction of these is completed.


After all this I took both pieces outside for staining. I'm using Minwax honey colored stain. It's coming out a medium brown color. The wood pieces that make up both the head and foot boards are different and so they absorb the stain differently so you can see a color difference in the photos. I'm going to let the stain dry for the next several days and then stain them again so as to make the color more even:


After the stain part of the project I'll begin varnishing everything but that won't be until the end of the week.

Next, I'll make the frame for the mattress.

Stay tuned.

VW

Thursday, August 4, 2016

Making a bed continued-screwing up but winding up ok

Hi Everyone,

I'm back-between very hot weather, high humidity, and a rib injury, I haven't felt much like working with anything, let alone a wood project. But this bed is needed and as I'm feeling a little better at the moment, and rounded up my husband to help out, the project is proceeding.

In the original plans, the headboard had a cross-shaped center piece made out of 3 pieces of 1x4" pine. And I had cut the pieces out but I cut one about 1/4" too short. Damn, it was too short to fit in the center and as I was out of 1x4 pine, I decided to re-arrange the design. Instead I used a 2x3 fir stud to make two pieces of wood that are screwed into the headboard frame. Here is a photo:


I also decided not to inset the plywood backing but instead screwed it to the rear of the frame. This modification makes the headboard very stiff so it shouldn't move at all.

All the headboard needs now is to be stained to match the frame.

Next I'll make the footboard and after that the framework that will hold the mattress.

Stay tuned.

VW

Tuesday, July 26, 2016

Hello Everyone! Making a Bed

Hi Everyone,

Well I'm back after a long absence. I've had a very very busy year and my life is finally beginning to slow down. So I'm back in the shop building stuff.

Today I'm building a bed frame for a young friend who doesn't have one. This is a very simple bed that I found on Anna White's web page called the "Emmett Bed." This bed is made out of construction lumber and is fairly easy to make.

Since her plans are free and available online on the above link, I won't review the cutting list. It only cost about $70 for the lumber and supplies.

Photos

Here is some of the lumber I purchased. I was measuring and cutting when I took this photo:


Here are all the cut parts-I cut these parts according to the cut list:

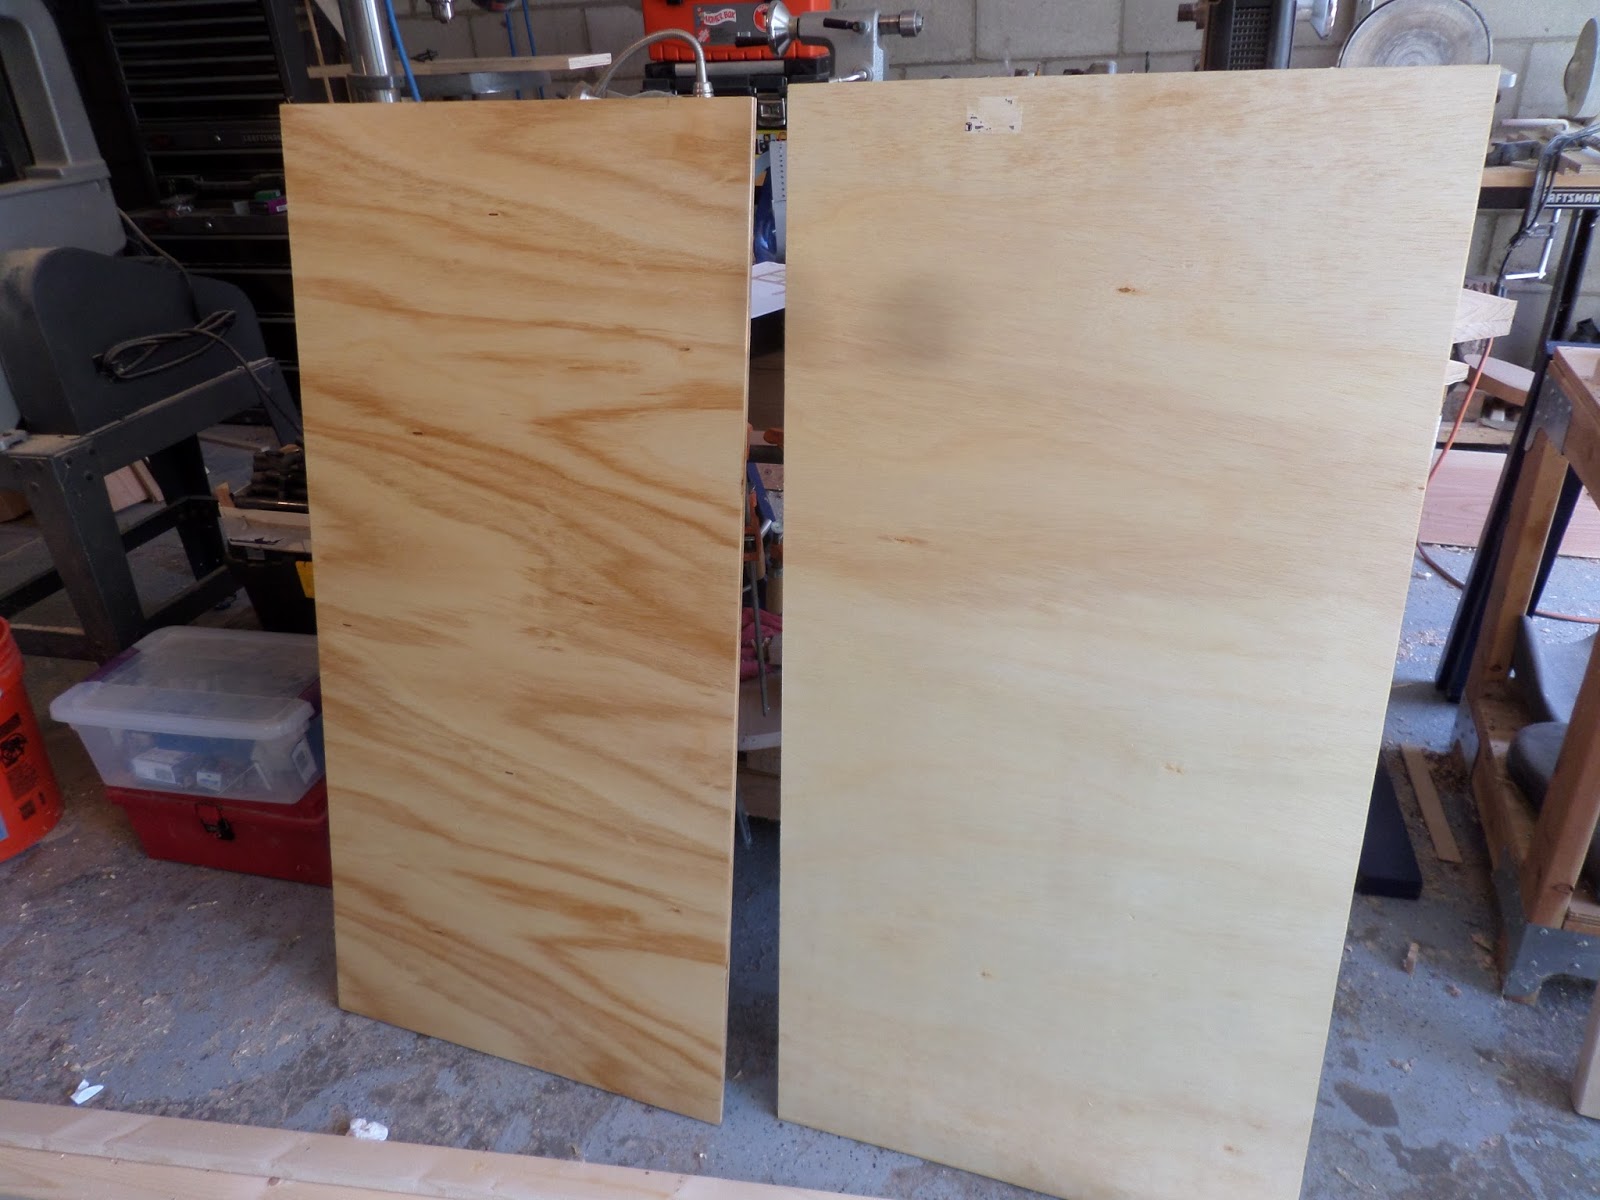
These are the 1/2" thick plywood panels for the foot and head board:

And this is the color I stained the parts. I always stain furniture parts before assembly. It's easier and it looks better. And it's one less thing to do at the end of the project:


And here are all the parts drying out in the shop:


Ok, as it's really really hot outside, I'm quitting for the day. I still have to stain the plywood panels and for that I'll need to purchase more stain. Tomorrow I'll assemble the frame and I'll show you how I did that.

Until then,
VW

Wednesday, June 22, 2016

Transitions Or Farewell to Fruit Bowls for a While

Hi Everyone,

Well summer has begun and I hope everyone everywhere is enjoying the nice weather and if you're in the southern hemisphere, a nice fall.

I haven't done any turning in a long while and I decided today to begin working again. It has been a very busy year and one with numerous transitions and while all of this has been most welcome, it has taken away time for thinking and working.

I've long wanted to begin this phase of transitioning out of traditional wood turning but I didn't have any kind of a plan or idea as to how to begin. I've looked at a lot of artistic wood turning but I have neither the tools or artistic training of any kind to begin that type of work. Other methods of wood turning like segmented turning has not caught on with my imagination. Over and over the early work of Stephen Hogbin, who was sawing his turnings into pieces and re-assembling them was the only thing that popped into my mind. But I'm not that creative.

So I have looked elsewhere for inspiration and new ideas and this has led to to examine the work of fiber artists and basket weaving. I love the colors and the textures that I have seen and basket weaving in particular has caught my eye since it involves wood fibers. One artist in particular is Minnesota fiber artist Tressa Sularz.

In searching the internet, I came across a brief essay she wrote entitled Dancing My Way Home along with a photograph of a piece of her work which is woven by hand and has beading on the surface. It's not a basket per se but it is really beautiful and is an example of a traditional craft taken several steps further and made into a beautiful object.

And so I began searching for images of her work and the work of other fiber artists and I decided it was time to stop turning and begin experimenting. So here are some photographs of today's work:

I decided to work on a large block of basswood that I've had for a while. It's soft enough to carve easily with hand tools and the buff color of the wood should let any colorants I use to be visible, unlike walnut or dark red woods (which are going to need a lot of thought but I can do that later on):


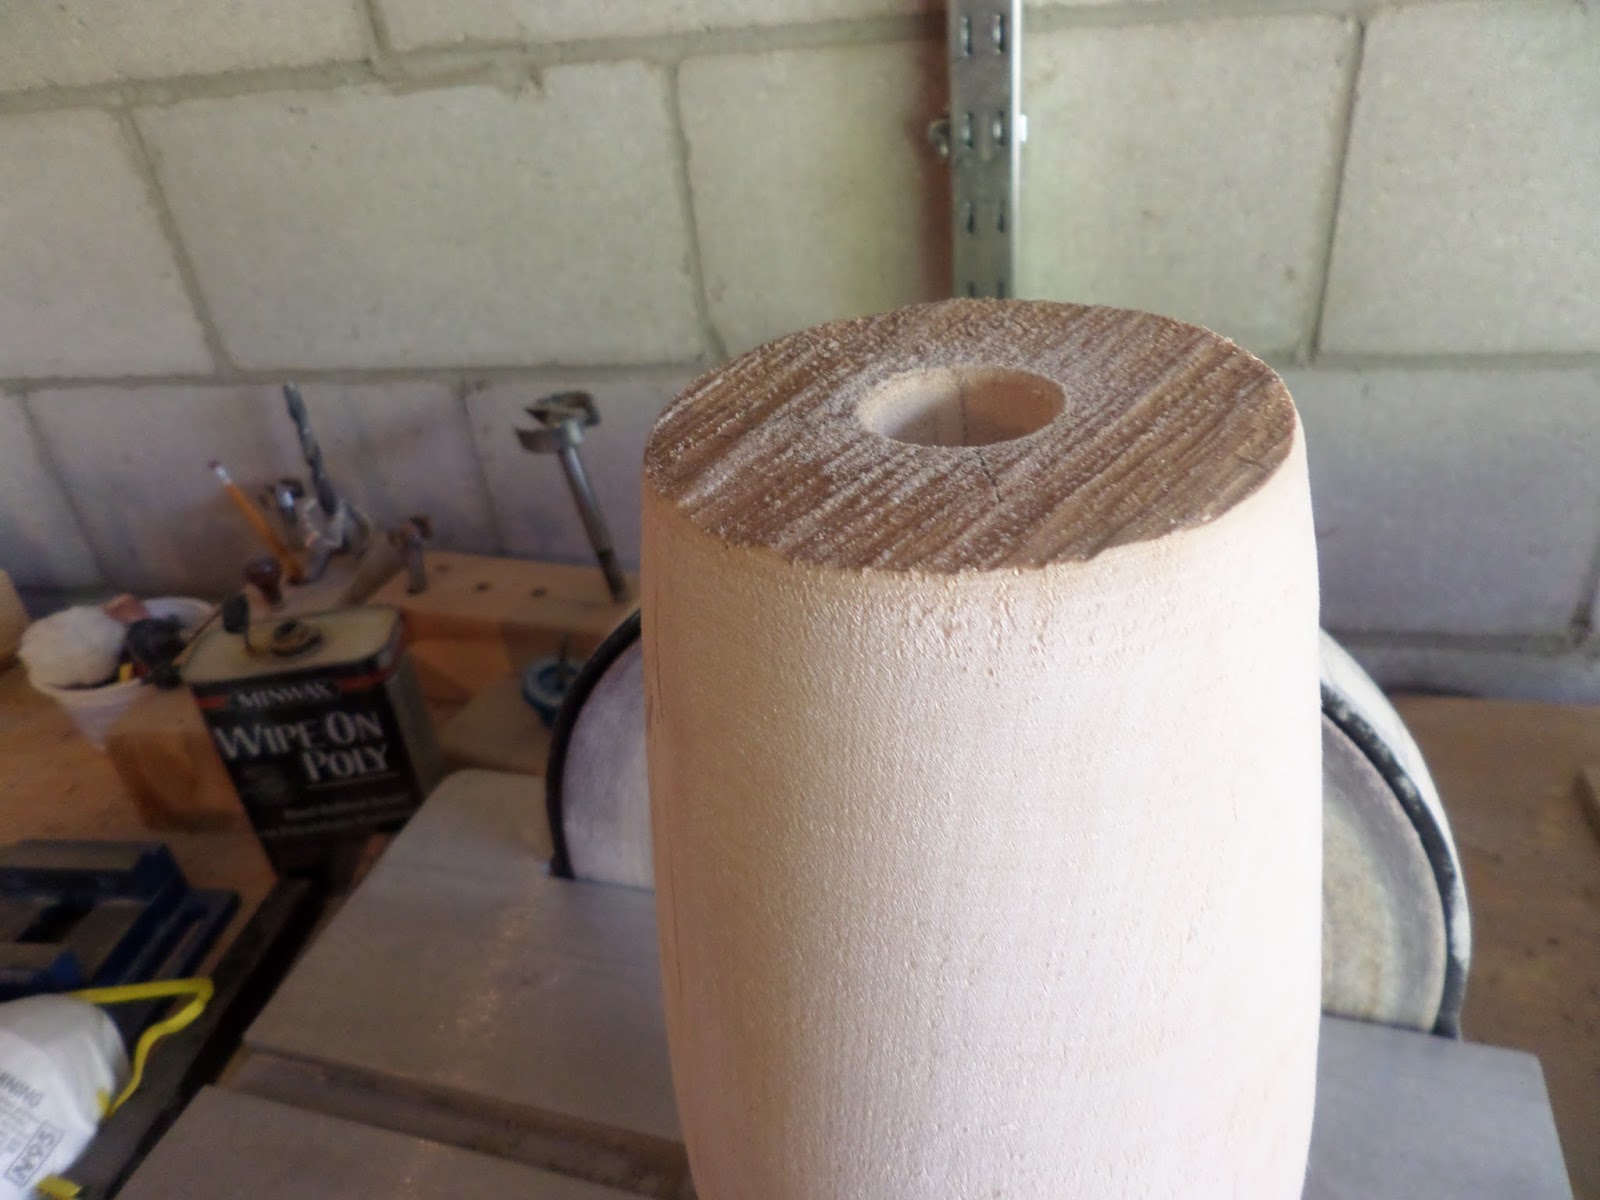
Here I've placed it between centers and turned it down to a vase shape: 


Here I've attached it to my Nova chuck and smoothed the surface a little:

And then I drilled hole in it with a 1" spade bit-why I did this I don't know:

And that's it-I now have a turning-carving-coloring-whatever wood blank to work on.

This is just going to be for an on going experiment so I'll keep you up to date as to what I'm doing.

Stay tuned,
VW

Monday, April 4, 2016

The Cradle Project-Final Notes and Completion Photos

Hi Everyone,

It's finished. It took several people and a couple of cats but we did it. Here's the final notes and photos:

I've had the cradle inside so that the polyurethane I used would dry. It suddenly got cooler outside and the finished would never have dried under those conditions. I used Minwax Wipe On Polyurethane for this project. It's easy to apply, provides a durable finish, and is easy to repair should the finish become damaged from flying toys, cat scratches, etc.

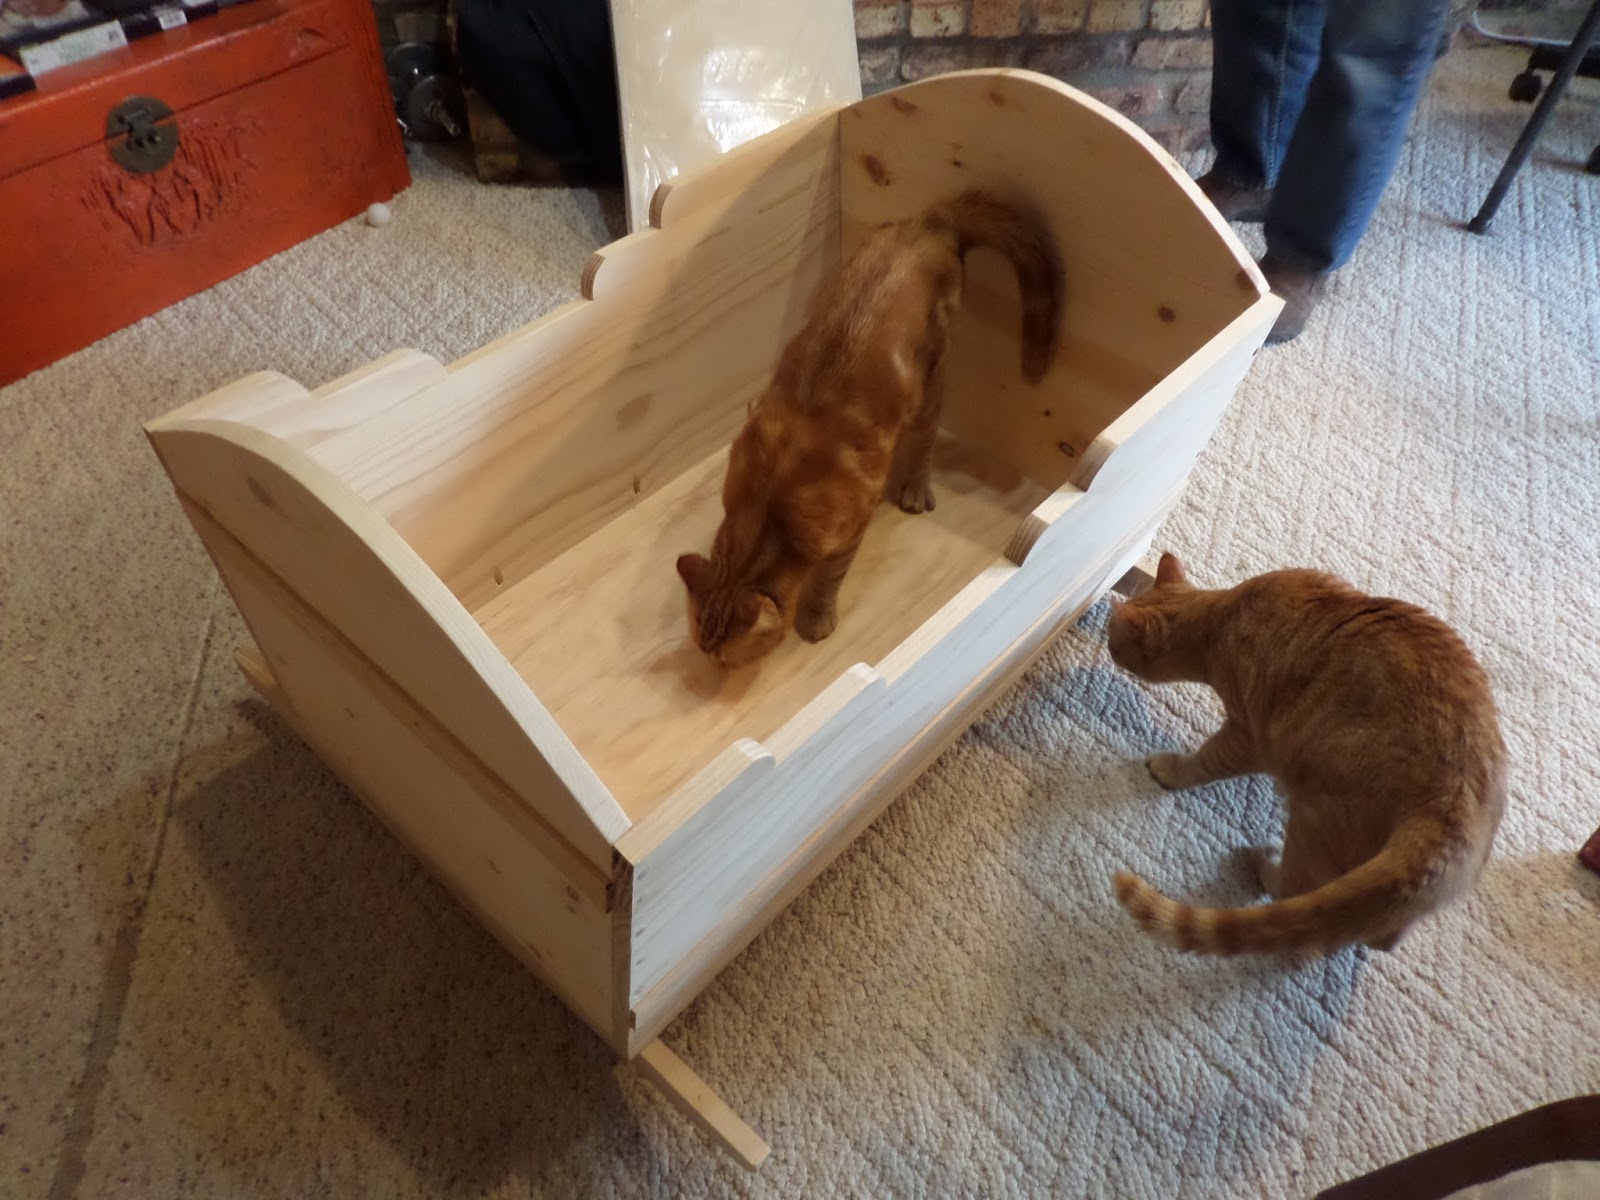
My husband and I then brought the cradle and the rocker upstairs for assembly and placed it upside down on some dining room chairs. And of course the inspection team immediately sprang into action:


I placed the rocker assembly on the underside of the cradle and centered it:


And drew an outline around it. Then I drilled some pilot holes for the screws:


I didn't want the rocker to move while I was drilling so my husband got underneath the cradle and drilled in two 2 1/2" wood screws from the underside to attach the assembly to the cradle. This was really funny as Rhubarb got underneath with my husband and was playing with Jim's head and glasses:

More assistance and inspection:


And here is the cradle completely assembled. You can see the screw heads clearly in the photo:


The last part of the project was to attach the handles on the end panels and for this we used this screw driver. We've had this particular tool for decades and it's been used on all sorts of projects so it seemed appropriate to use it now for the next generation of children in our family:


I was about to attach the handles when my husband and son and Biscuit decided to do this themselves so I stepped aside and did the photographs:


Here is a photograph of  one of the handles in place. And with this the project is concluded:

Finish photographs


And yes, it rocks back and forth!

We brought it back inside and the Ginger Majesties got a well earned Party Mix treat for their help:


Here is a photo of it with all the baby stuff-I bought the bear:


I don't usually run around signing things but I thought it was appropriate this time:

When the baby is born I'll create a small wooden plaque indicating that the cradle was originally made for him, his name and birthdate, and the names of his mom and dad, and the names of everyone who helped out. I hope the cradle will last many, many generations.

Ok, I'm done with this project.

What's next?

I have to clean out my shop and organize it-I'm up to my eyebrows in wood dust and other assorted junk.

I'm not sure if I'll have the time to do a Mother's Day  Turn O Rama this year as the baby will be newly born by that point so I'll see if I can get away from just holding him long enough for a project.

I also have a lot of dried tree trunks to turn so this summer I will be doing bowls and placing some of them for sale on the sales blog. More about this later.

So stay tuned and grab some coffee and drop by the wood shop. There's always something going on here.

Well, I'm going to have a cup of tea. See you all soon.
VW

Sunday, March 27, 2016

The Cradle Project-cradle assembly

Hi Everyone,

Well, today was the first day that I have been well enough to assemble the baby cradle. After my last blog posting I got really, really sick and basically life stopped for about 10 days while I recuperated. But I am better and so I decided to continue working on the cradle and get it finished. It's about 28 days until the baby's due date so here we go:

The cradle consists of two structures: the cradle box and the rockers.

Here's the cradle box:

My husband Jim the engineer and my youngest son Critter gave me a hand today with the assembly. The first thing that needed to be done was to bevel the bottom edges of the side panels and that took quite a bit of work as I have a very small table top table saw and the boards are rather long and awkward. We did manage however to figure out the correct bevel angle and set up. This is Jim about to saw the boards:


Here is another photo of the edge running through the saw:


Cutting the side panels was successful. The next step was to drill the screw holes for the wood screws:

Here you can see that all the screw holes were countersunk to accept a wooden plug and you'll see a photo of that in a minute or two:


This is Critter giving me a hand. It's really cold outside and my hands just got very cold and stiff so the help was appreciated:


Here's Jim and Critter, the human wood clamps, helping to line up one of the end panels for drilling and screwing:


And here is a photo of one of the end panels. Everything went together very well:


Here it is screwed together. Not bad:


With that done, the next step was to cut the bottom panel and screw it onto the sides. This is Jim measuring:


 Here's a photograph of the bottom of the cradle. It's made out of three laminated 7 1/2" pine boards:


Ha! Critter decided to warm up some leftover pizza. Looks like it got nuked instead!


Trimming the bottom panel down only took a couple of minutes. Here it is just sitting in place:

And here it is drilled and ready to be screwed in place:


And here is the box portion of the cradle, completely screwed together:

And here are those countersunk screw holes I told you about:


The Rockers

This part was very straight forward. It's just the rockers screwed onto a center 2x4. This entire thing will be screwed to the underside of the box. And yes, the rockers actually rock back and forth:


And here it is assembled and undergoing an inspection:


A very complete inspection:


Ok, now the cradle needs to be sanded and all the sharp edges eased with sand paper and then the final finish put on. The last thing will be to bolt down two wrought iron handles on the end panels so the cradle can be easy picked up and moved and I'll get to all this this week.

Stay tuned for the completion photos. We're almost there. And so is my grandson!

VW